In my last guide, I discussed creating a bootable pendrive (USB stick) from an iso file using some programs and also offered a CMD method. In this guide I’m going to focus specifically on the options that CMD offers. Windows 10’s CMD is now more powerful and contains hidden tools that can help with the pendrive creation.
What’s an iso file?
An ISO image is an archive file of a storage device composed of the data contents from every written sector. In simpler terms it’s like a compressed file (.rar or .zip) but one that needs to get extracted on a drive that then becomes “bootable” – which means your computer will be able to boot an operating system from it.
How are we going to extract it on a pendrive?
Creating a bootable USB or pendrive can be achieved using Diskpart, which is a pre-installed CMD tool. Diskpart will be able to perform the action needed in order to create a bootable pendrive: formatting the pendrive as a primary bootable partition.
This method doesn’t require any downloaded or installed apps, all the process can be done through the command line (CMD) program – which is built-in to Windows. Follow me and you’ll be able to do it.
P.S. Don’t forget to plug in your Pendrive and keep in mind its storage capacity, it will help you recognize it during the steps.
Step I: Launch Diskpart
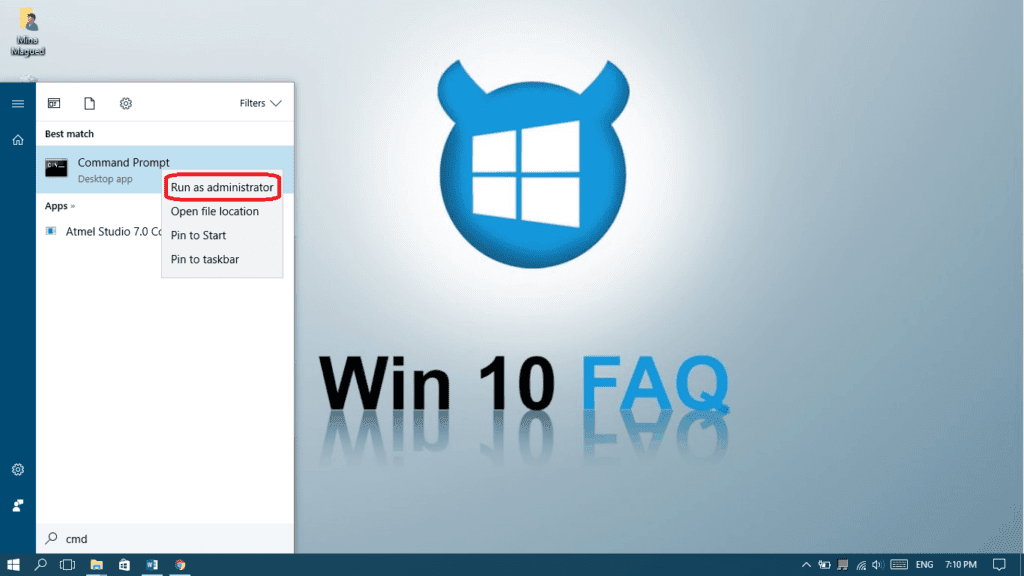
- Type “cmd” in your start menu, right-click on Command Prompt and choose Run as administrator.

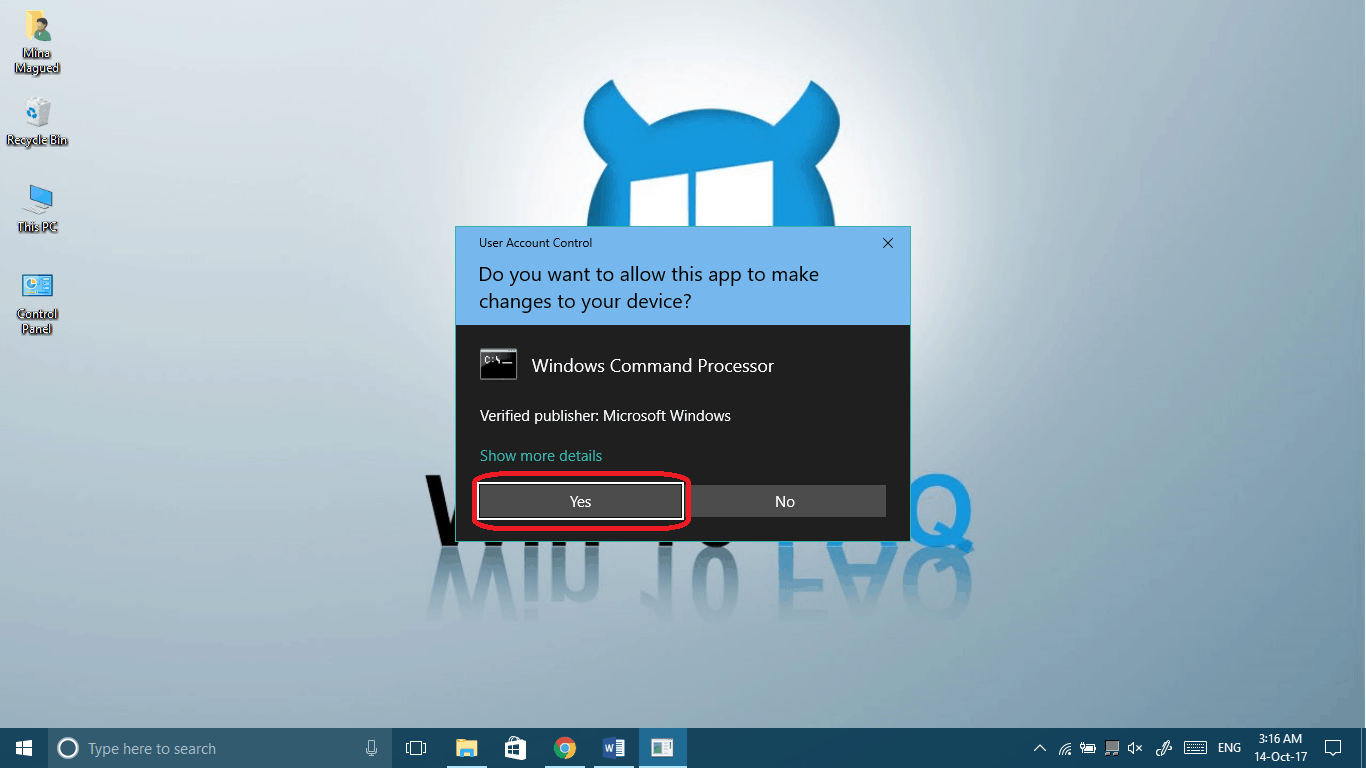
- Click Yes to give it permission.
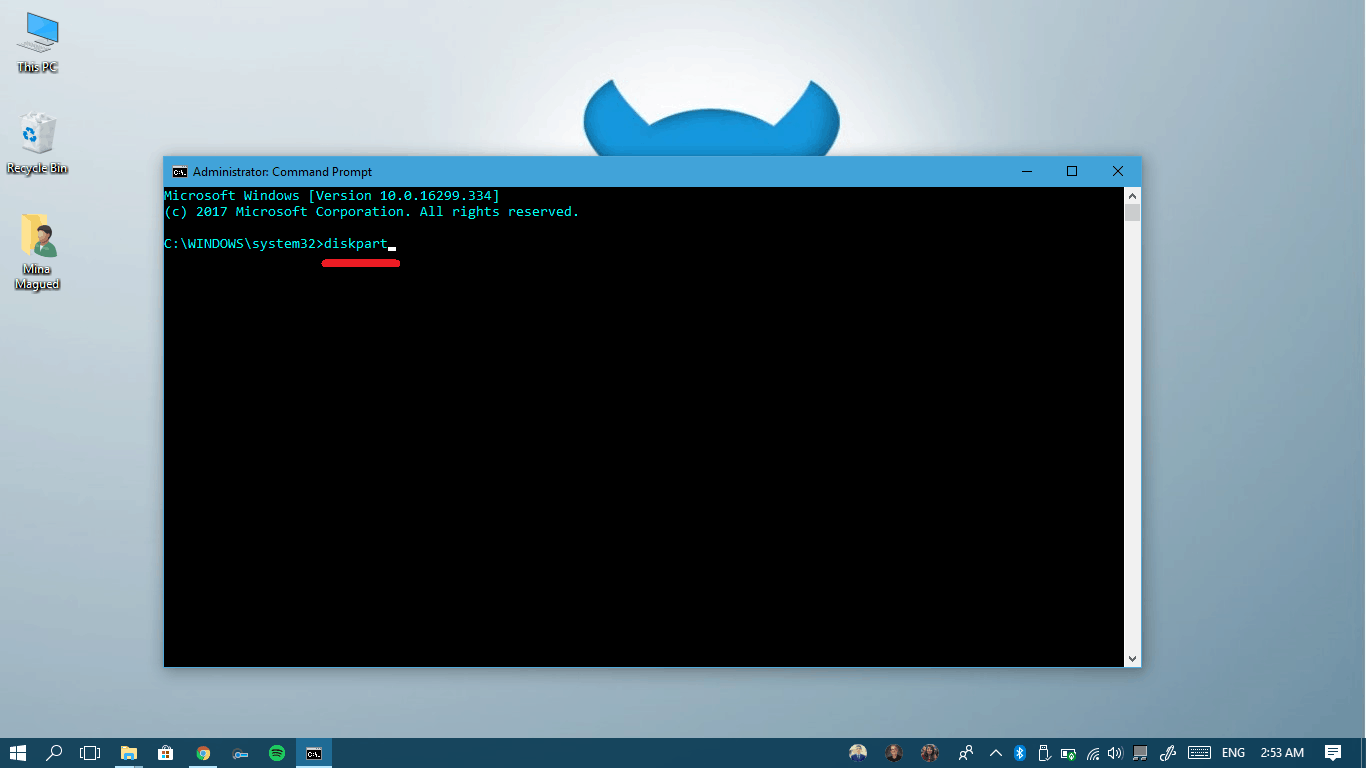
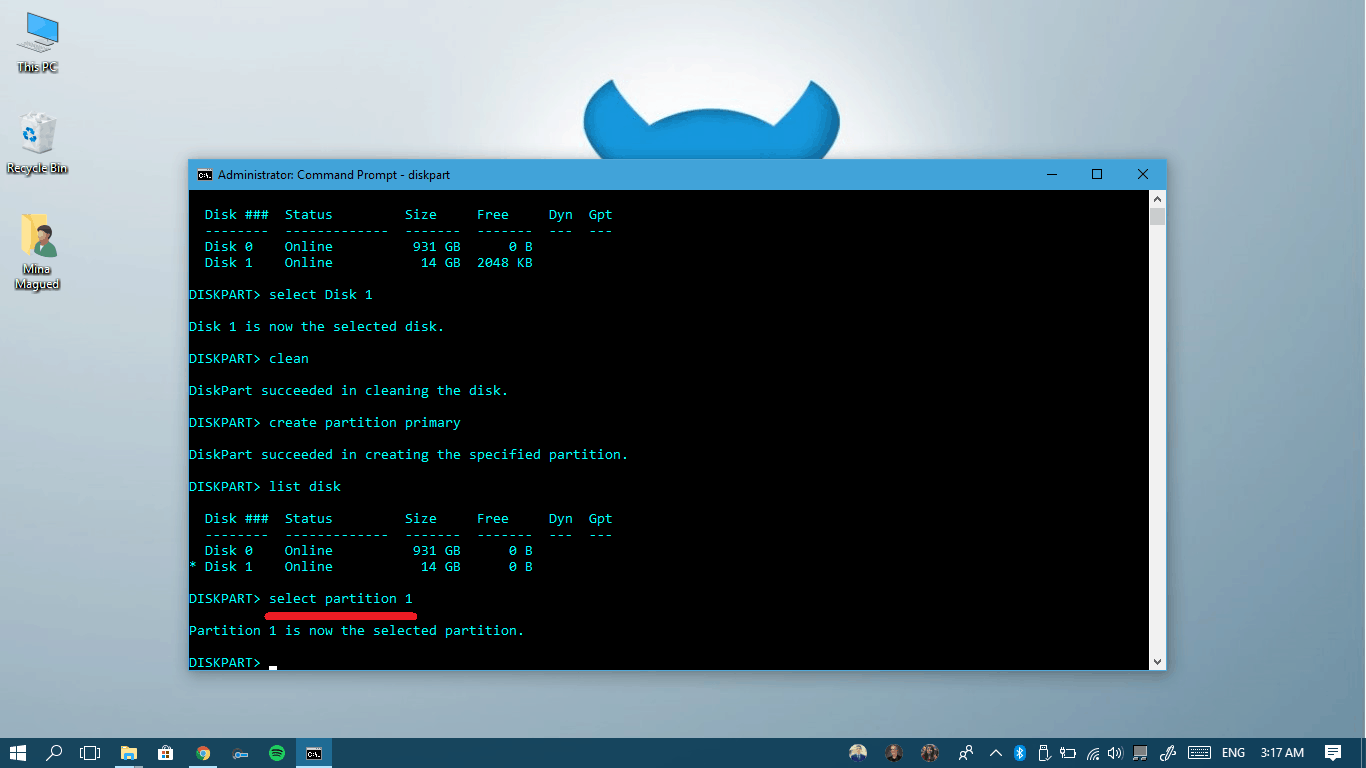
- Type diskpart in the command windows and then press Enter, this will launch Diskpart, the program inside the CMD interface that will create our bootable pendrive.
Step II: Select the pendrive from your disk list
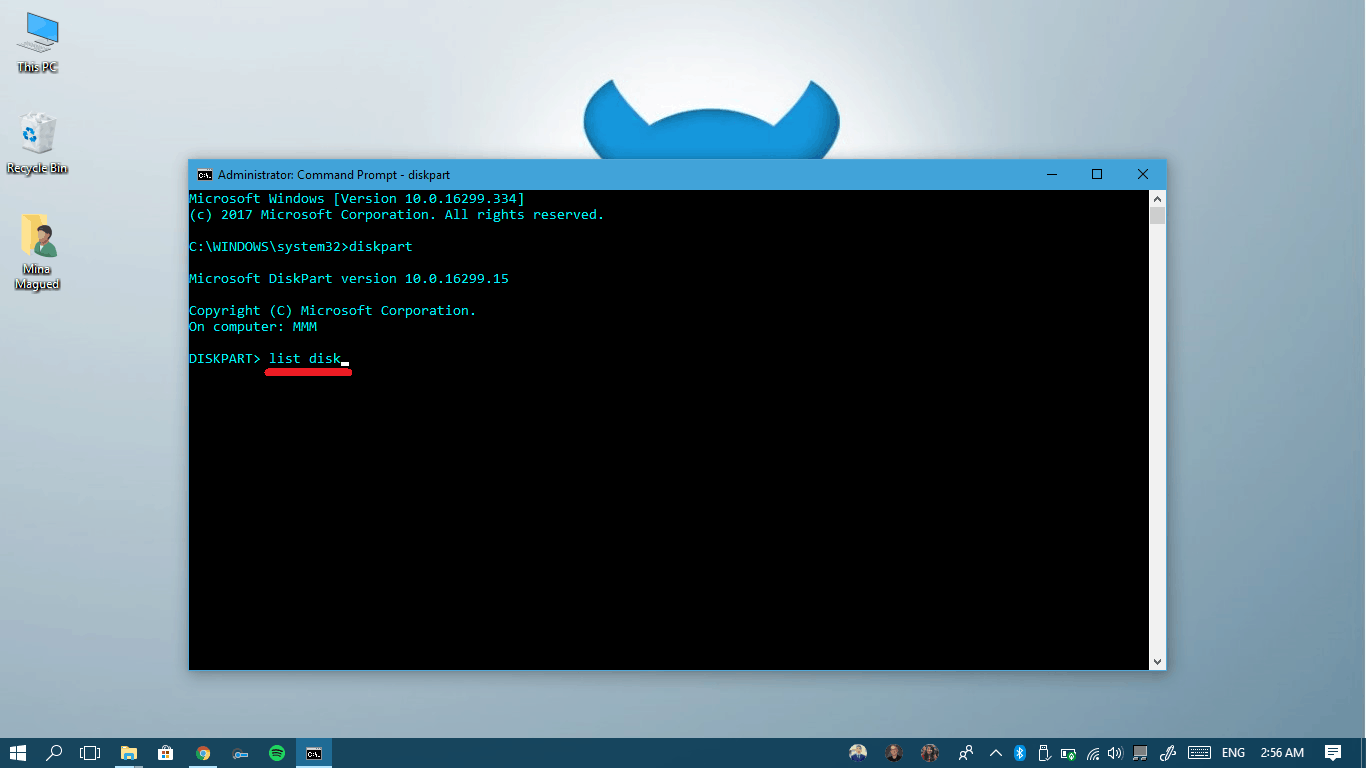
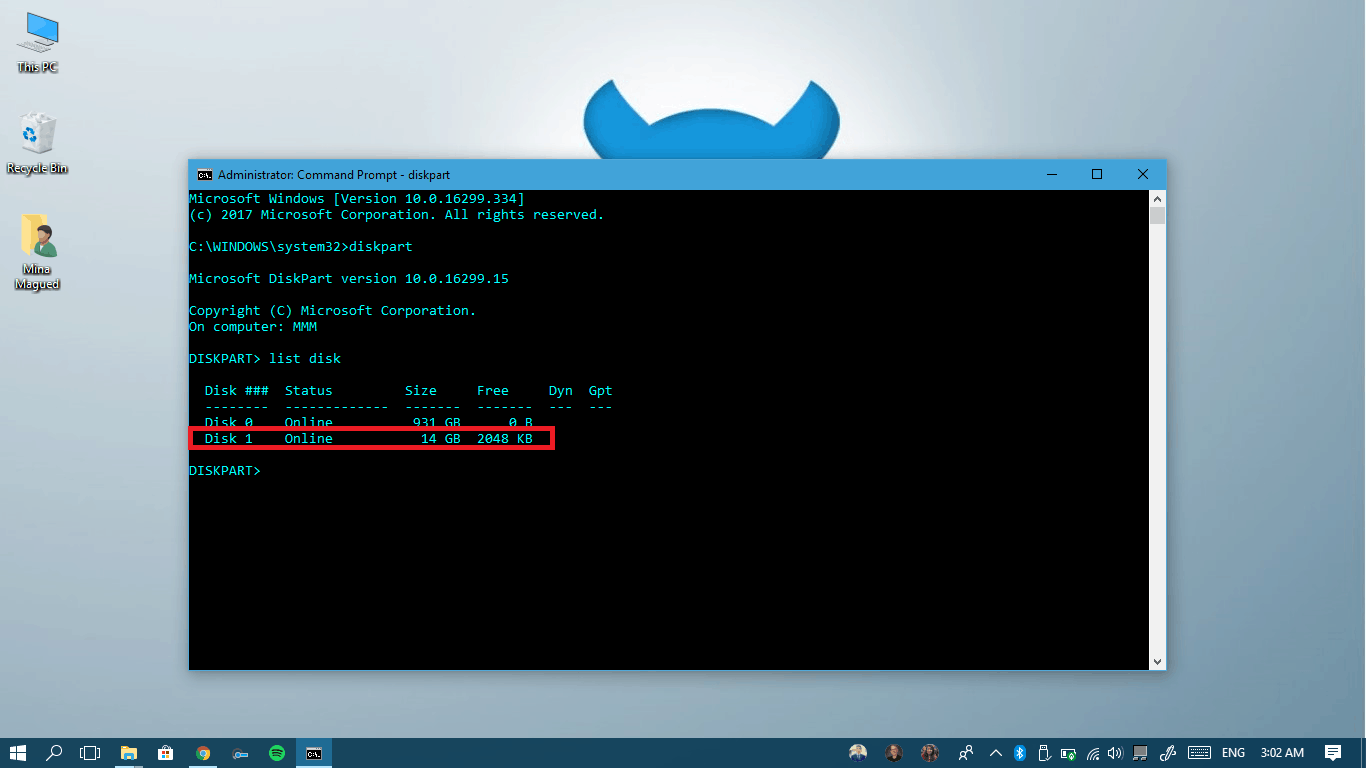
- Once the program launches (it take a couple of seconds), type list disk to view all the active storage devices connected to your computer (Hard disk, USB drives and others).
- In my case, Drive 0 is the internal Hard Disk, and in most cases, Drive 0 is you primary storage device. So obviously, my pendrive is Disk 1, it’s the 16 GBs one (the actual size is always a little smaller). That’s why I recommend connecting the pendrive your want to burn only, because it will usually be Disk 1 and you’ll avoid confusion and data loss.
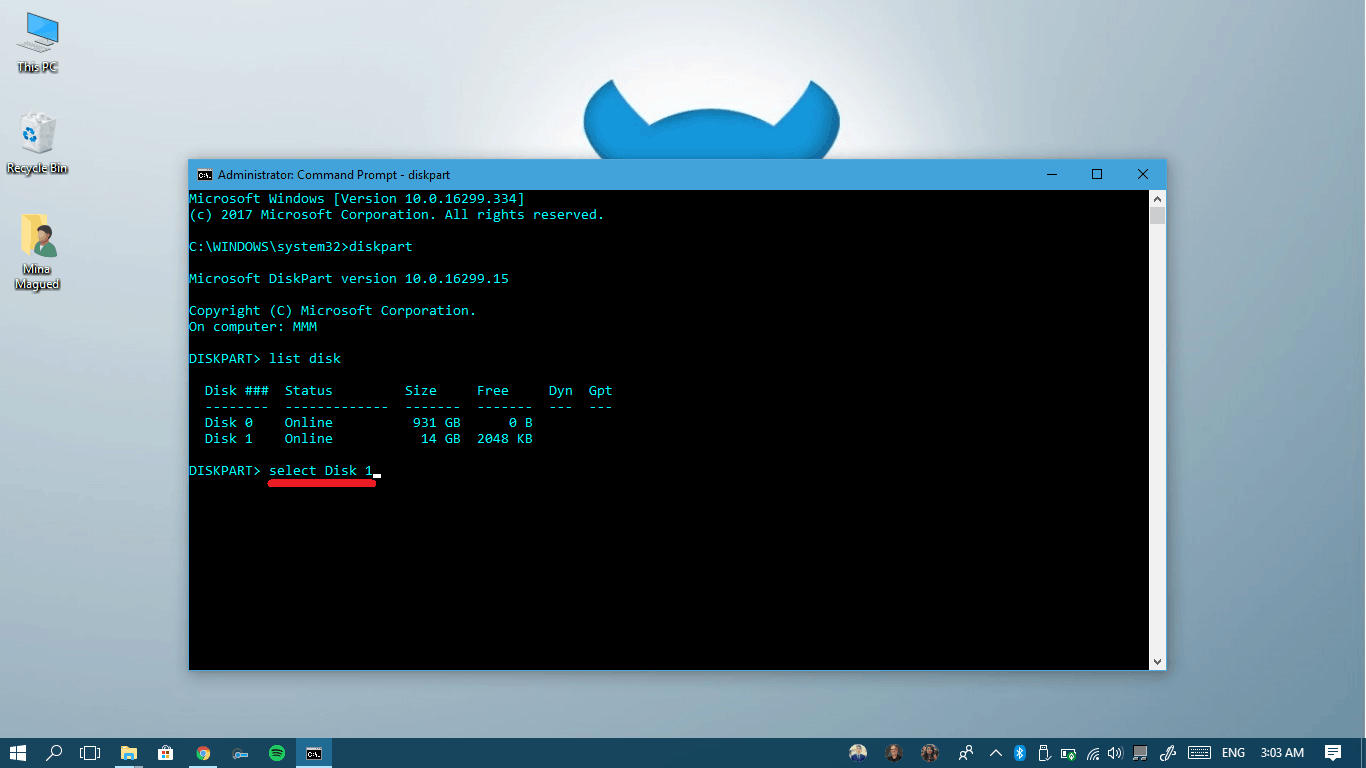
- Let’s type select Disk X (replace X with the correct number for you!) so that Diskpart knows what disk you will be controlling in the next few steps. Hit Enter.
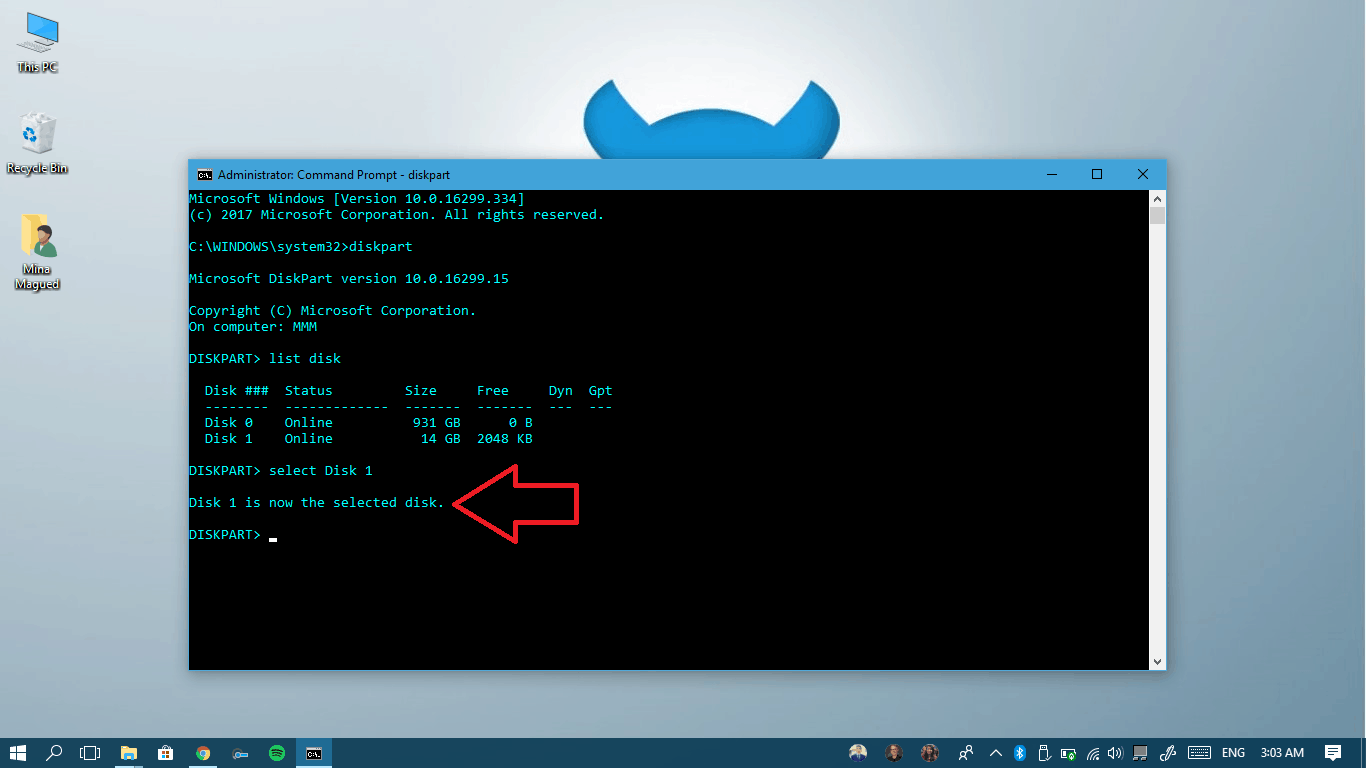
- As you see, Diskpart is telling you that you’ve successfully selected Disk 1.
Step III: Format the pendrive and make it bootable
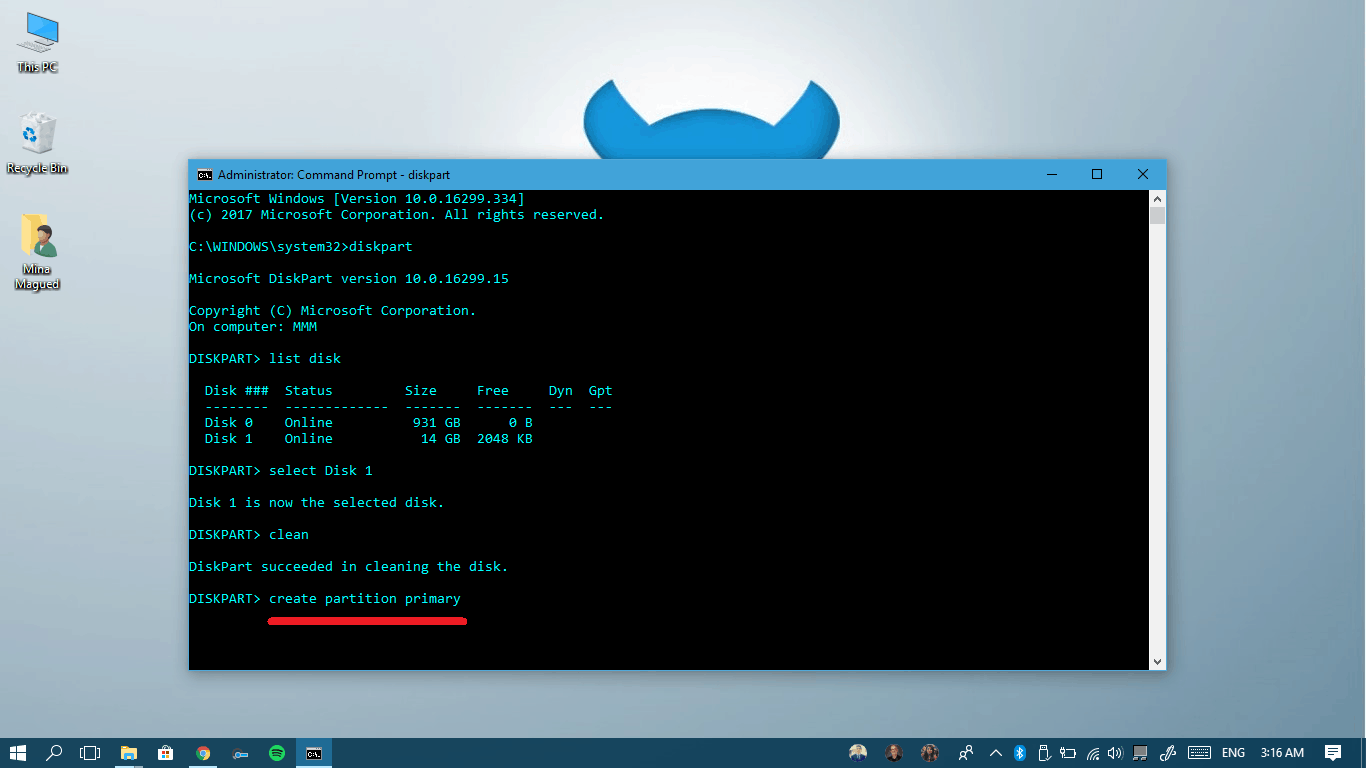
- Type Clean and press Enter, this will erase all data on your pendrive so keep a backup if there’s something you want to keep.
- Once the drive is cleaned, the space you have will be recognized as unallocated by the system, which means it can’t use it. That’ why we will create a partition using this space: so type create partition primary and then press Enter.
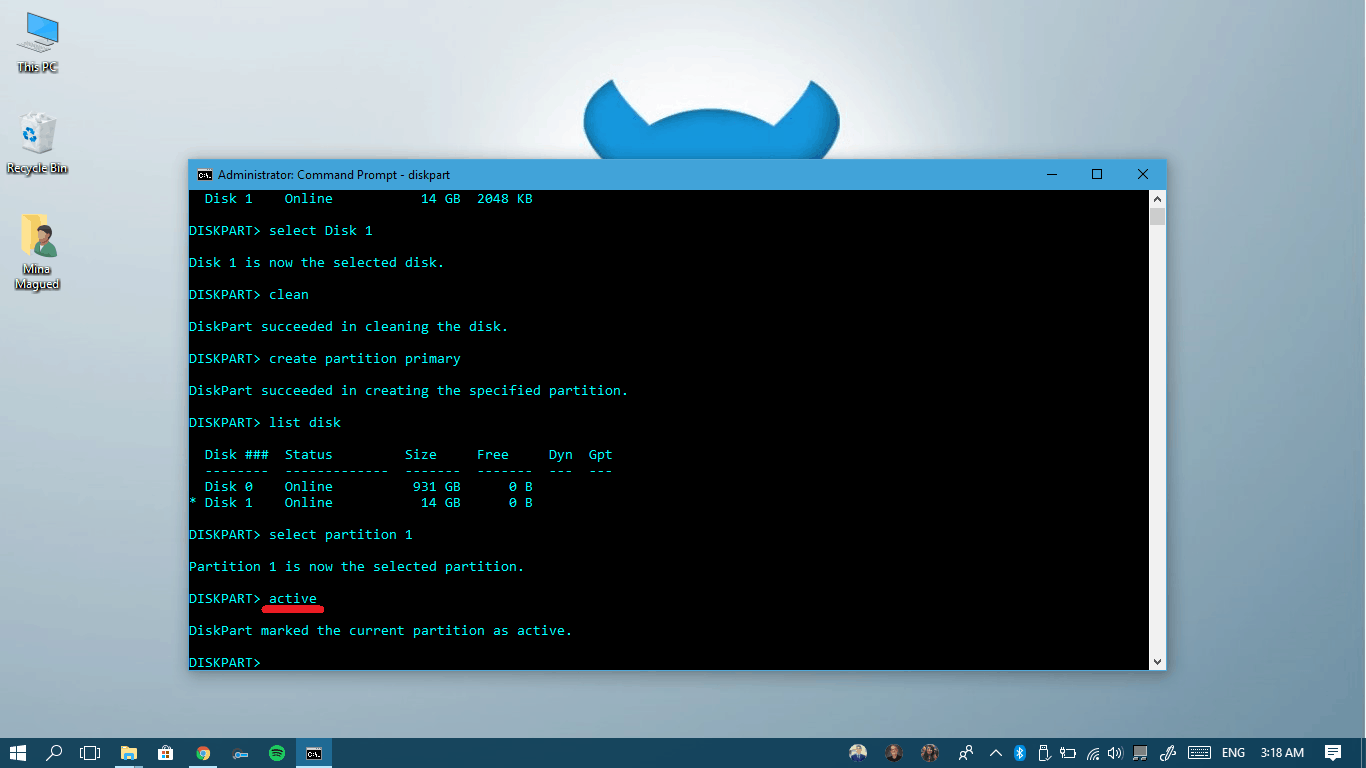
- By default, the created partition will be recognized as partition 1. That’s why you will have to type select partition 1 to keep working on it.
- Let’s type active and hit Enter to activate this partition.
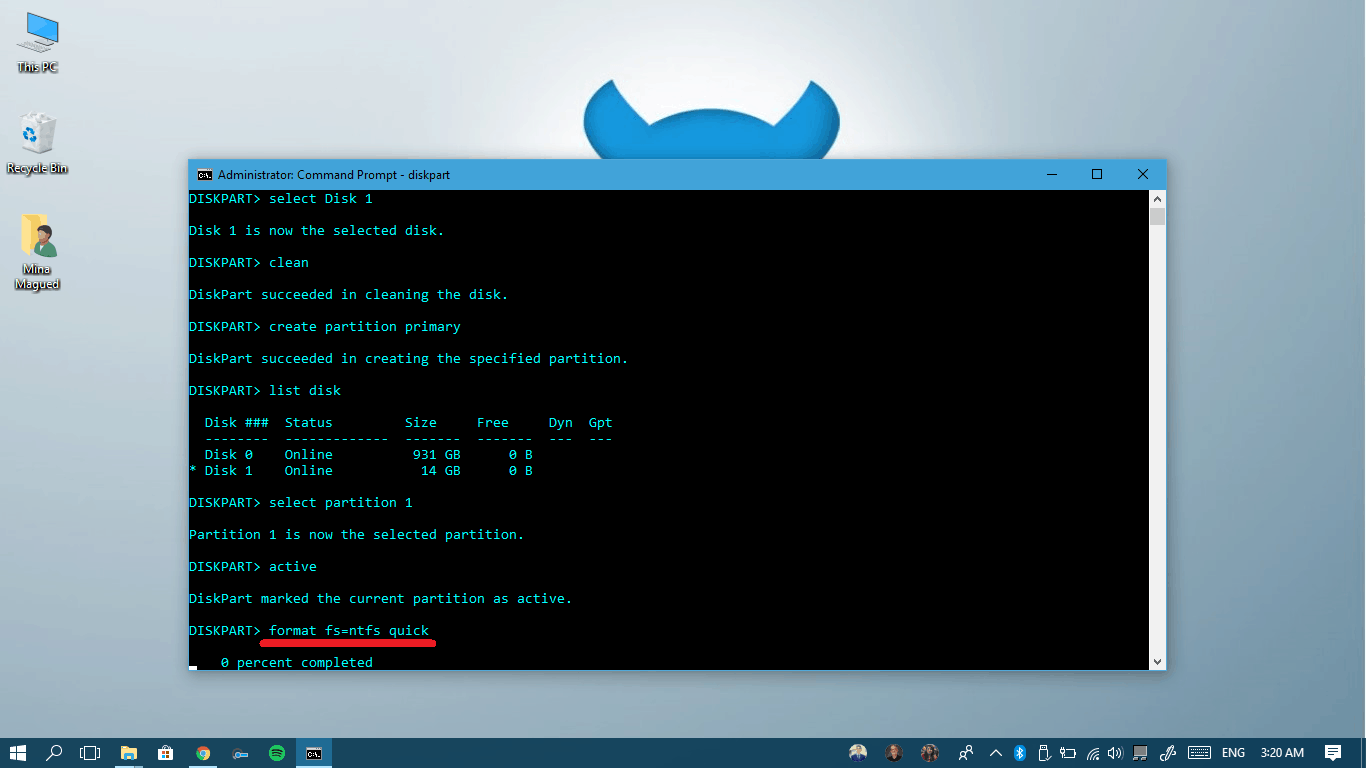
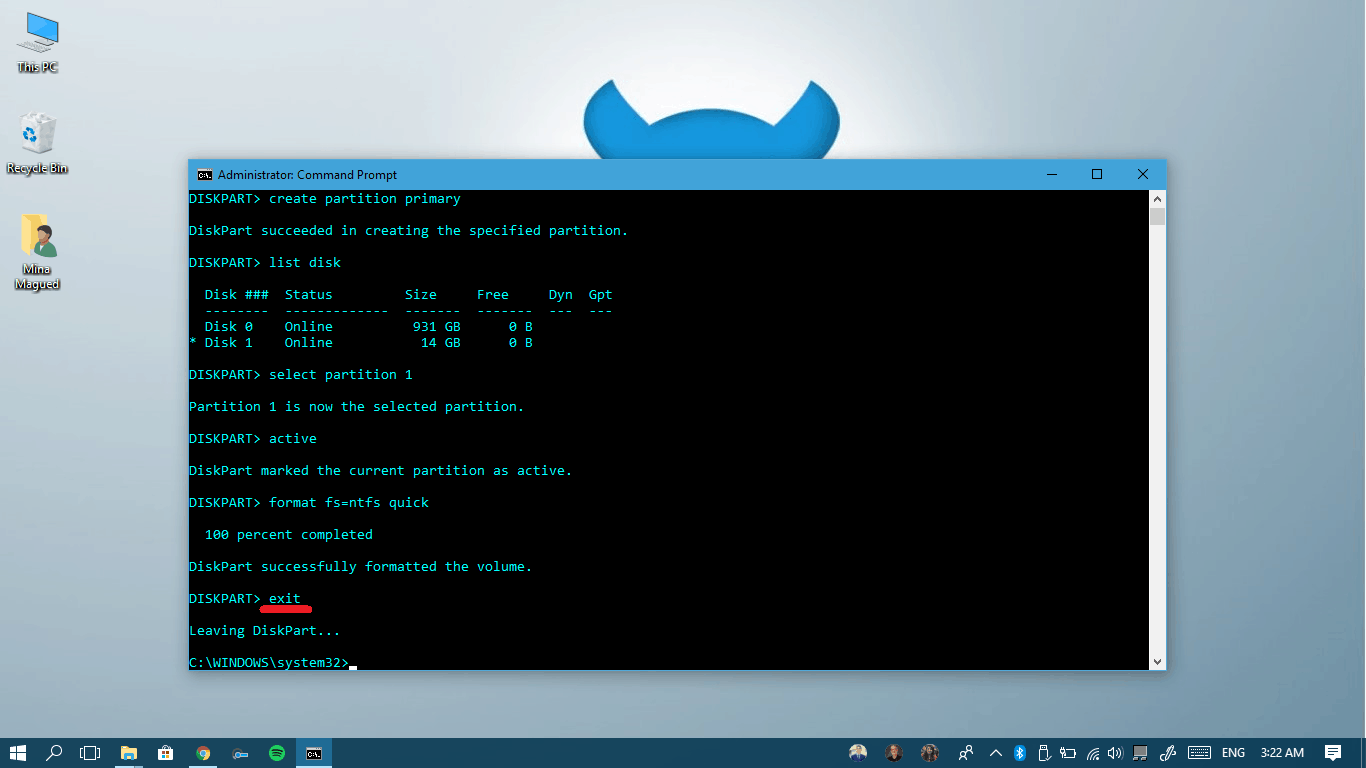
- Now, we will have to format it in NTFS format. I know we erased the data from the pendrive before, but we are doing something different now: we are formatting the partition we created using the empty space and defining its type as (NTFS). So, type format fs=ntfs quick and press Enter. You will have to wait a while after performing the step until the formatting finishes.
- Once it’s successfully formatted, type exit to leave Diskpart then exit your CMD windows. Now your pendrive is formatted and bootable but it just needs the installation files copied to it.

Step IV: Copy the installation files to the pendrive
This step can be performed using either normal Windows Explorer copy paste or CMD commands. I will show you both and you pick the one you prefer, they both do the same job. But first of all, browse to your iso file, right-click on it and then choose Open with > Windows Explorer. Your computer now extracted the files temporarily in a new drive that’s virtually created.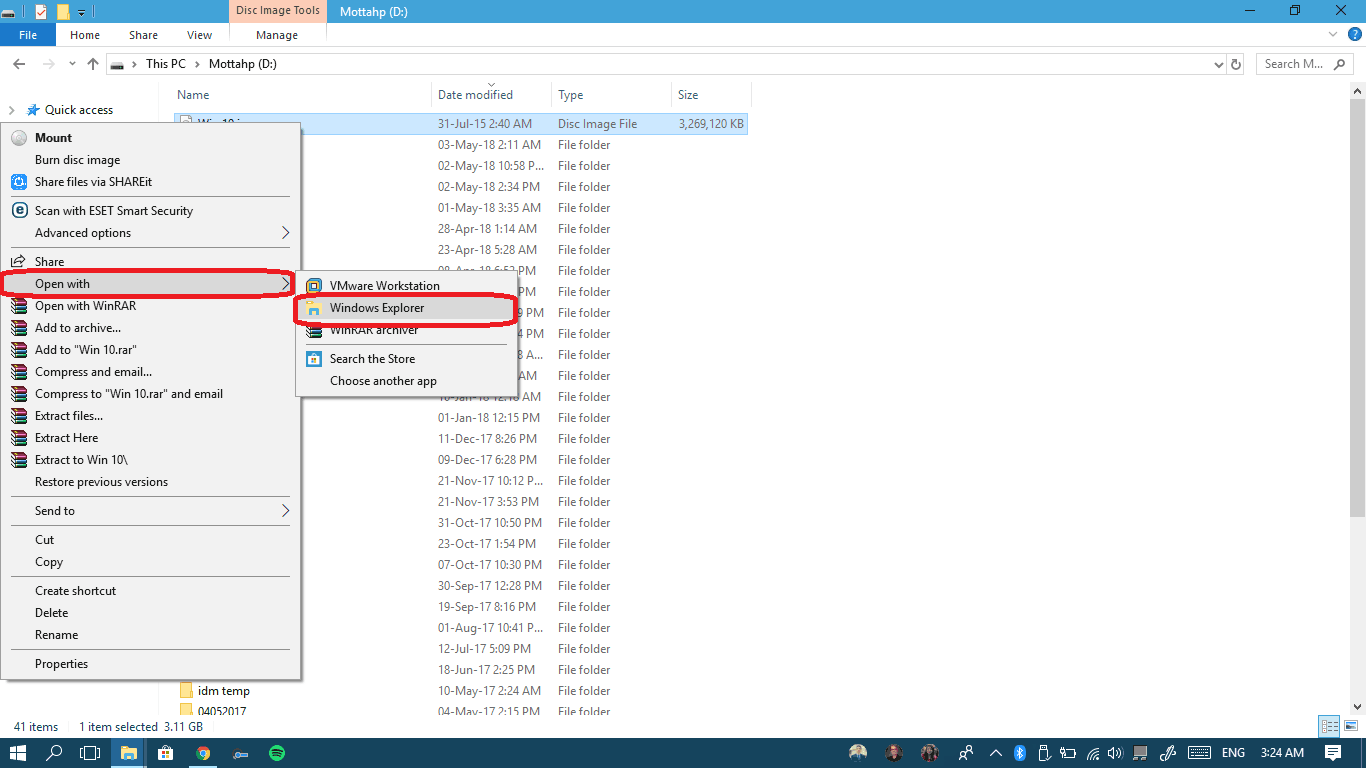
Now let’s copy these files!
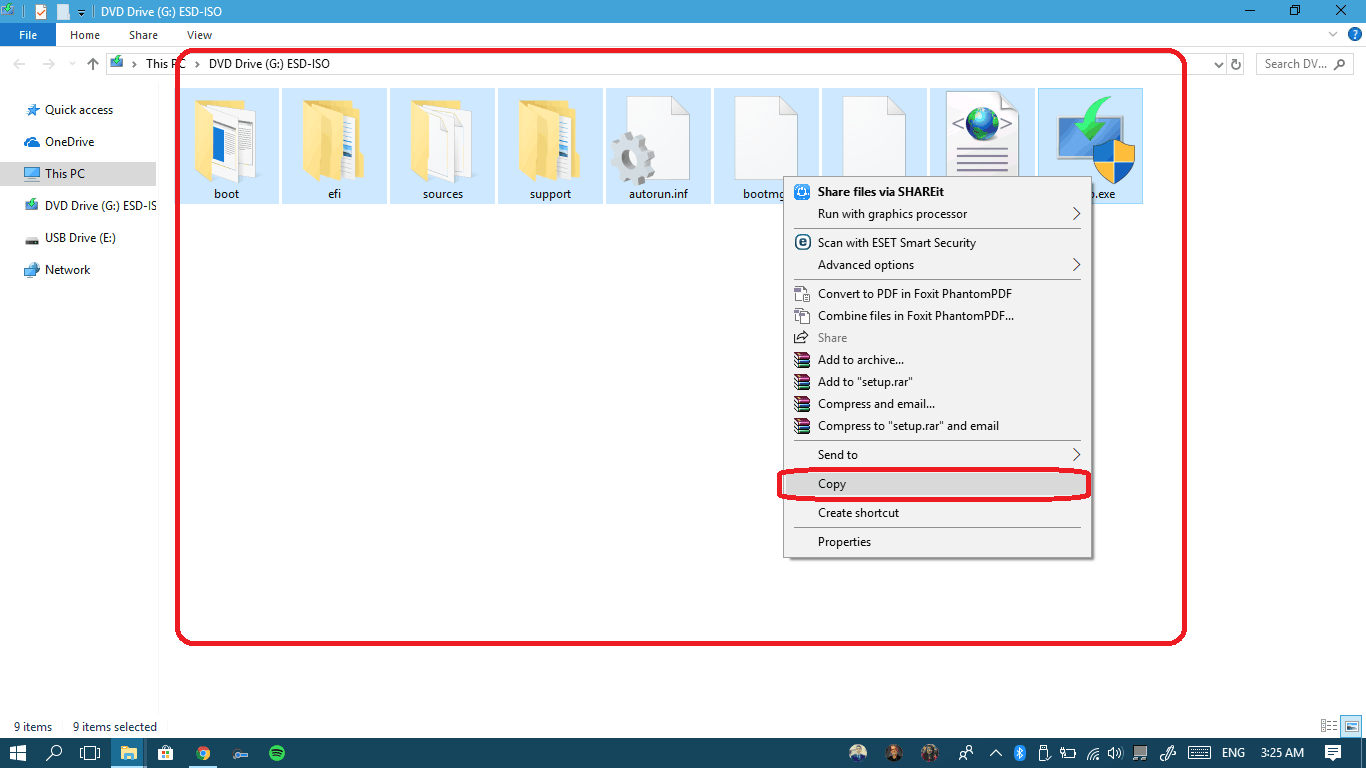
Method I: using Windows Explorer Copy Paste
- Select all the files and folders inside the virtual drive that will pop-up automatically, right-click and choose copy.
- Now open your empty pendrive, right-click in it and select Paste.
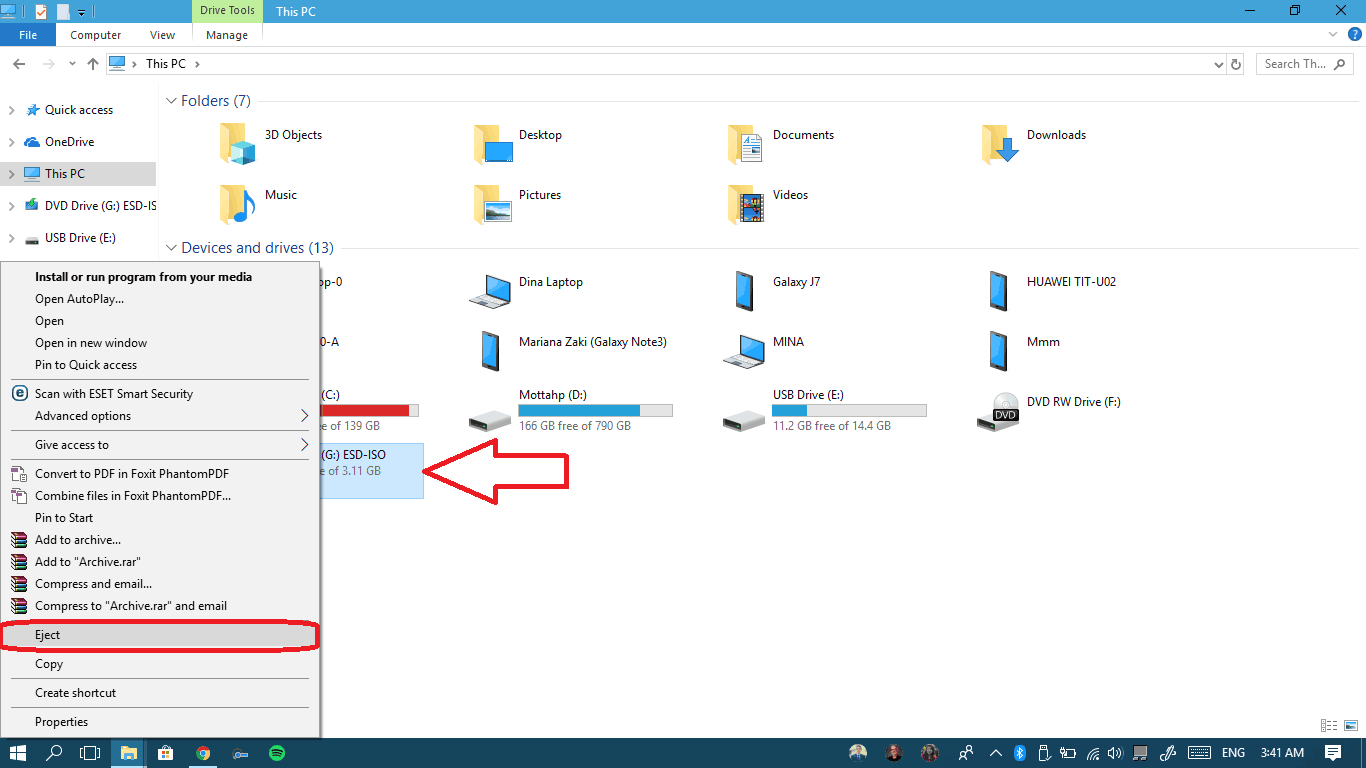
- After pasting, eject the virtual drive we extracted the files into to get rid of it.

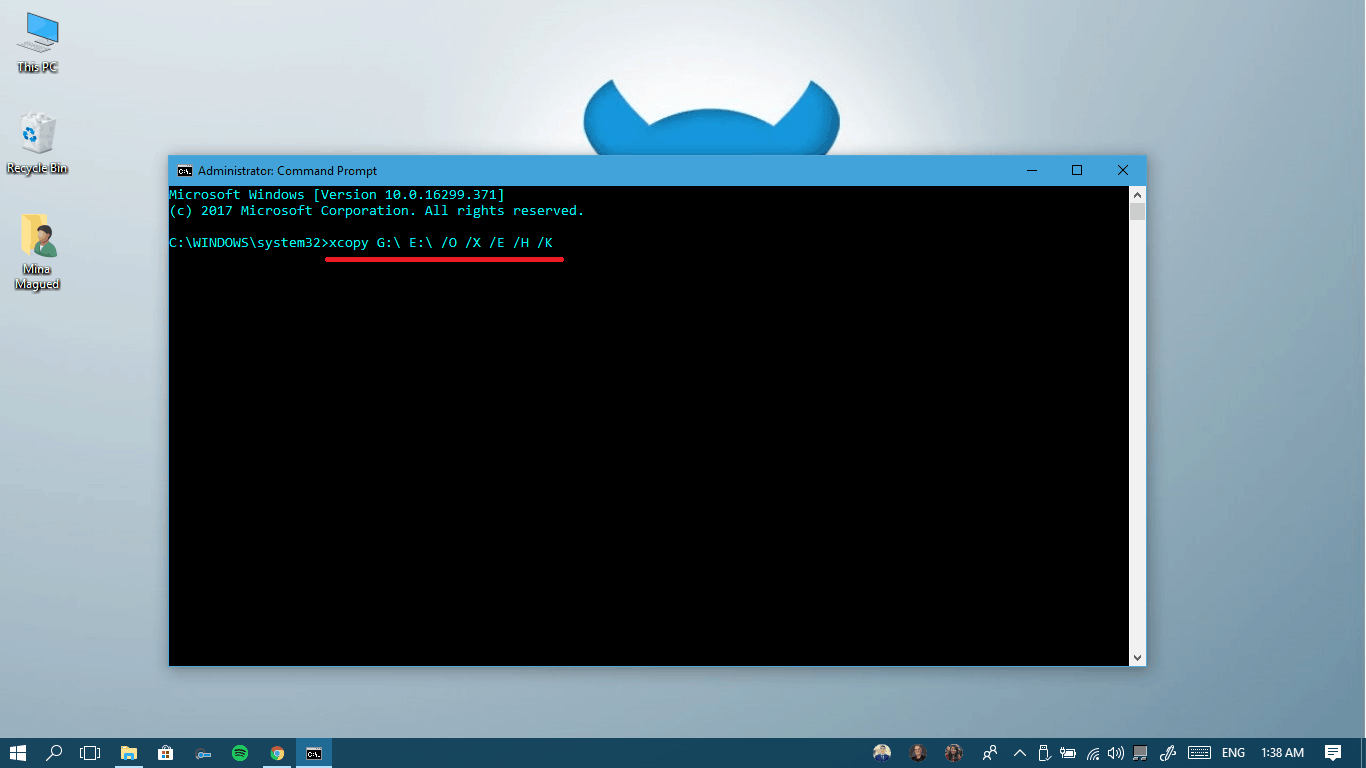
Method II: using CMD
There is a simple command that will let you copy all the extracted files to the pendrive:
xcopy source destination /O /X /E /H /K
where source is the source folder and destination is the destination folder.
In my case, the source folder is the virtual drive that Windows Explorer created (G:\) and the destination folder is the pendrive (E:\), then my command is like this:
xcopy G:\ E:\ /O /X /E /H /K
So here’s what you got to do:
- Change the text depending on your source and destination folders then hit Enter.
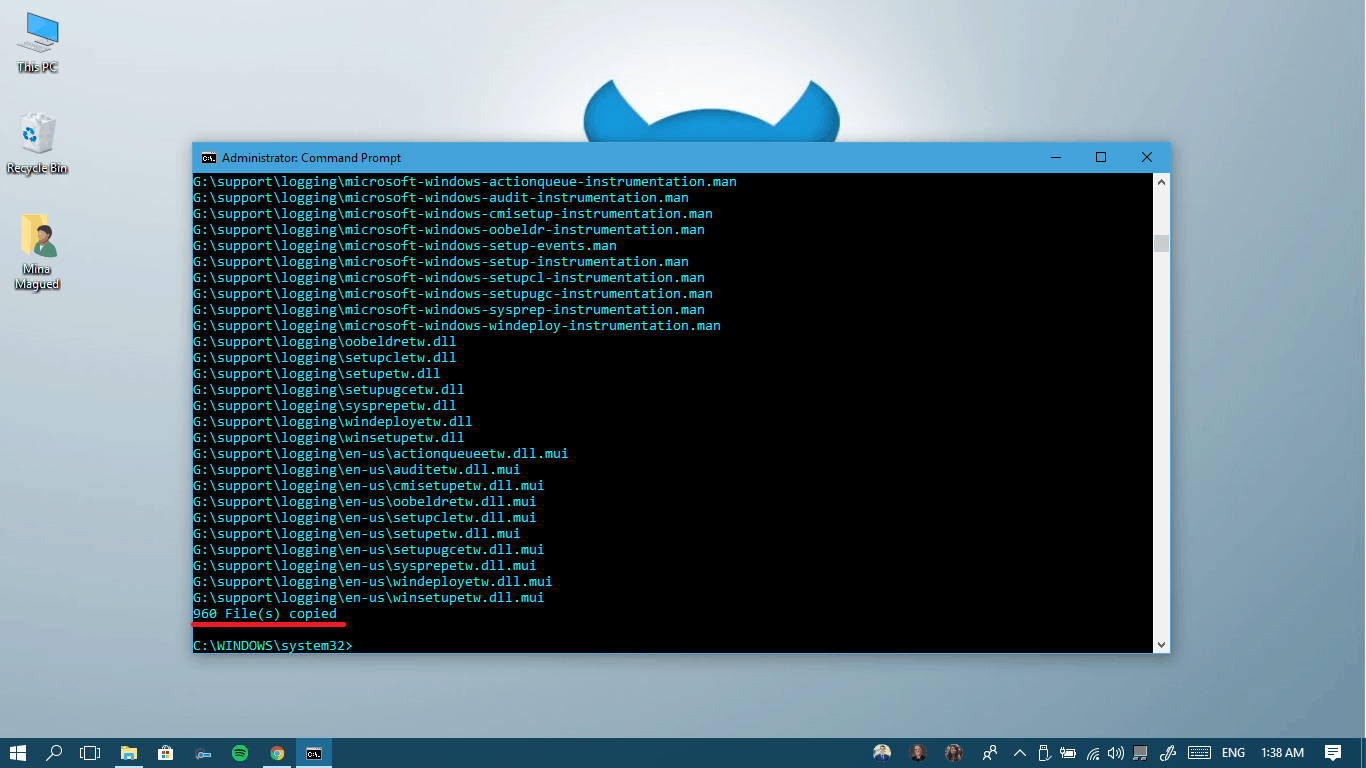
- You computer will then start copying all the files to the pendrive and when it’s done, it will print “xxx File(s) copied” where xxx is the number of files copied.
Now your pendrive is ready! Insert it to any computer before starting it up to boot from it.
Thanks very much, I’d never tried this before.