GWXUX.exe is a file that’s supposed to nag you to upgrade to Windows 10. After downloading an update called KB30335583 a lot of people started to sometimes, for nor reason, get an error that says “GWXUX has stopped working” or “GWXUX – application error”.
Even though the error itself can be just closed, and won’t do any harm, it’s still something that will get on your nerves eventually. Therefore, below we’ve found a few methods that will help you remove the problem. Follow them, and you’ll have the issue sorted out before you know it.
Method 1: Remove the issue with Windows’ built in Troubleshooter
The Windows Troubleshooter may not seem like a reliable tool at all times, but it actually works great more often than you’d think. In this situation, we’ve found it to help.
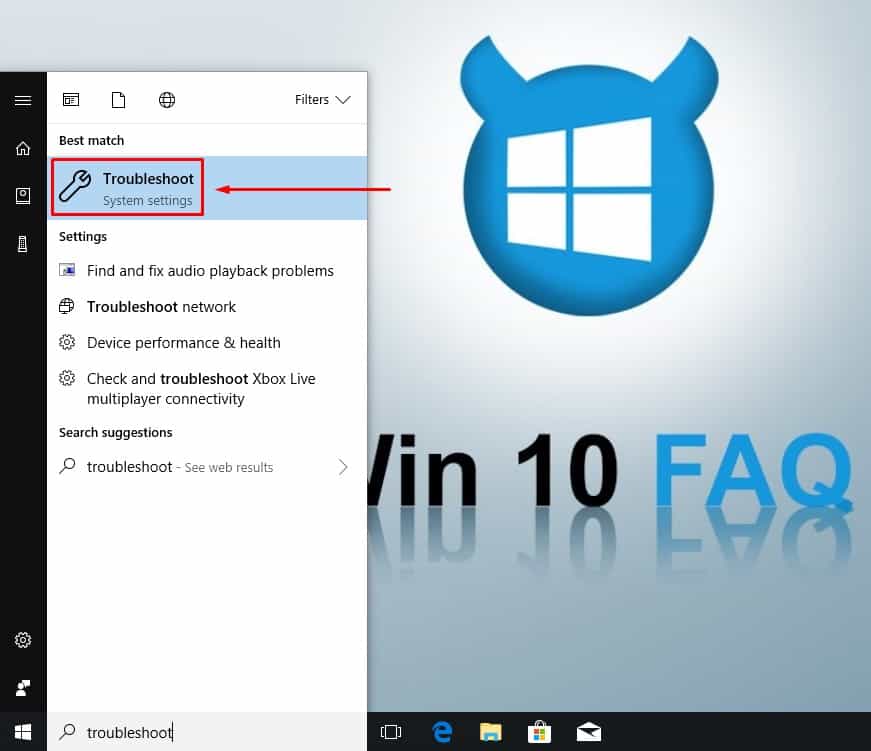
- Click on the Start button, and type Click the first result, the one that says it comes from System Settings.
- Once you’re in the Settings menu, click on Windows Update from the Get up and running menu, then click Run the troubleshooter. If you’re asked to run it as administrator, do so.
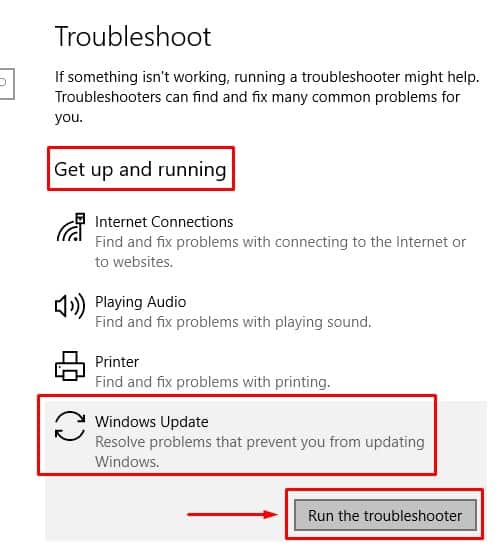
- The troubleshooter will try to fix your issue step by step, so make sure you follow the procedure. It should automatically find the issue and fix it. Now, in the odd case it doesn’t fix it, move on to method number two below.
Method 2: Remove the entire update from Control Panel
If the troubleshooter method doesn’t solve the update’s problem, the next solution is to remove it completely. As we said above, it doesn’t do much but annoy you with popups, so it’s safe to remove it.
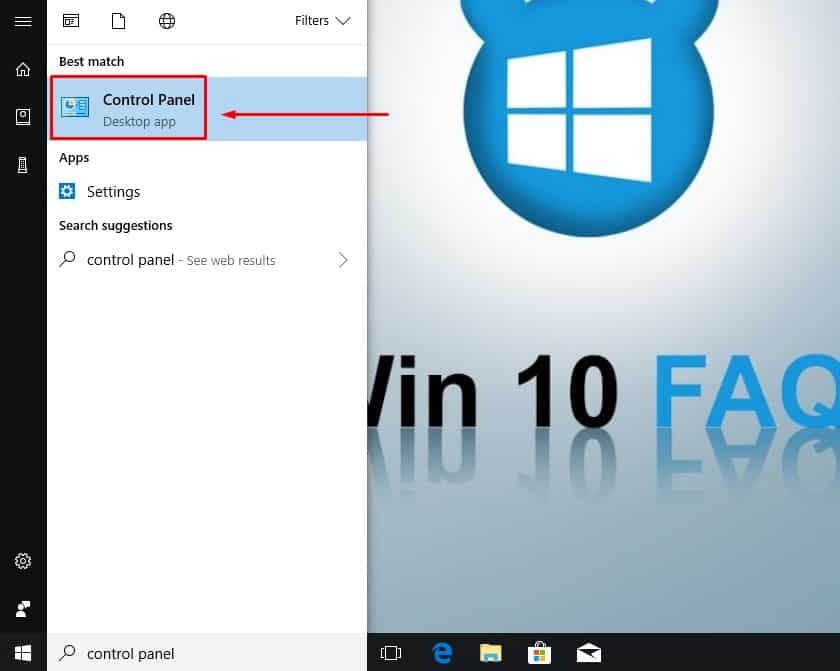
- Click on the Start button, and type Control Panel. Open the first result.
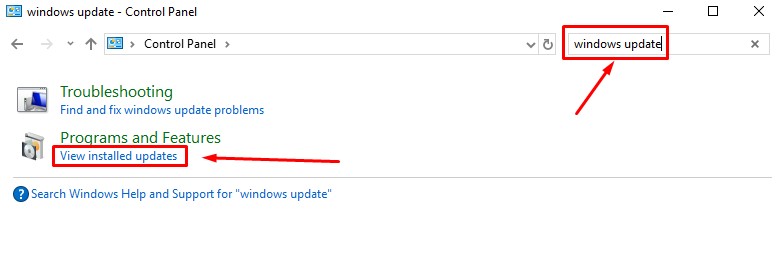
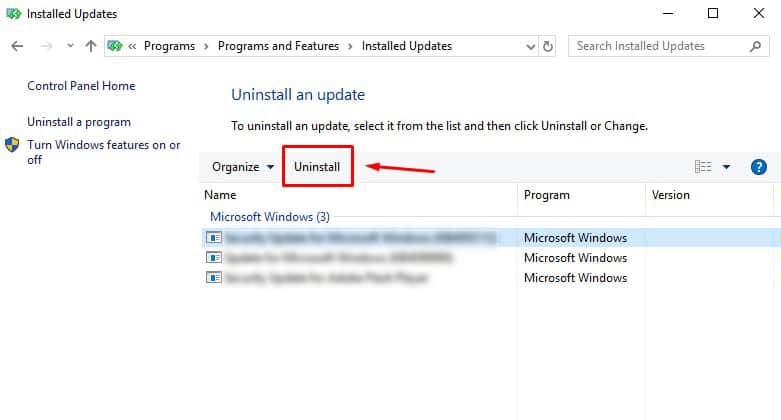
- In the top right, there’s a search box. Type in Windows Update inside, and you’ll get a result from Programs and Features that gives you the option to View installed updates. This is exactly what you need, and where you’ll find the problematic update.
- Once you have the list of updates, click on update KB3035583. You’ll see the Uninstall button pop up, click it. Follow the wizard and you should have the update removed.
- When the uninstalling is done, make sure to restart your PC.
Method 3: Use the System File Checker tool
If all else fails, you can try another built-in tool – the System File Checker, or SFC tool. This tool will scan all system files and replace any corrupted ones with healthy files. You run it from an administrator command prompt, let’s take a look how.
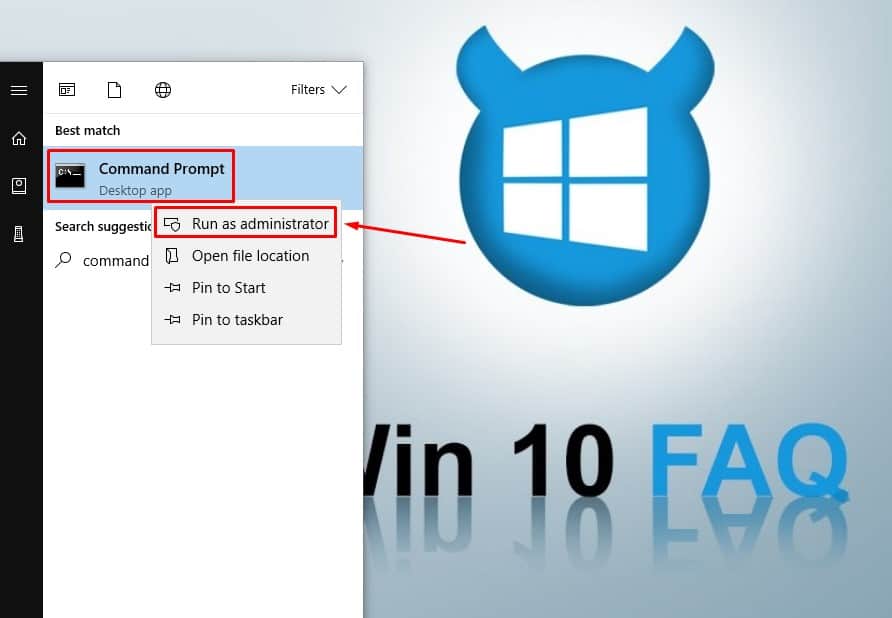
- Click on the Start button, and type in Right-click the first result, and choose Run as administrator.
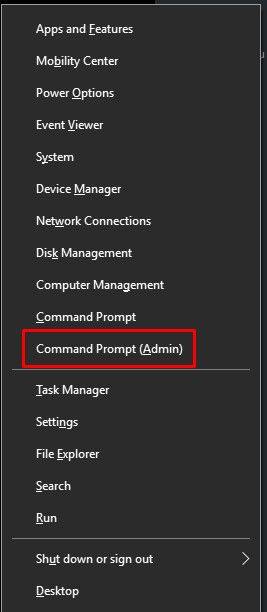
- Alternatively, right-click the Start button, or press Win + X., and choose Command Prompt (Admin) from the list that pops up.
- In the Command Prompt, type in sfc /scannow, then press Enter to execute the command. Give it some time and let it do its thing. It will let you know when it’s done.

When the SFC tool is done, it will let you know if it managed to find any damaged or corrupt files, as well as whether it has fixed them or not. That’s it, problem solved!