Error Code 0X80072EE7, also referred to as the Windows store error started occuring a lot after the Windows 10 Creators Upgrade. The error leads to the abrupt malfunctioning of Windows store with a “We couldn’t connect to the server” or “The server stumbled – We all have bad days” error when downloading an App from the store. To further add to the confusion, you may get an alert from Windows store that you are not connected to the internet despite being online in a high-speed internet connection.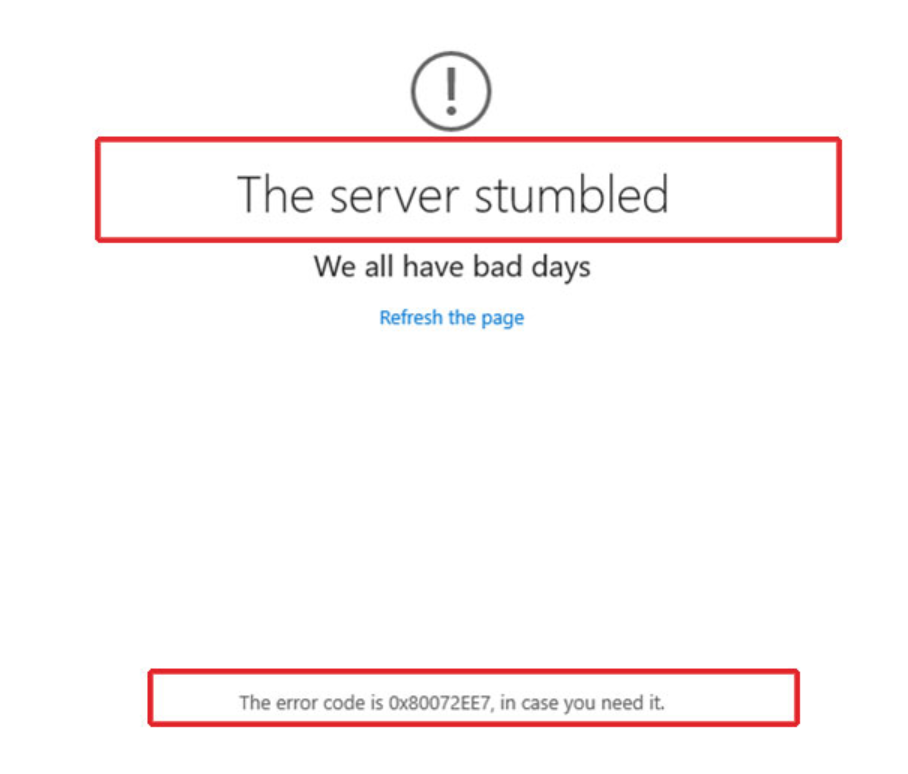
Causes of Error 0X80072EE7
A myriad of factors is known to cause this error. Some of the main reasons for this error may be:
- A malware / virus infection
- Errors in a network configuration
- Corrupt Windows Registry
- Corrupt Windows system files
- Faulty or corrupt Windows 10 drivers
Fixing the error
There are a few tested and proven ways that can be used to resolve the 0X80072EE7 error. Go through the solutions one by one and check after every solution if the problem has been solved.
Run the SFC /scannow command
This is one of the simplest and most effective ways of troubleshooting errors in a Windows system.
To run the command,
- Launch the Cortana search bar by pressing Windows Key + S.
- In the search bar type ‘cmd’
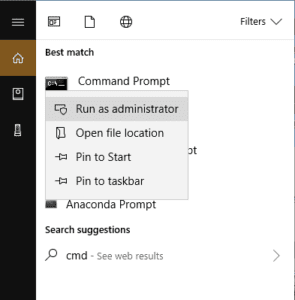
- Right-click on the ‘Command Prompt‘ icon and select ‘Run as Administrator’ as shown below.

- Type the command SFC /scannow and hit Enter. Take note of the space between SFC and the forward slash (/).
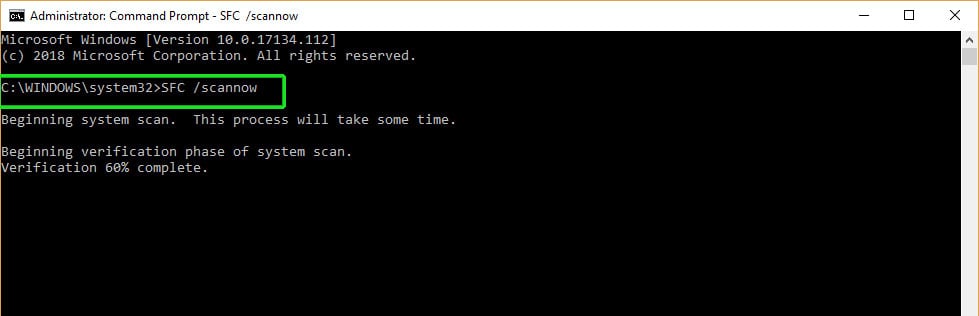
The sfc tool will begin scanning for errors and corrupt files in the system. The process takes a while, and some patience will be needed 🙂 Once the scan is successfully completed, restart your PC and check to see whether the error has cleared.
If the issue persists, check out the next method.
Re-register Windows Store
Re-registering Windows 10 has been reported by users as a fix to the nagging Error Code 0X80072EE7. To accomplish this,
- Head out to the Cortana search bar by pressing Windows Key + S.
- Type ‘cmd’.
- Right Click on the command prompt icon and select “Run as Administrator”.
- Next, Run this PowerShell command by copying and pasting it into the command prompt window (and then pressing enter).
PowerShell -ExecutionPolicy Unrestricted -Command “&
{$manifest = (Get-AppxPackage Microsoft.WindowsStore).
InstallLocation + ‘\AppxManifest.xml’ ; Add-AppxPackage
 -DisableDevelopmentMode -Register $manifest}”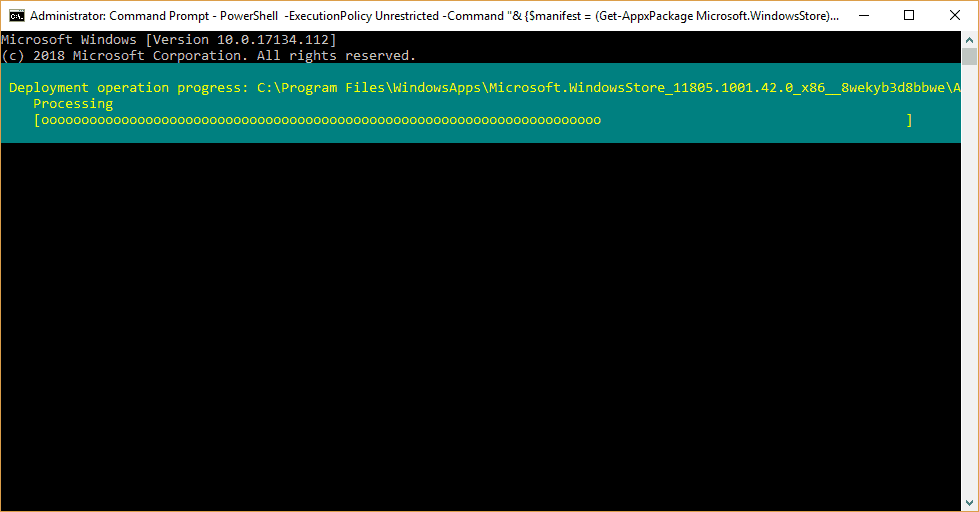
- Thereafter restart your PC and check to see if the store error persists.
Check your network connection/configuration
Occasionally, the Windows store error can be attributed to either a misconfiguration of DNS settings or an unstable or Weak Wi-Fi connection. You must, therefore, ensure that your Wi-Fi connection and the correct IP and DNS server settings have been entered.
That includes:
- Correcting DNS server misconfigurations
- Updating the wi-fi adapter driver
- Changing the MTU size
- Using Netsh Winsock Reset Command
Read on to go through these steps one by one, and check if the error is solved after every step.
To correct any DNS server misconfiguration
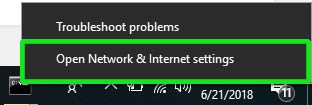
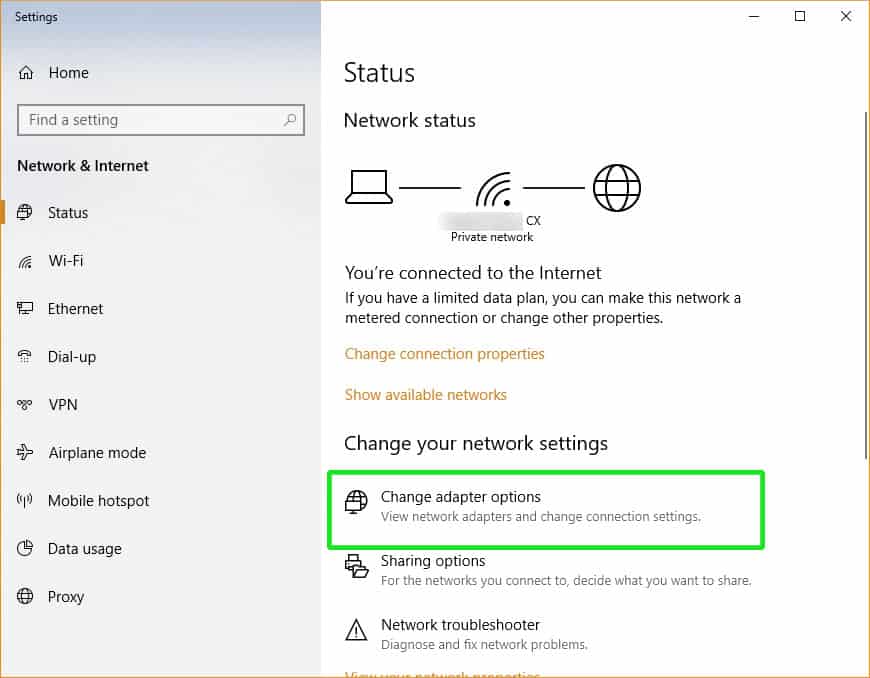
- Right-click on the Network Icon located at the right end of the taskbar and select ‘Open Network and Internet settings’.
- Under “Change your network settings” option click on “Change Adapter options”.
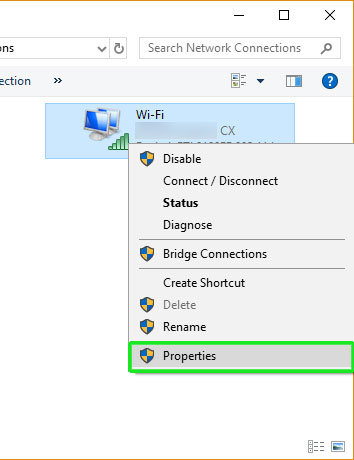
This opens the “Network Connections Window” window that displays all your network adapters.
- Right-click on the active network connection and select the “Properties” option.
- In the pop-up dialogue that appears, select TCP / IPv4 option.

- Click on ‘Properties’
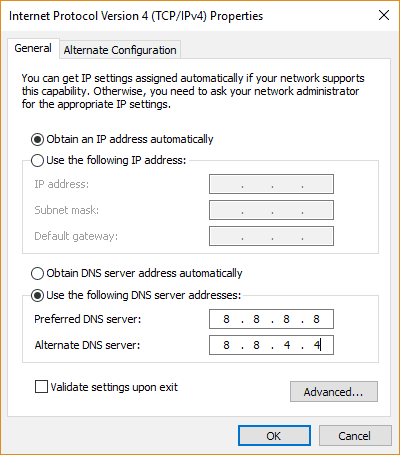
Use Google DNS servers in the Preferred and Alternate DNS Server options:
8.8.8.8 – in the Preferred DNS field
8.8.4.4 – in the Alternate DNS field
and click ‘OK’ to save the changes.
Check and verify if the error prompt “The Server stumbled” is cleared.
If you are having problems with a weak Wi-Fi connection, the following solutions can come in handy:
Updating the Wi-fi adapter driver
With the Windows 10 Fall creators Update in the beginning of 2018, some changes were made to the Wi-Fi adapter drivers of Windows, and for some users this has lead to a weak or no Wi-Fi signal. The same issue can also be triggered by incompatible or outdated network drivers. To resolve the problem, Update the Wi-Fi driver so that it’s up to date with the current Windows version.
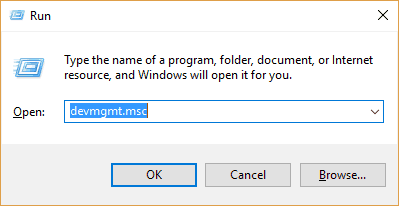
- Press Windows Key + R
- Type devmgmt.msc and hit Enter
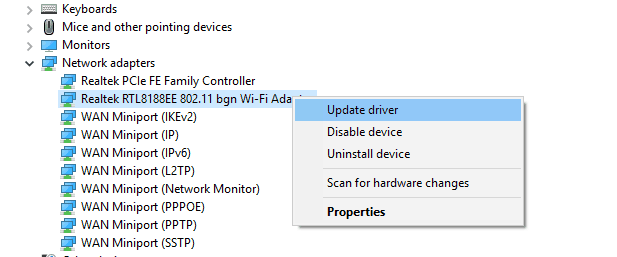
- Locate and double-click on “Network adapters”
- Right-click on the Wi-Fi adapter and select “Update”
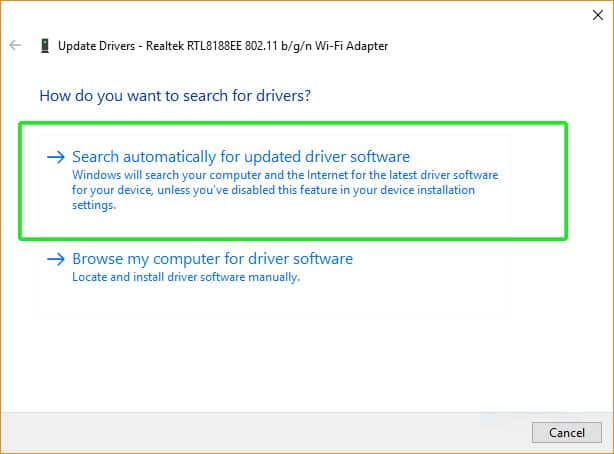
- In the next pop up Window, select the Automatic Search Option for best results.
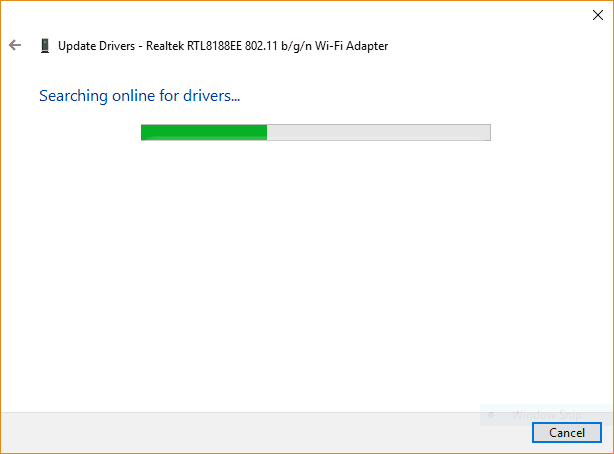
- Windows will begin searching online for drivers
- If the updates are found, Windows will begin installing the driver updates
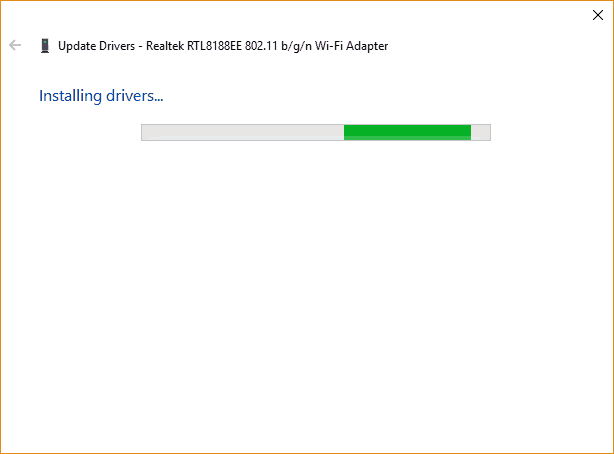
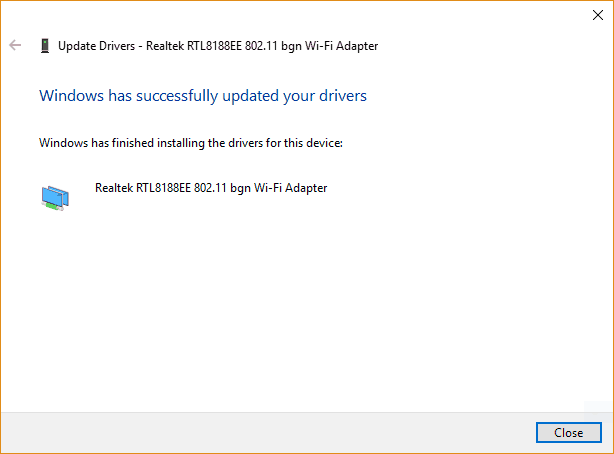
- Upon successful completion, the window below will be displayed
- If Windows couldn’t automatically update the wi-fi adapter driver, try looking for it on the website of your adapter’s manufacturer.
Changing the MTU size
An MTU is the maximum size for for a single unit of data that is transferred in your Wi-Fi connection. By default, the MTU size in windows is 1500. This, according to a few users, has been known to lead to a degraded Wi-Fi signal and modifying the MTU to 1400 has been reported to fix the issue. To achieve this,
- Press Windows key + S and Type ‘cmd‘.
- Right click on command prompt and select “Run as Administrator”
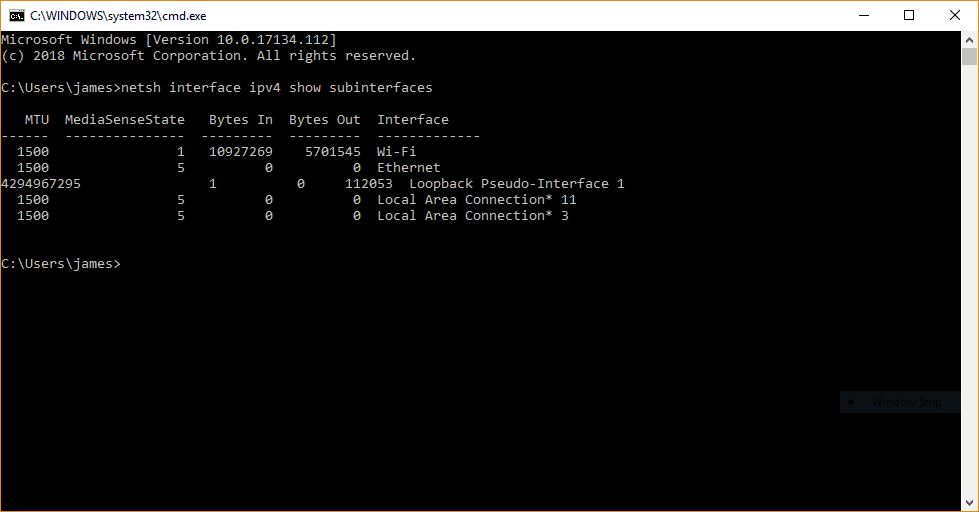
- To display the MTU values for your network connections, type (or copy-paste) the command below and press “Enter”
netsh interface ipv4 show subinterfaces
- To change the MTU value to 1400 run the command:
netsh interface ipv4 set subinterface "YOUR_WIRELESS_CONNECTION_NAME"
 MTU=1400 store=persistent
Change the words “YOUR_WIRELESS_CONNECTION_NAME” to the actual name of your connection. In the example below, the wireless connection name is ‘Wi-Fi’. Therefore, the command will be
netsh interface ipv4 set subinterface Wi-FI MTU=1400 store=persistent
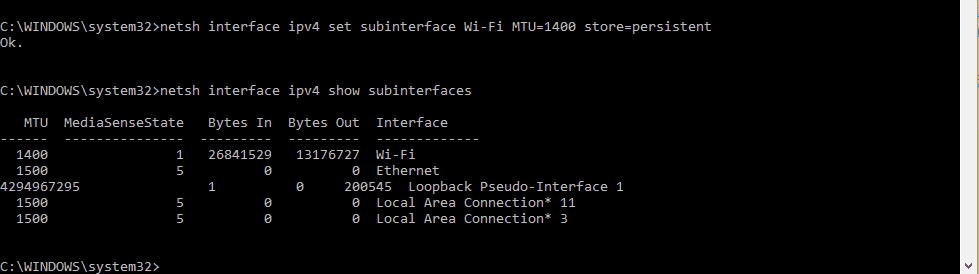
To confirm the changes have taken place repeat steps 1-3 and check that the MTU value is now displayed as 1400.
Using the Netsh Winsock Reset Command
Netsh Winsock Reset command is the last trick up your sleeves when you are having network and internet connection problems and just can’t figure out what’s wrong. The Netsh Winsock Reset can help troubleshoot the following problems;
- Network issues caused by Adware, spyware, virus, worms etc.
- Sudden loss of internet after installation of a Firewall or VPN
- Weak Wi-Fi signal
- Lack of network connectivity because of corrupt registry keys
- DNS lookup errors
- Failure to renew adapter’s IP address using DHCP
- Unexplained network errors with no message alerts
To perform a Winsock Reset
- Press Windows key + S to navigate to the Cortana search bar and type ‘cmd‘
- Right Click on command prompt and select “Run as Administrator”
- In the command line, prompt type netsh winsock reset catalog and hit ‘Enter’
Once successfully completed, a message ‘Winsock reset completed successfully’ will be displayed. - Finally, type netsh int ip reset command to reset your system’s IP address
- Try reconnecting to your Wireless network again and note the Wi-Fi signal strength and connection.
Finally, Scan for Viruses / Malware
If all else fails, perform a thorough/deep virus scan using a robust Antivirus / Anti-malware program to clean up any viruses, trojans, rootkit and other malware that may be hiding in your system resulting in the Windows store 0X80072EE7 Error Code.
Summing Up
With the the outlined solutions, it’s our hope that you have been able to solve your Windows Store Error. We welcome your findings, observations and any additional possible solutions in the comment section.