How are photos stored?
JPEG, GIF, PNG – these are all files that hold pictures through many units called pixels. A pixel is a very small square of a single color (you can always see them if you zoom in very close on a picture). When a large number of these pixels are arranged next to each other, a picture is formed.
The more pixels you have in a given area, the clearer your photo is. That is what we call high resolution. Higher resolution means more pixels means clearer photo. There is a trade-off, however: high resolution photos take up a lot more space on your disk.
Why would you need to resize your photos?
There are many possible reasons for this:
- You a have a lot of photos and you’re trying to save room on your computer’s hard drive.
- You’re trying to upload an image to a website but it has a limit on photo size.
- You’re sending a photo or photos to someone and it’s taking too long.
- You want to send photos in Gmail but they go over the 25MB attachment limit.
- You’re trying to fit photos into an SSD or USB stick.
And more…
How to do it
We will be explaining some methods, the first one uses Paint – which is available in Windows 10, and the second one uses a nifty online tool.
Method I: Using Microsoft Paint
Microsoft Paint has been a main Microsoft Windows component since the very beginning. Fortunately, it’s still available in Windows 10. Despite its simplicity and lack of features, Paint has a very efficient resizing tool. Here’s how to use it:
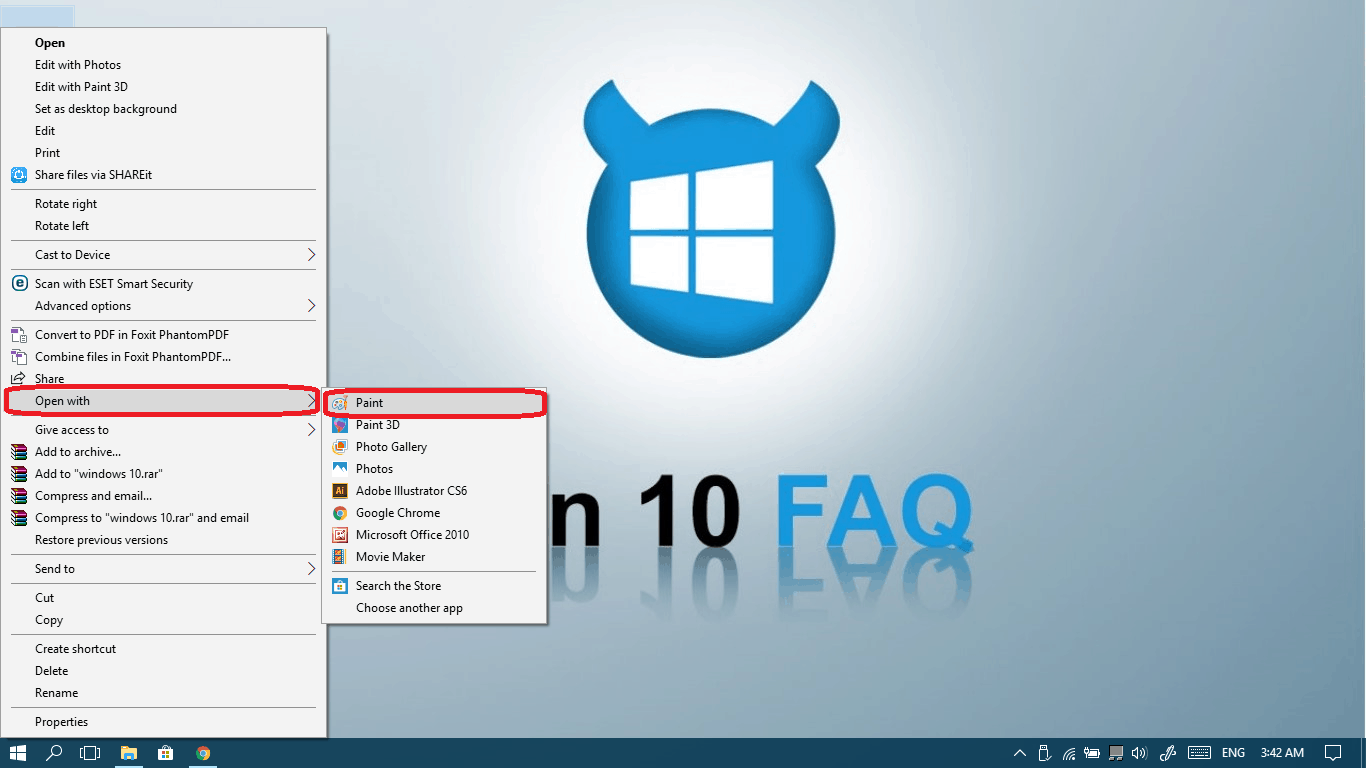
- Right-click on the photo you want to resize and select Open with > Paint.
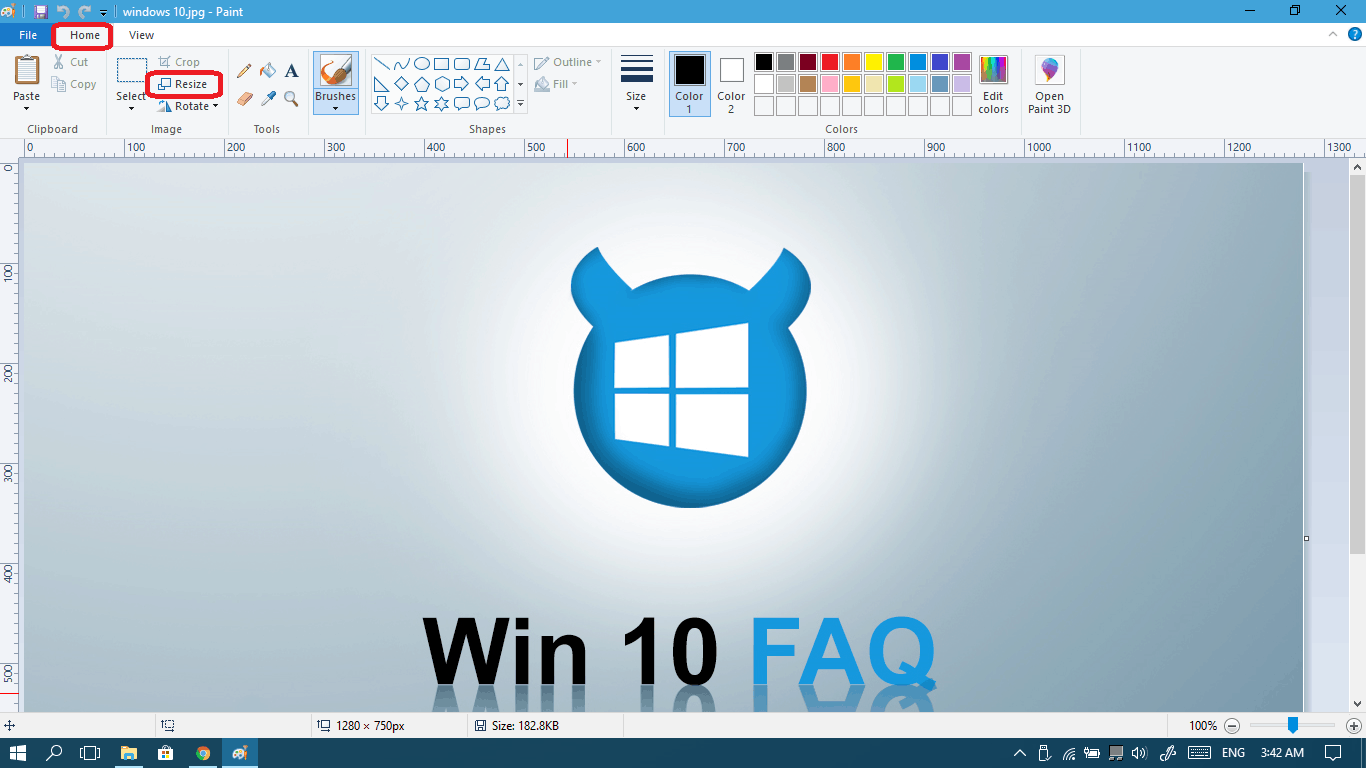
- Click on the Resize button in the Home tab.
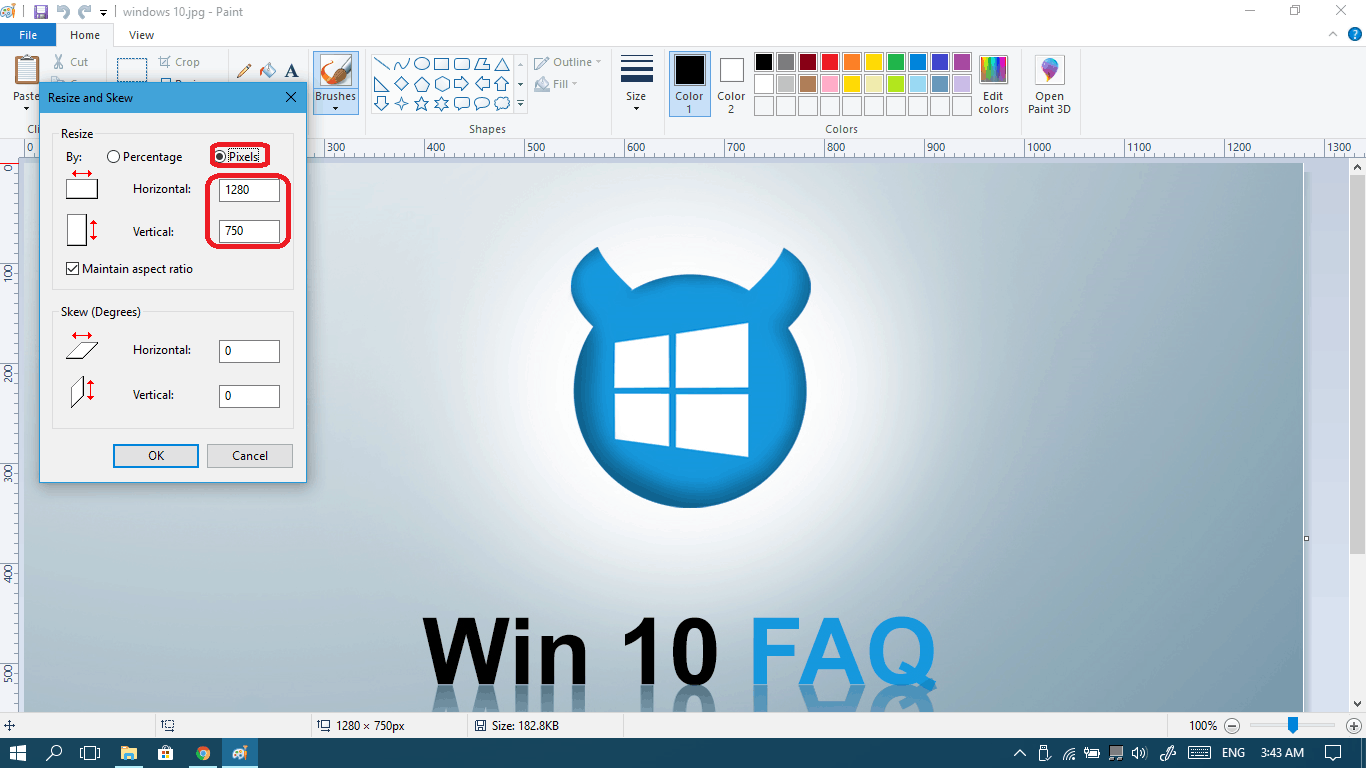
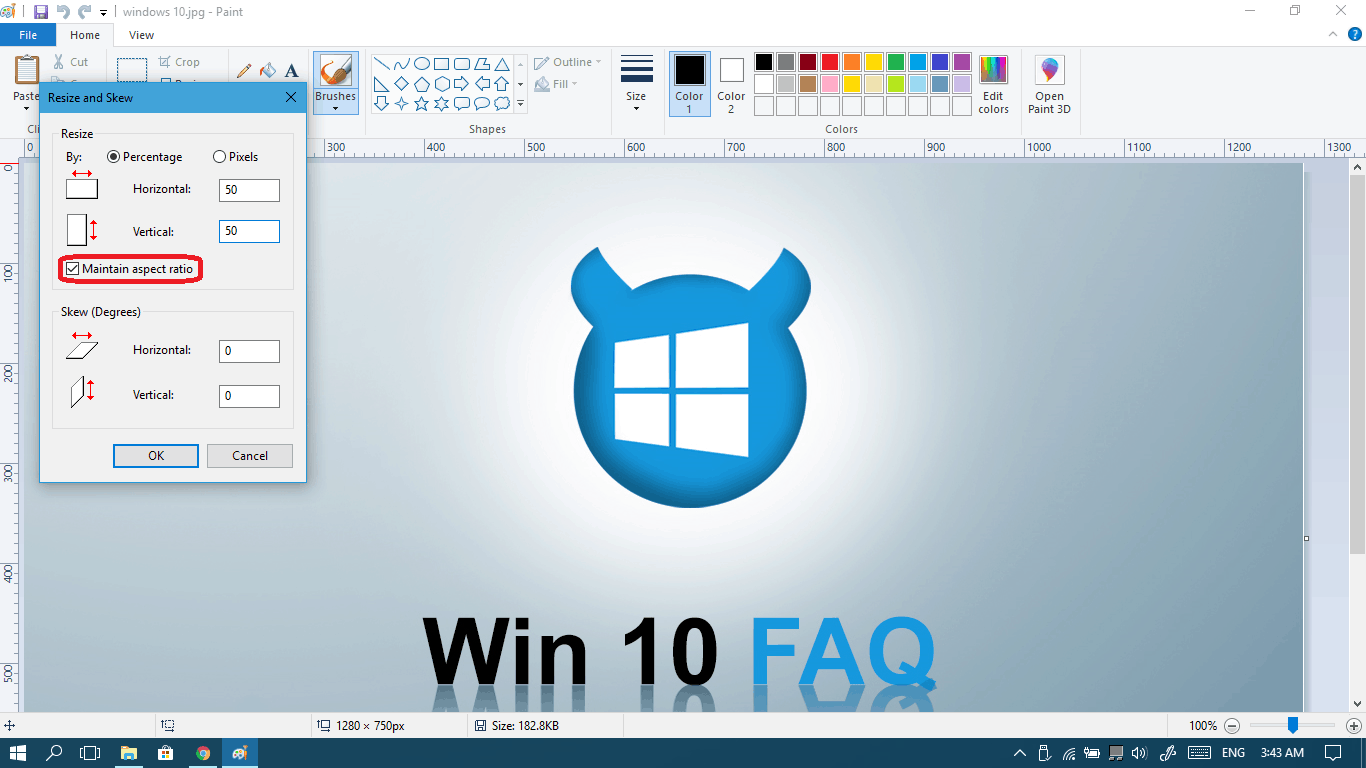
- In the dialog box, choose the settings that suit you, let’s begin with
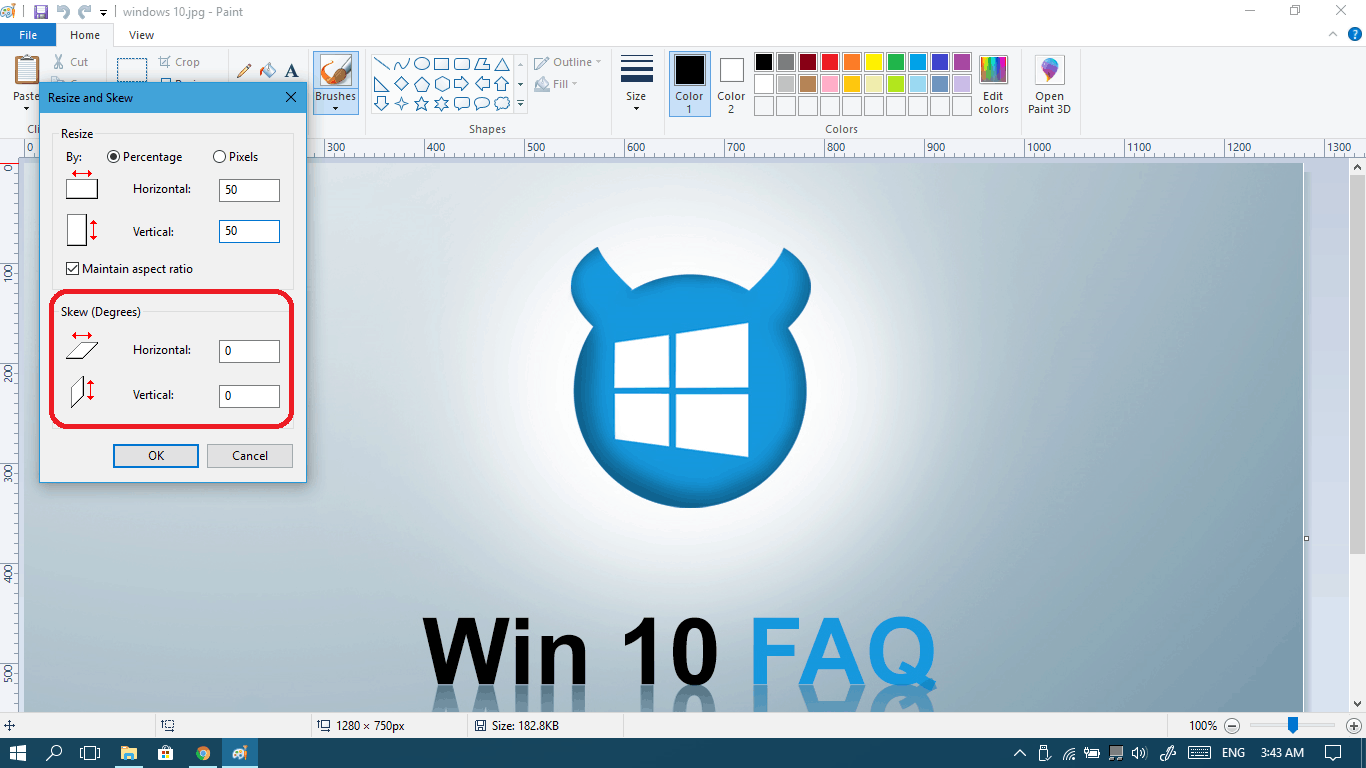
- Percentage will let you resize your image in a proportional way. We don’t recommend to resize your image below 50% for both Horizontal and vertical.

- Pixels will let you decide the exact number of pixels you want horizontally and vertically. It’s pretty useful if you want to adjust the photo to an exact resolution.
- In both methods, Skew makes you able to control a diagonal stretching/shrinking.
- Make sure you check the Maintain aspect ratio if you want to keep the same ration length x width.
- Finally click Ok and you will be able to see the final output right away.
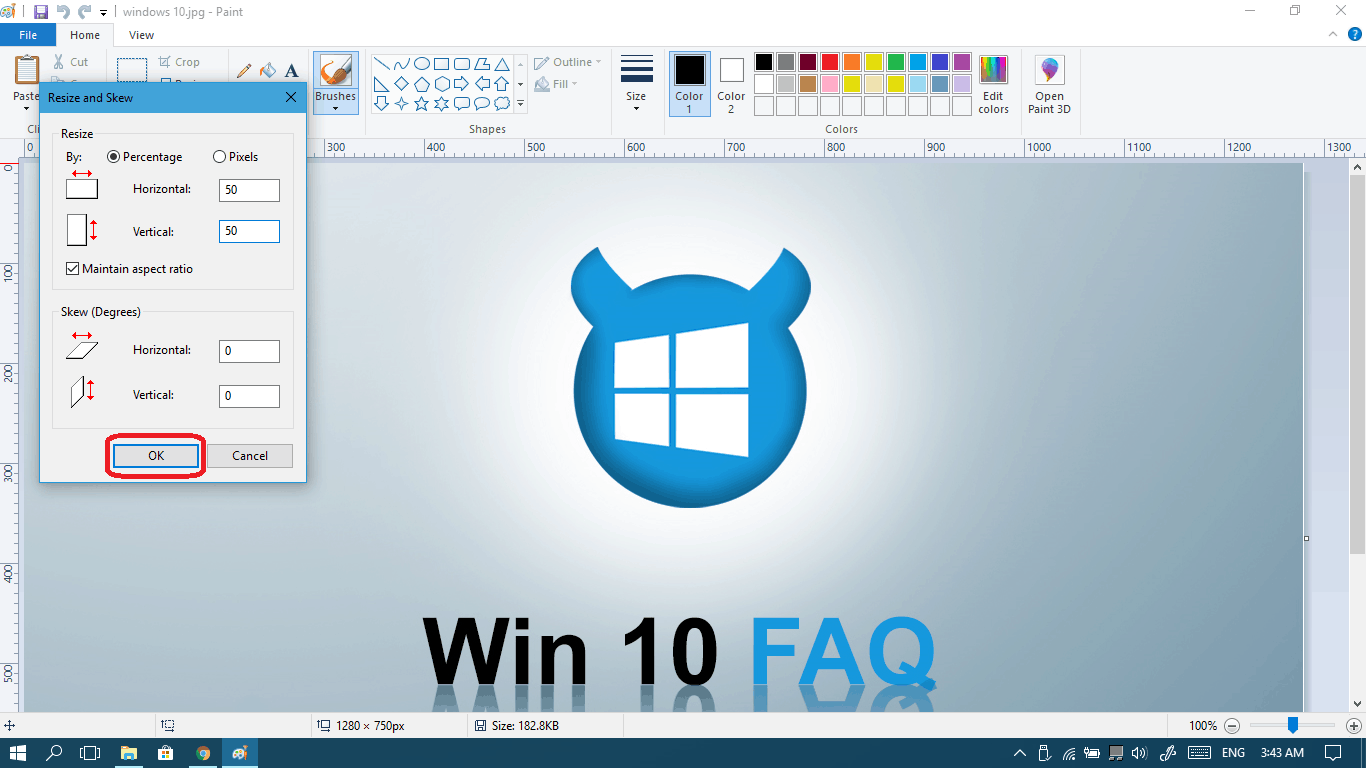
- Remember to use the Undo hotkey in case you didn’t like the changes you made: Ctrl + Z.
- Percentage will let you resize your image in a proportional way. We don’t recommend to resize your image below 50% for both Horizontal and vertical.
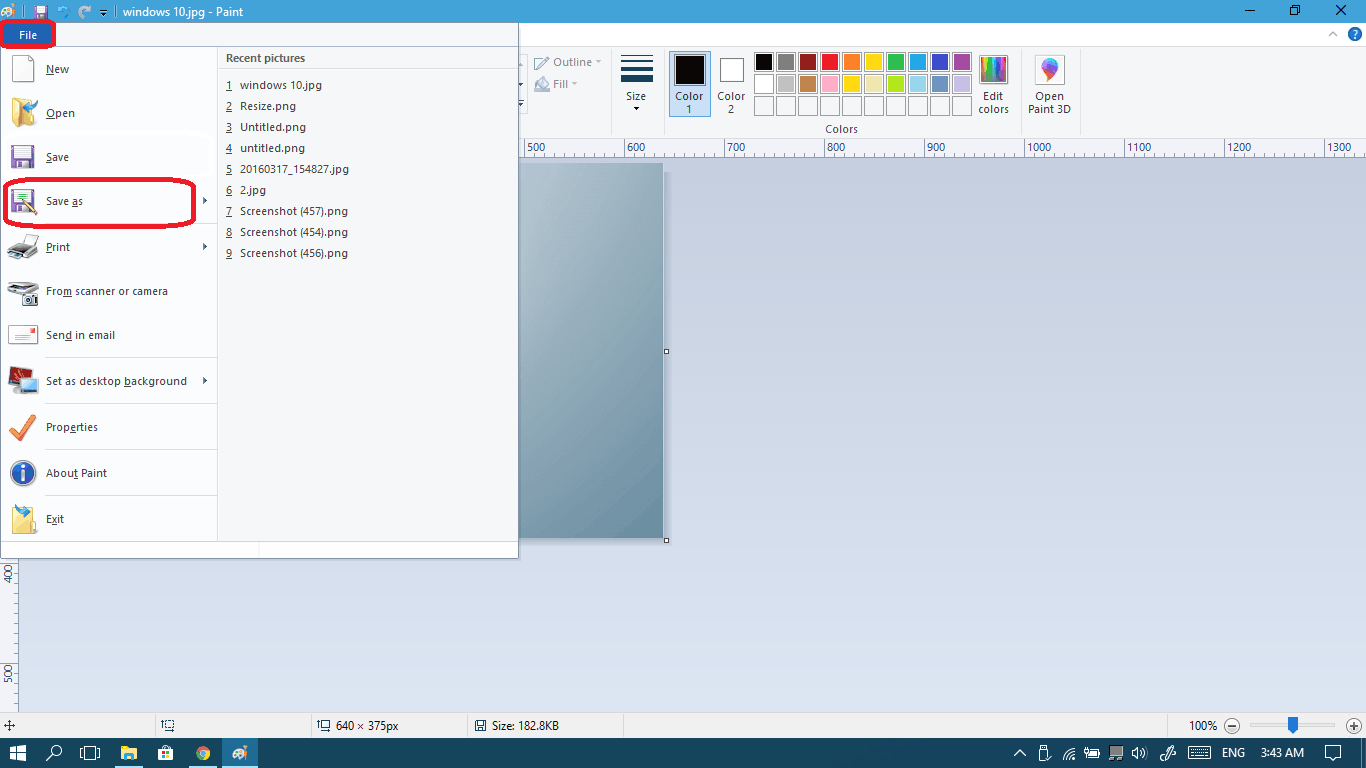
- If you want to replace the original photo with the one you modified, select Save from the File menu.

- If you want to save a modified copy while keeping the original one, select Save as from the File menu.
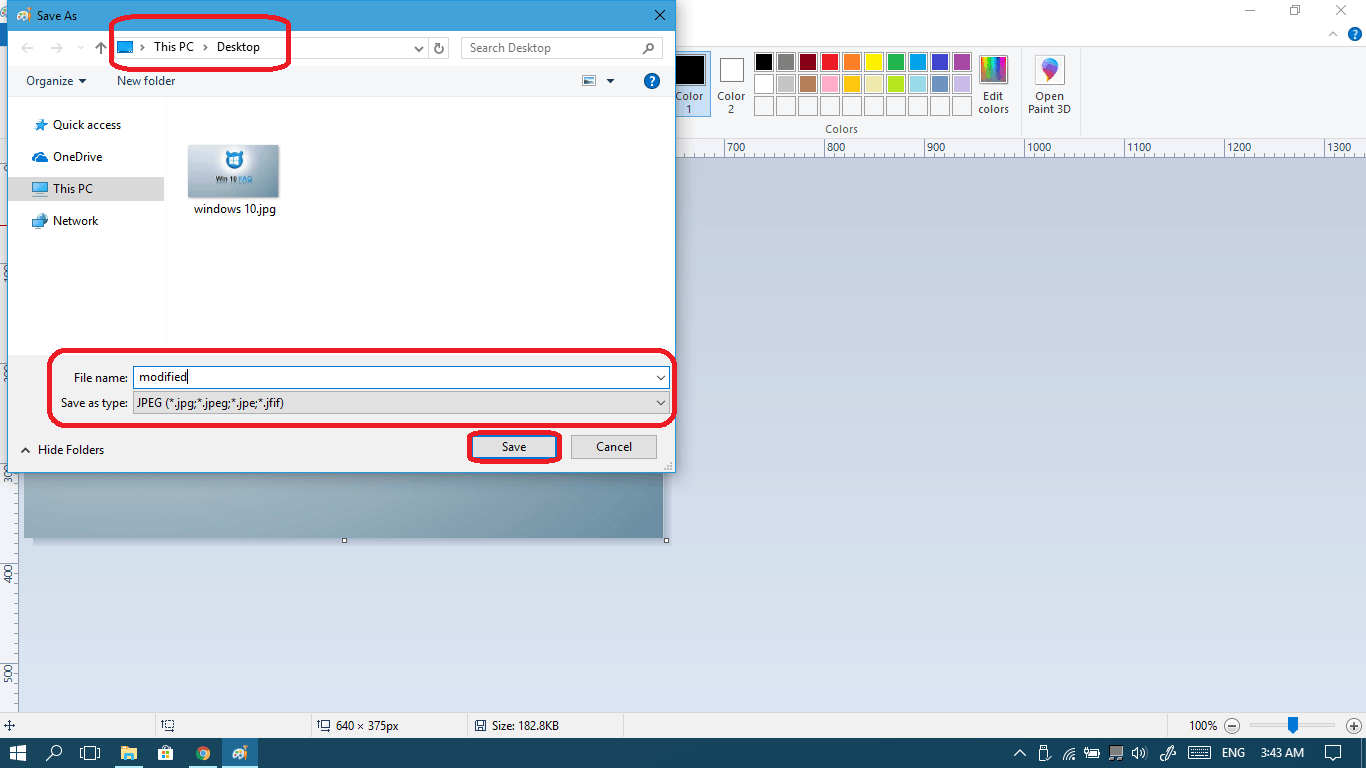
- Choose the location you want to save the new photo, rename the file, choose the type of the output photo and finally click Save.
Method II: Using the resizeimage website
Resizeimage is one of the easiest online tools for resizing photos.
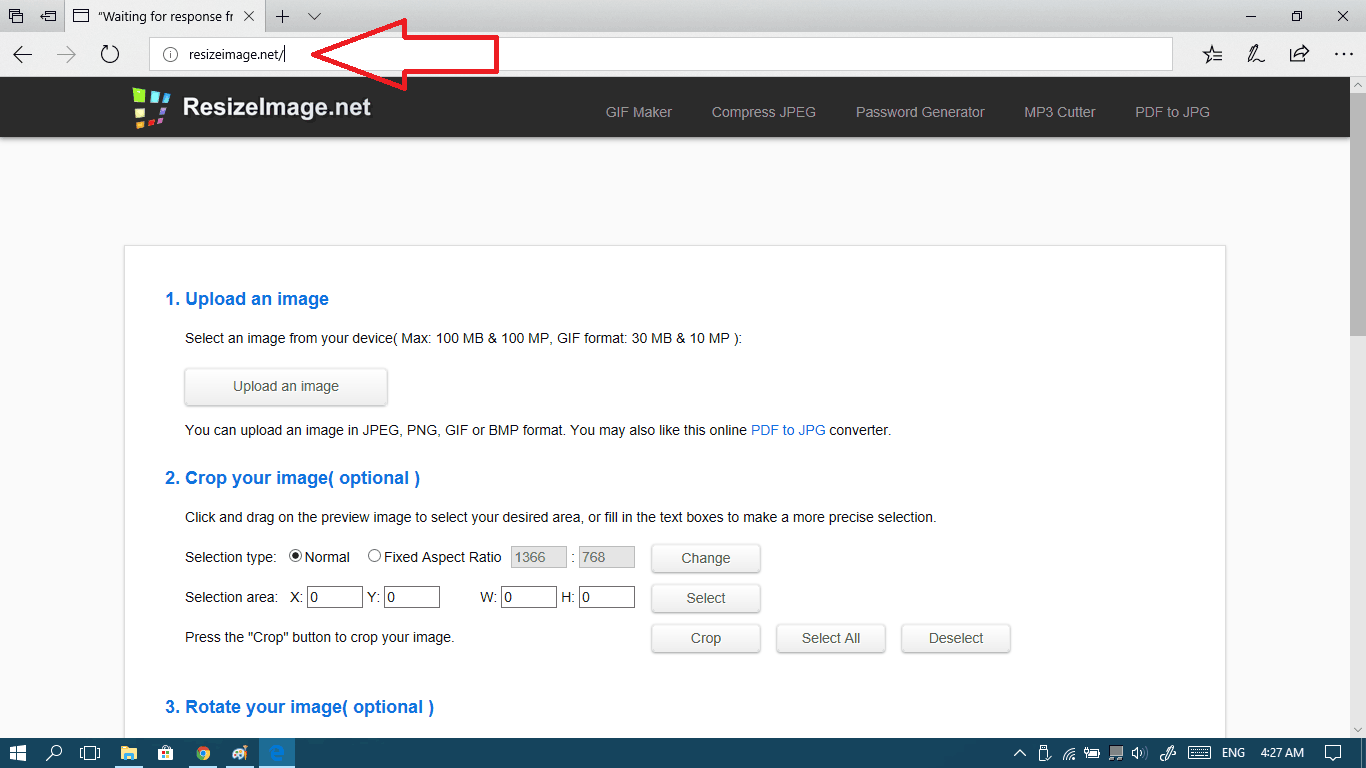
- Open your browser and go to www.resizeimage.net.
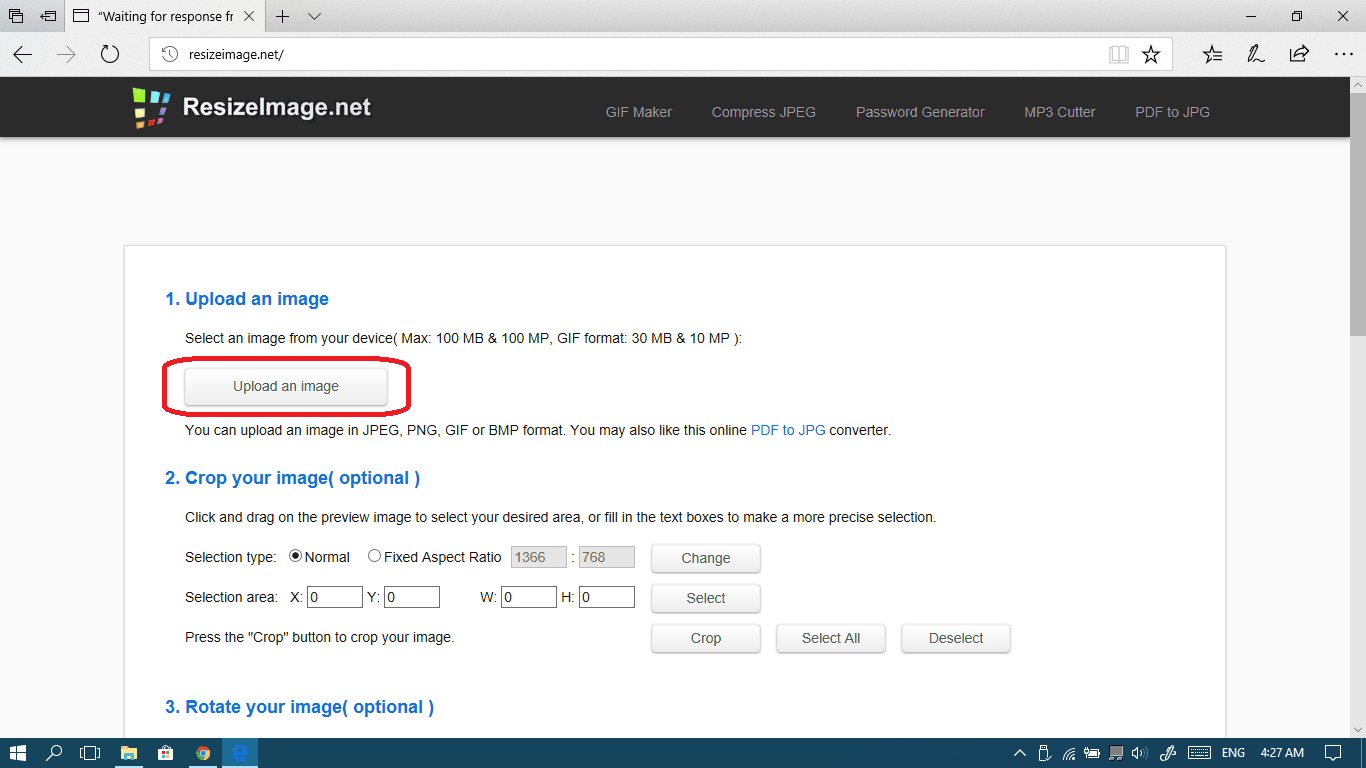
- Click on Upload an image.
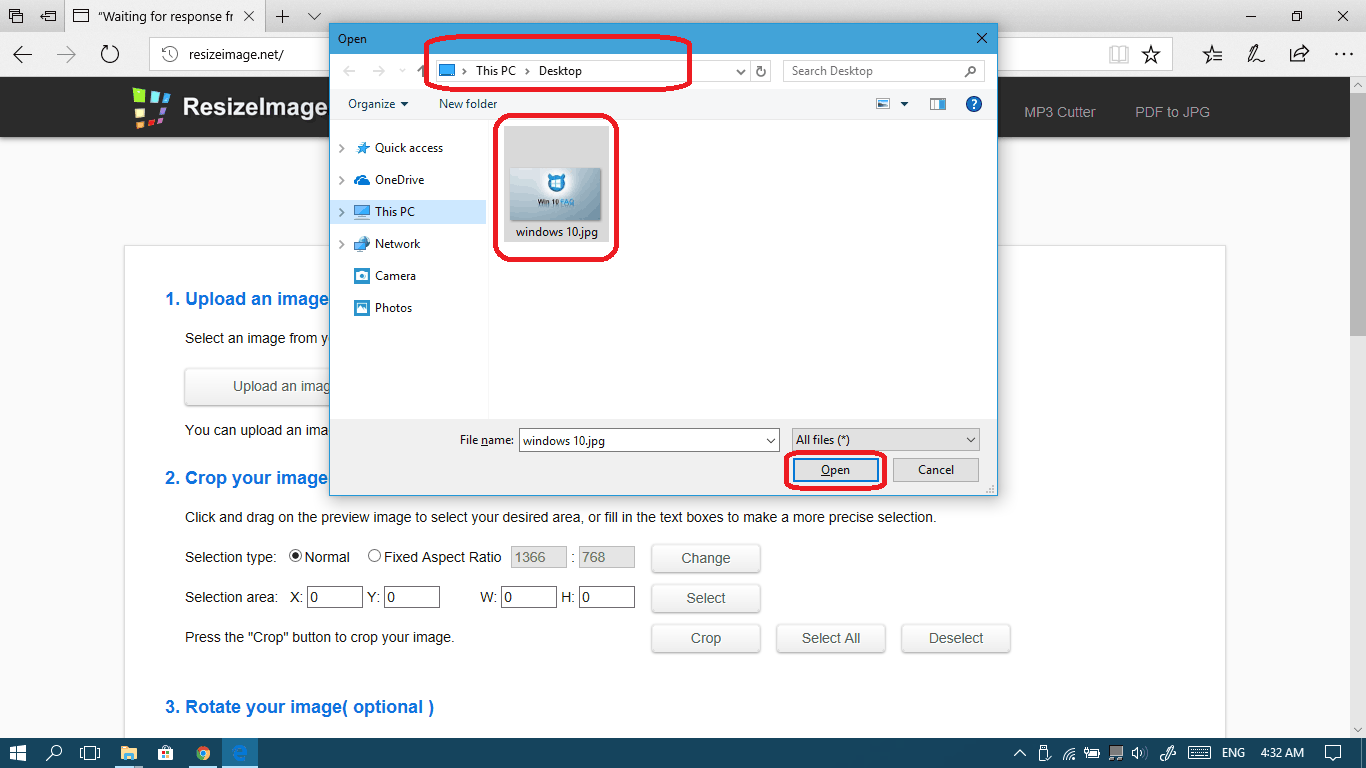
- Browse to the image you want to resize and then click Open.
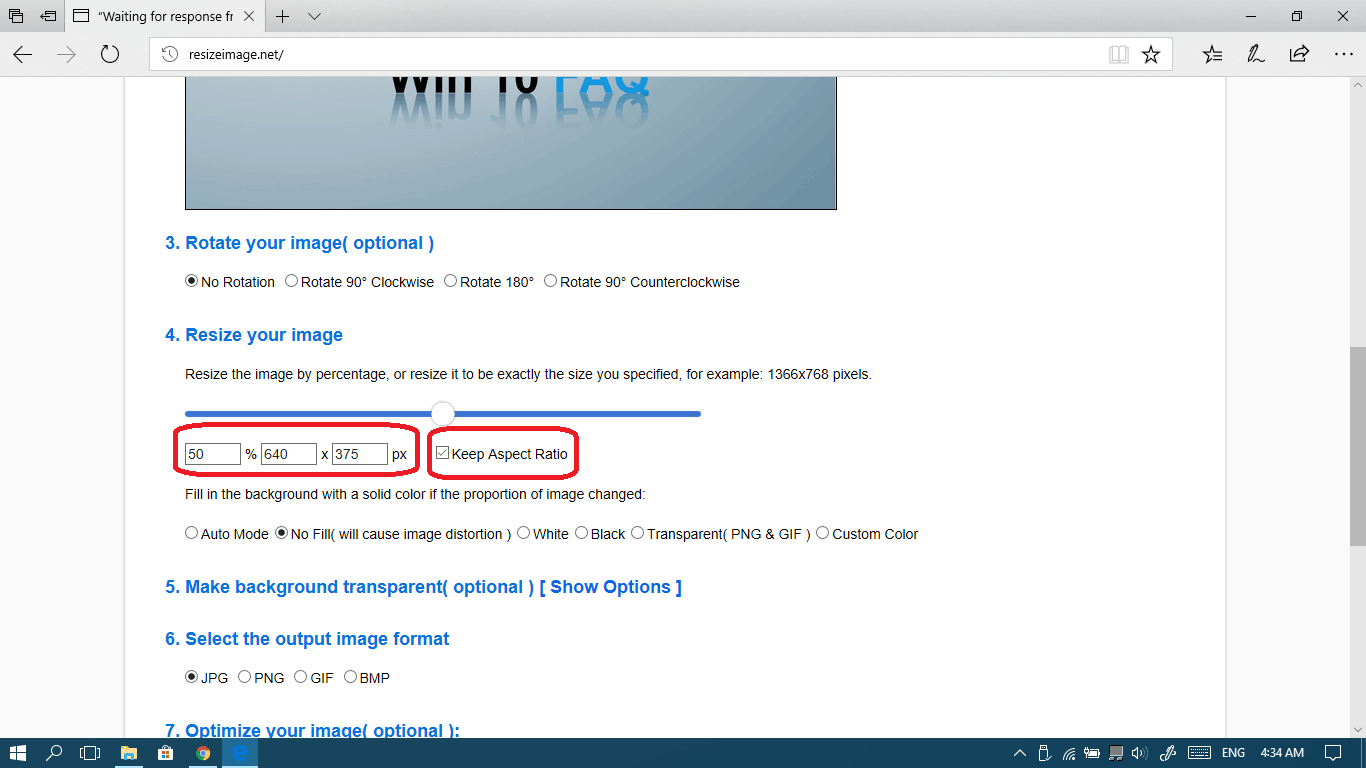
- Scroll down a little bit till you see the Resize your image section. You will find two options here: Percentage and Pixels. Percentage will let you resize your image in a proportional way. Pixels will let you decide the exact number of pixels you want horizontally and vertically. It’s pretty useful if you want to adjust the photo to an exact resolution.
- Usually you will want to option to keep aspect ratio. So that your photo doesn’t become distorted.
- Choose your background style (if you didn’t keep the aspect ratio):
- Auto mode will automatically one of the following methods depending on your image type.
- No fill will not add any background to the photo
- White and black options will give a solid colored background to fill the remaining area around your photo.
- The transparent background will be useful if your image is PNG or GIF so that no background can be detected around the item in the photo.
- And finally if you don’t want the White/Black limited options, you can choose your custom background color.
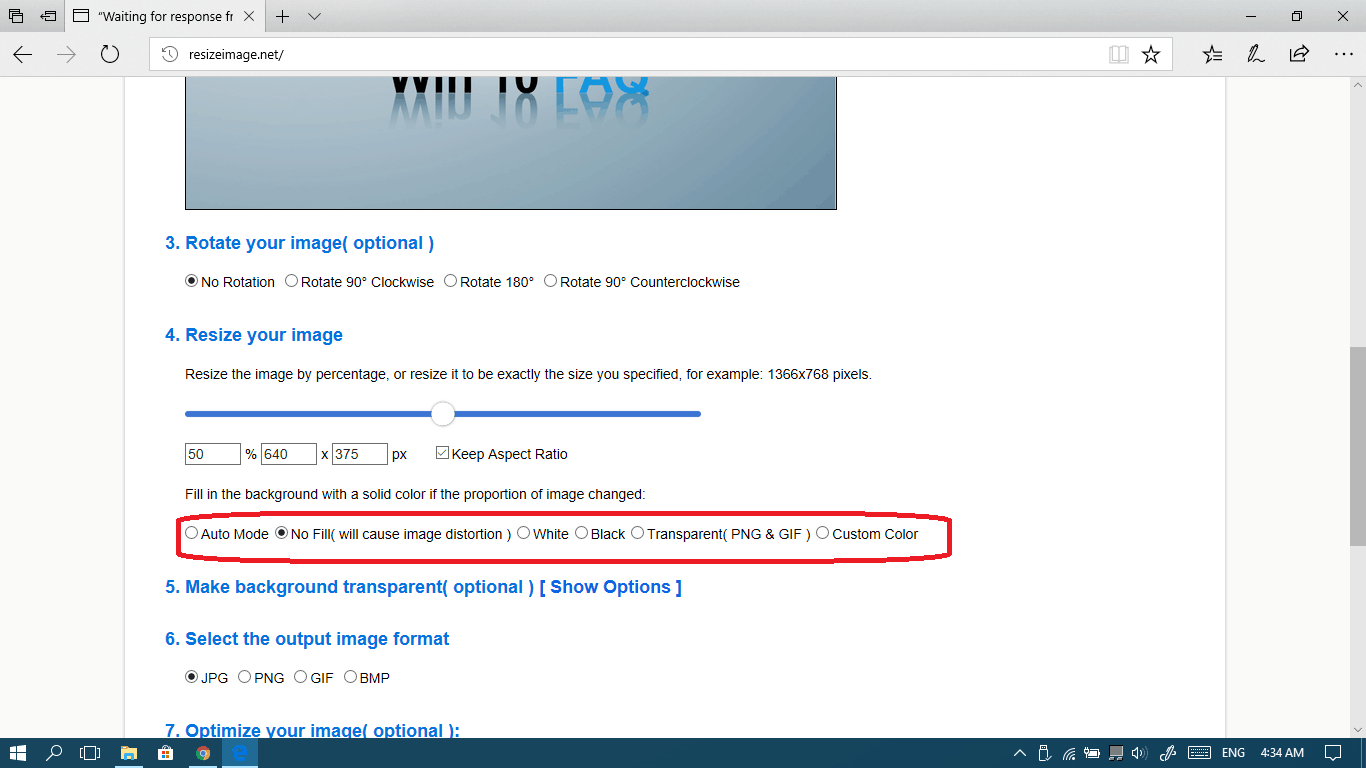
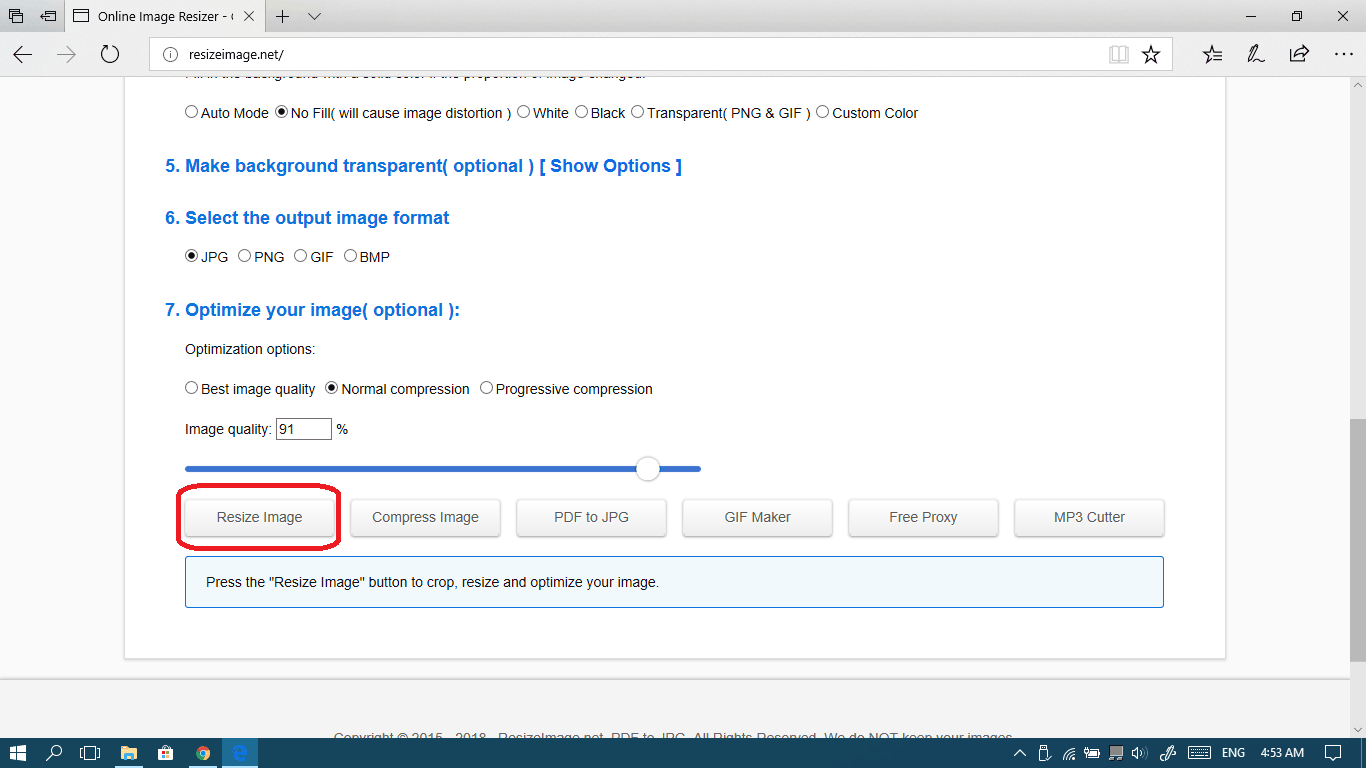
- Select the output format you want (JPG/PNG/GIF/BMP).

- In the Optimize your image section, you can choose any kind of compression for your image, this will affect the quality so if needed, we do recommend the Normal Compression. You can also control the quality using the slider or the percentage box.

- Once finished, click on Resize image to start applying the modifications you set.
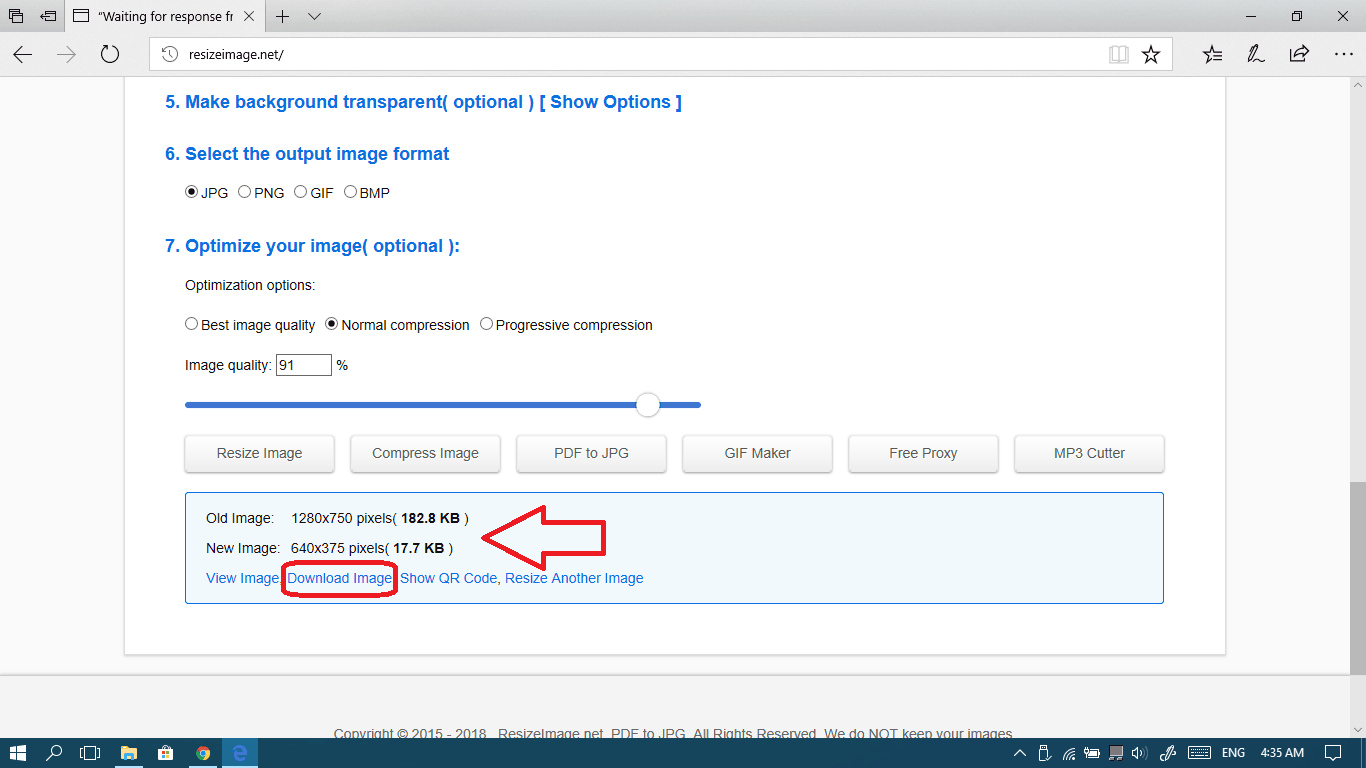
- Check the difference between the two version and then click Download image once done to save the output file to your local computer.
Frequently Asked Questions
What’s the best app for resizing photos?
As you can imagine, there are numerous photo resize apps available out there. Of course, a few of our favorite methods are the ones listed above, with some other notable additions being on the way, such as:
These are all of the web-based apps that our team uses constantly, and each one comes with upsides and downsides alike. Pick whichever one you fancy and test it out. More advanced users will probably enjoy the ones listed below, while the ones listed at the above part of the list are catered towards more beginner users. You can use different graphic logo designs as a test sample.
How do you resize an image and make it clear?
Contrary to popular belief, you can resize an image to shrink its resolution without it getting all that pixelated. TinyJpg is a favorite among our staff when it comes to this particular task, but there are also other full-fledged photo editors out there that can help you resize an image without losing quality.
Adobe Photoshop’s Perfect Resize
While Photoshop is mostly a professional tool, it does have quite a few options that are user-friendly for the general public. One such setting is Perfect Resize, which automates the resampling process with extreme ease of use. To use Perfect Resize, first, open the resize image in the application. Then click File, Automate, and select Perfect Resize.
Gimp’s Scale Feature
Gimp is similar to Photoshop, although a little limited in some aspects. However, it’s free. And for resizing, it’s just as good. Open an image through Gimp, then go to Image > Scale, and input your desired dimensions. Finally, choose Sinc as Interpolation under the Quality menu, and hit Scale.
Final Thoughts
There you have it, we hope you now understand how to resize an image, and, even more importantly, how to resize it without losing quality.
Since I downloaded the changes to Windows 10, I have not been able to list on ebay as a seller. I get a message that says “Gallery URL has ”.” I am not very literate when it comes to pictures, I assume it means that the picture size has been changed. How do I know if it is it was before. How can I change it on all my pictures at one time?
I don’t have time to resize all pictures individually. There are some listings where I post 5 or more pictures, but always at least three. Should I just delete the new download? Would that change everything back?
In my first comment the message says – Gallery URL has ”. This is how I typed it , why did it get changed”
This is not what I typed. I typed Galery URL has ”. which means greater than or lesser than in the small quotes. Why is this changed from what I typed. three times now?