What is it?
This code generally happens when someone tries to install a program that was designed for an older windows operating system on Windows 10 or 11 EX: Windows XP, Vista ETC.
Below is the official statement from Microsoft.com
This problem may occur if a file that the Windows Product Activation (WPA) requires is damaged or missing. This behavior occurs if one or both of the following conditions are true:
- A third-party backup utility or an antivirus program interferes with the installation of Windows XP.
- A file that WPA requires is manually modified.
How to fix error 0x8004005?
5 easy ways.
Use the windows update troubleshooter
The first consideration should be to use the update troubleshooter. The troubleshooter should fix the 0x8004005 error. This should be your first option as it is the easiest to do and windows basically will fix itself.
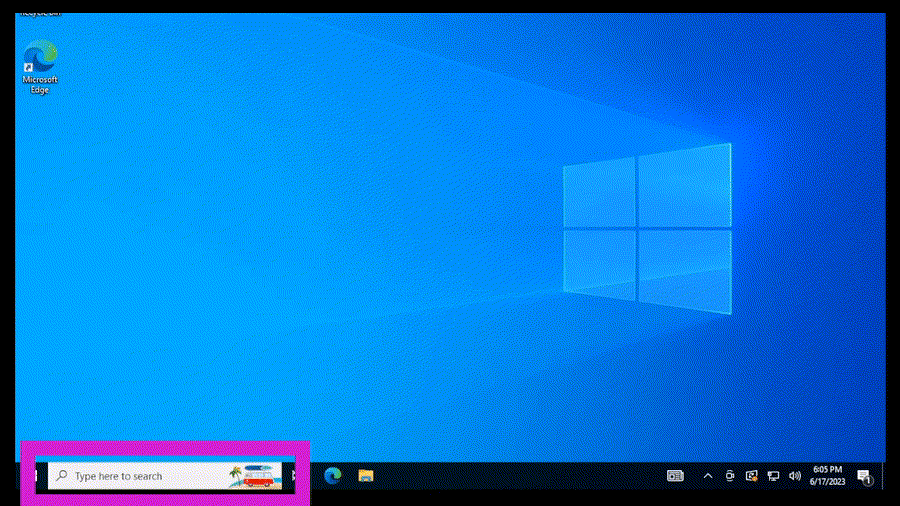
- Click the bottom search bar
- Type “Troubleshoot”
- Click “Troubleshoot other problems”
- Click “Run the troubleshooter” within the Windows Update box
- You will probably have to click “next” to allow Windows update to run.
- Last you can close the troubleshooter and restart.
Start in clean boot
Sometimes a clean boot is all you need to fix error 0x8004005. Booting in safe mode will disable a lot of the normally startup procedures and could help diagnose what program was actually causing the error. A clean boot is very customizable and you may run several different types. I am showing a “minimal safe boot that will disable almost all processes and programs for the reboot. Follow this steps to do a “Clean boot”.
- Click the bottom search bar
- Type msconfig
- Select “System Configuration”
- Uncheck “Load Startup Items”
- Click the boot tab
- Click “Safe mode” and leave Minimal selected.
- Select the Services tab
- Click “Disable all”
- Click “OK”
- Finally click “restart”
Check drivers
Not having the correct drivers for Windows can also cause error 0x8004005. This is a super simple check. If you don’t have any drivers that are causing errors or need to be updated then you wont need to download and install anything. However this is a good way to see if your drivers are causing the 0x8004005 issue. Use these steps to check:
- Click the bottom Windows Search bar.
- Type “View optional updates”
- Select the “View optional updates” box that pops up.
- If a drop down menu appears with optional updates. Select those updates and click “download and install.”
Run a SFC scan
The SFC scan checks the integrity of system files and attempts to repair any issues it finds. This can be particularly useful if system files have been corrupted by malware, a failed update, or other problems.
Here’s how to use the System File Checker tool:
- Open the Command Prompt as an administrator. To do this, type
cmdin the Windows search bar, then right-click on ‘Command Prompt’ and select ‘Run as administrator’. - In the Command Prompt window, type the following command and press Enter:bash

- The System File Checker will start scanning your system. This process can take some time, so it’s best to be patient.
- Once the scan is complete, you will receive one of the following messages:
- Windows Resource Protection did not find any integrity violations (No issues were found).
- Windows Resource Protection found corrupt files and successfully repaired them (The issues were found and fixed).
- Windows Resource Protection found corrupt files but was unable to fix some of them (Not all issues could be fixed).
In the case where not all files could be fixed, you can consult the CBS.log file to see which files remain corrupted. Sometimes further steps, such as performing a repair install or using the DISM tool (Deployment Image Servicing and Management), may be necessary to resolve the issues.
Note that you should always ensure you have a backup of your important data before performing system scans and repairs, as there is a small risk that the repair process could cause data loss or system instability.
Windows system restore
Performing a System Restore in Windows 10 or 11 is a way to revert your computer’s system files, installed applications, Windows Registry, and system settings to a previous state. If you have tried the other options listed in this article to fix error 0x8004005 you may just want to restore your windows to a time before you were getting that error.
Before proceeding with a System Restore, it’s wise to back up any important files and data, as changes made after the restore point you select will be undone.
Here are the steps to perform a System Restore in Windows 10 or 11:
- Type ‘Create a restore point’ in the Windows Search Bar:
- Type “create a restore point” into the Windows search bar and click on the corresponding result.
- Open the System Restore Tool:
- This will open the “System Properties” window. Under the “System Protection” tab, you will find the “System Restore…” button. Click on it.
- Start the System Restore Wizard:
- Clicking the “System Restore…” button will start the System Restore Wizard. Click “Next” to proceed.
- Select a Restore Point:
- You will be presented with a list of available restore points. Choose a restore point that was created before you began experiencing issues. You can also check the box that says “Show more restore points” if you want to see older restore points.
- If you are uncertain about what changes were made during each restore point, you can click the “Scan for affected programs” button to see what programs and drivers will be deleted or restored.
- Confirm and Start the Restore Process:
- Once you have selected a restore point, click “Next”, and then click “Finish” to start the restore process.
- You will receive a final warning that System Restore cannot be interrupted once it starts. Click “Yes” to confirm and begin the restoration process.
- Wait for the Restoration Process to Complete:
- Your computer will reboot and the restoration process will begin. This may take some time to complete.
- Check the Results:
- Once your system boots up again, you will see a message informing you whether the System Restore was successful or not. If it was successful, check to see if the issues you were experiencing have been resolved.
Remember that System Restore is not a backup solution for your personal files, it only affects system files and settings. If you need to recover personal files, you should look into file backup solutions or data recovery methods.