What is Cortana?
Cortana is the personal assistant for Windows 10. According to Microsoft, Cortana is able to:
- Give you reminders based on time, places, or people.
- Track packages, teams, interests, and flights.
- Send emails and texts.
- Manage your calendar and keep you up to date.
- Create and manage lists.
- Chit chat and play games.
- Find facts, files, places, and info.
- Open any app on your system.
This is how it looks like: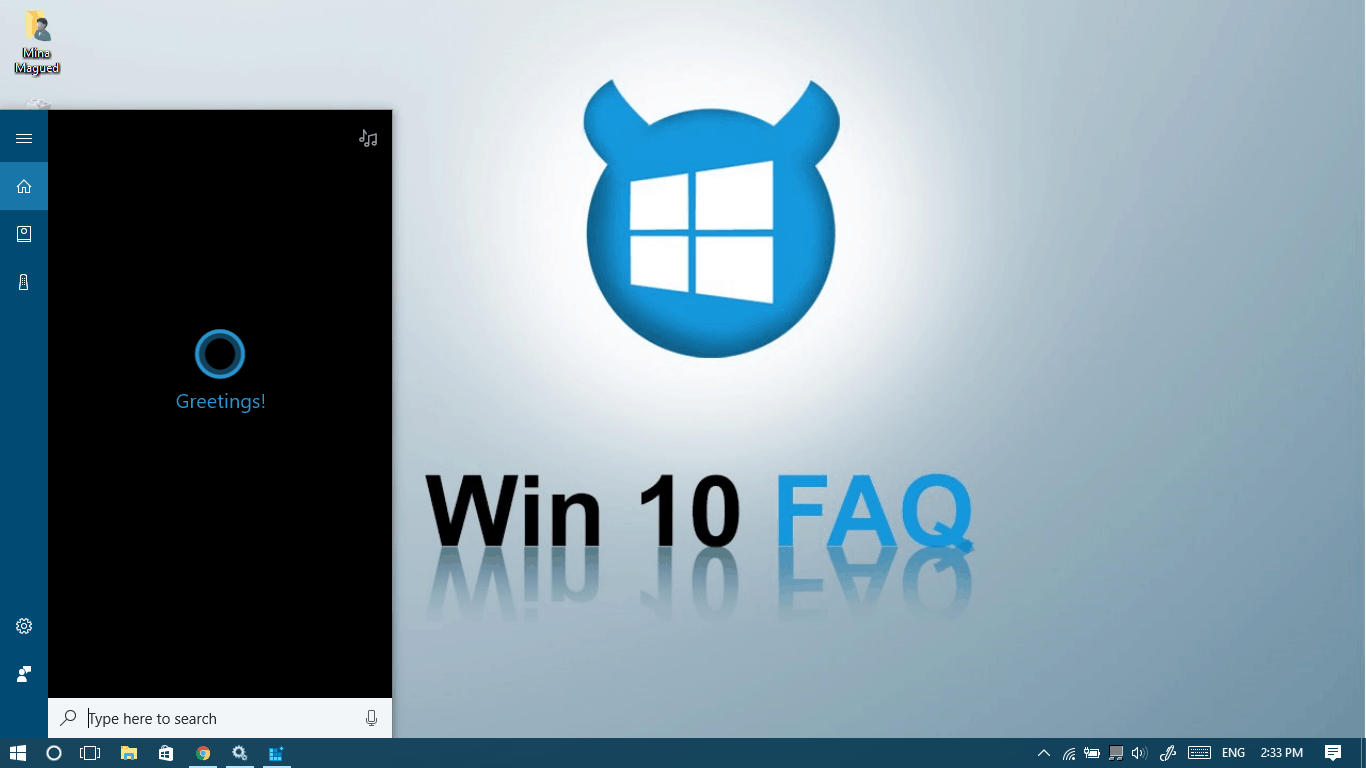
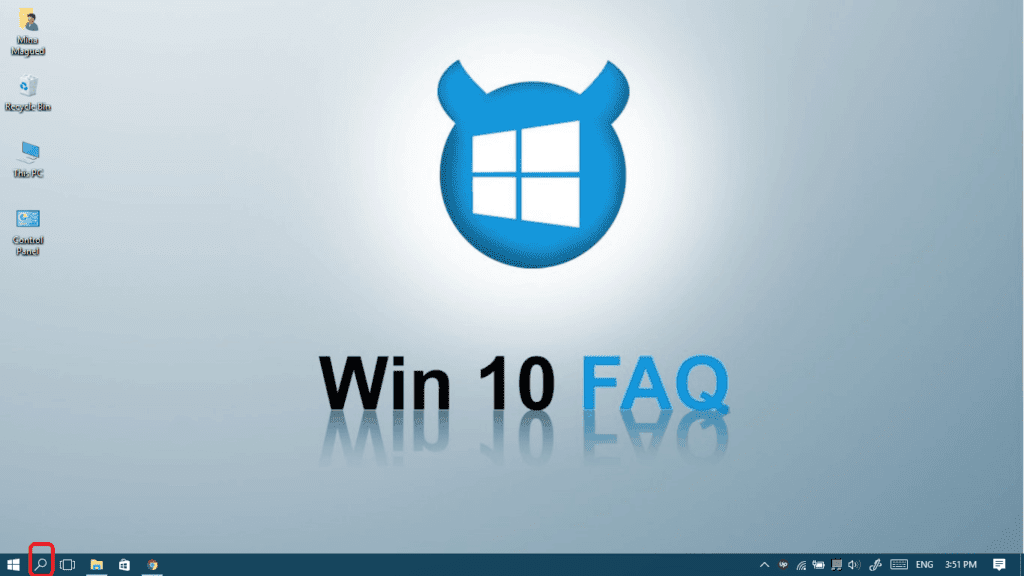
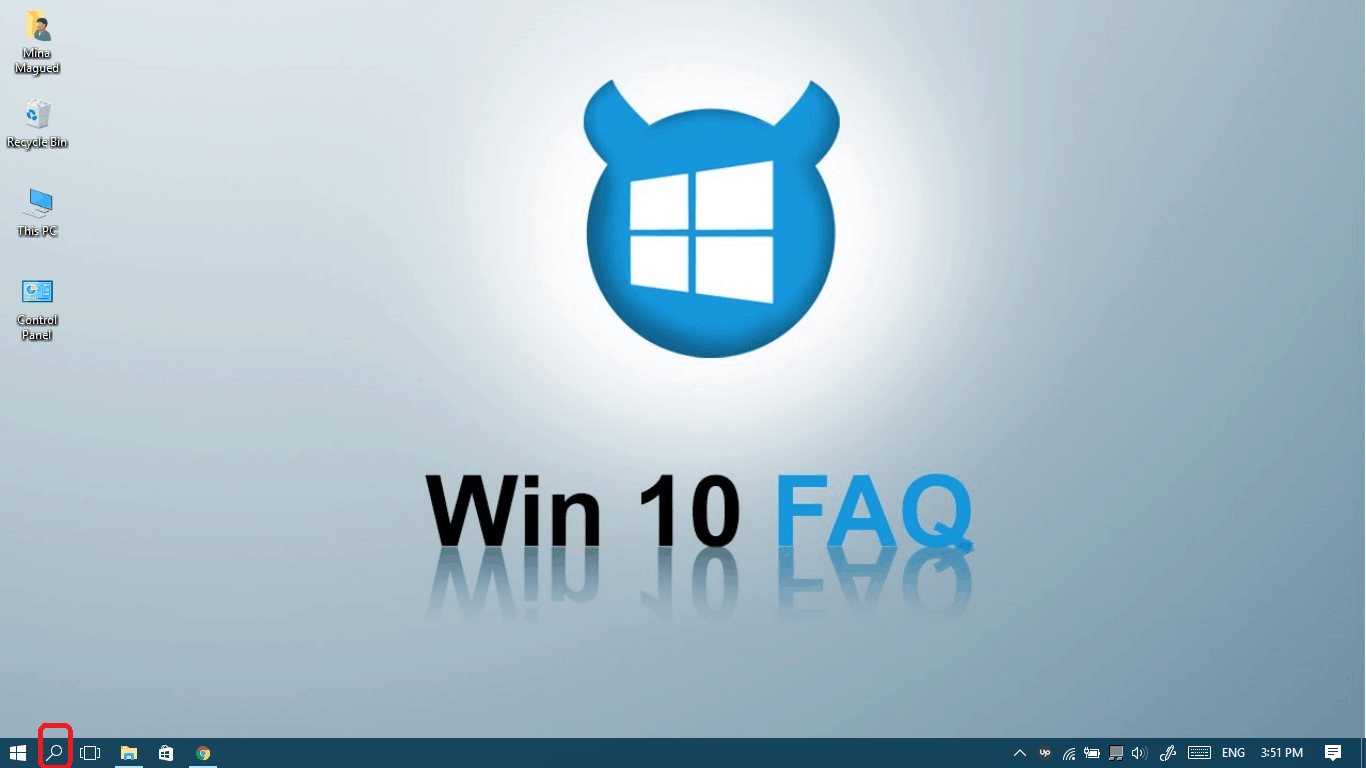
However, sometimes we like to disable Cortana completely for many reasons: some of us don’t use it and love to have the search bar ready for typical research processes. Some others don’t like to get their personal data collected by Microsoft: Microsoft permits Cortana to collect data from your browsing history, files, usage data, apps and also your microphone! The user can control some of these permissions one by one but the it’s better to completely disable Cortana – which I assume is why you are here – so that it looks like this (just the typical search panel):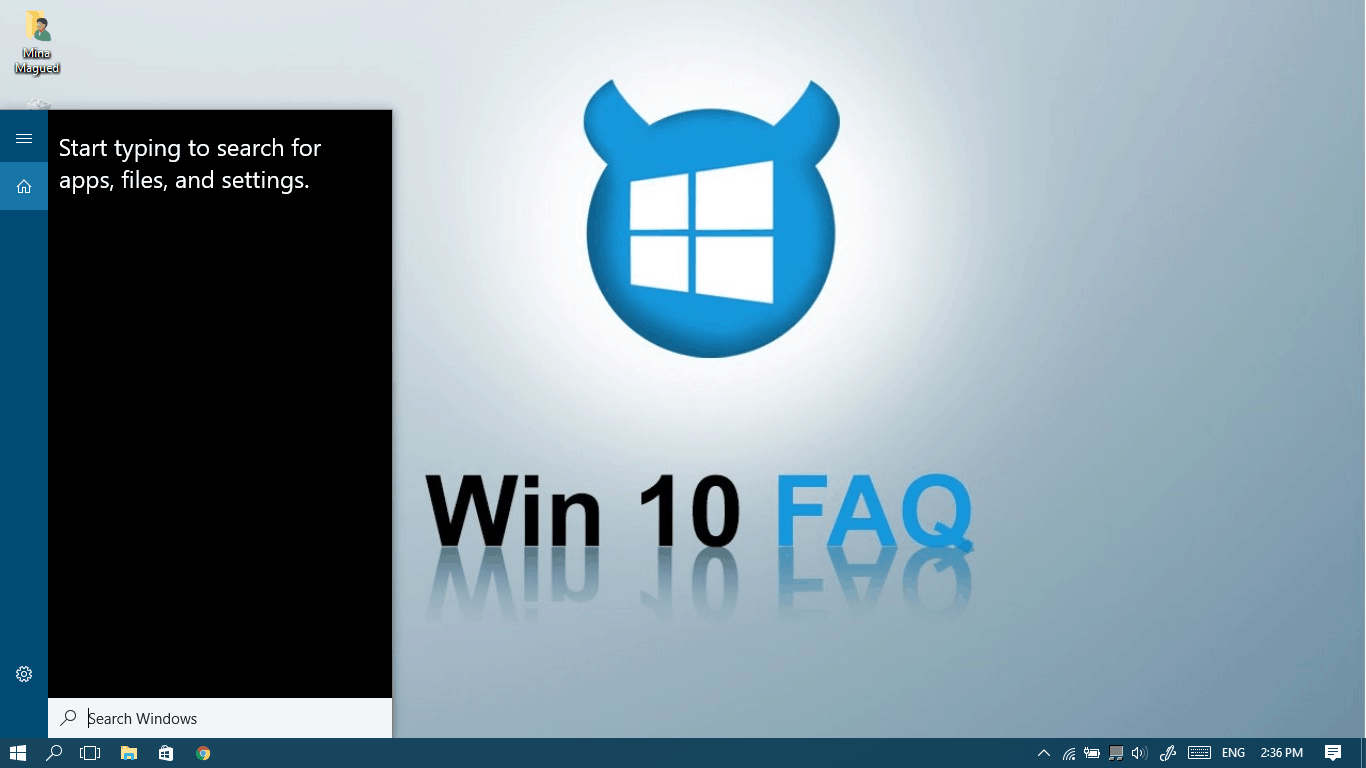
How to disable Cortana completely?
There are different steps according to what kind of Windows 10 you have. If you are using Windows 10 Home you need to follow these steps.
If you are using Windows 10 Pro or Windows 10 Enterprise, you need to follow these steps.
For Home users:
If you’re not used to Registry editor and a little scared to mess things up, then it’s always better to back it up. Read this article to learn how to backup and restore your Windows Registry (it will open in a new tab).
All backed up? Let’s do it:
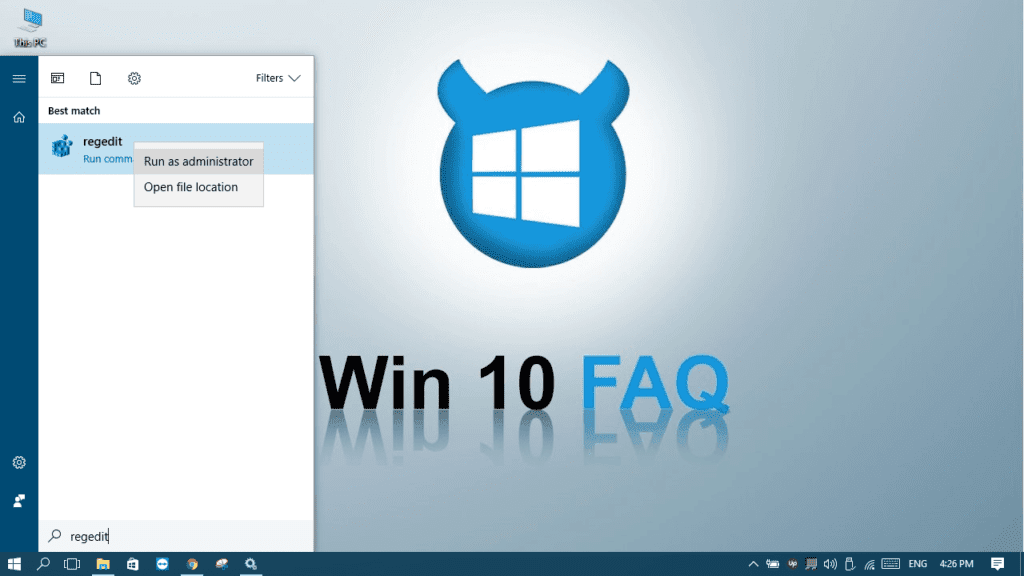
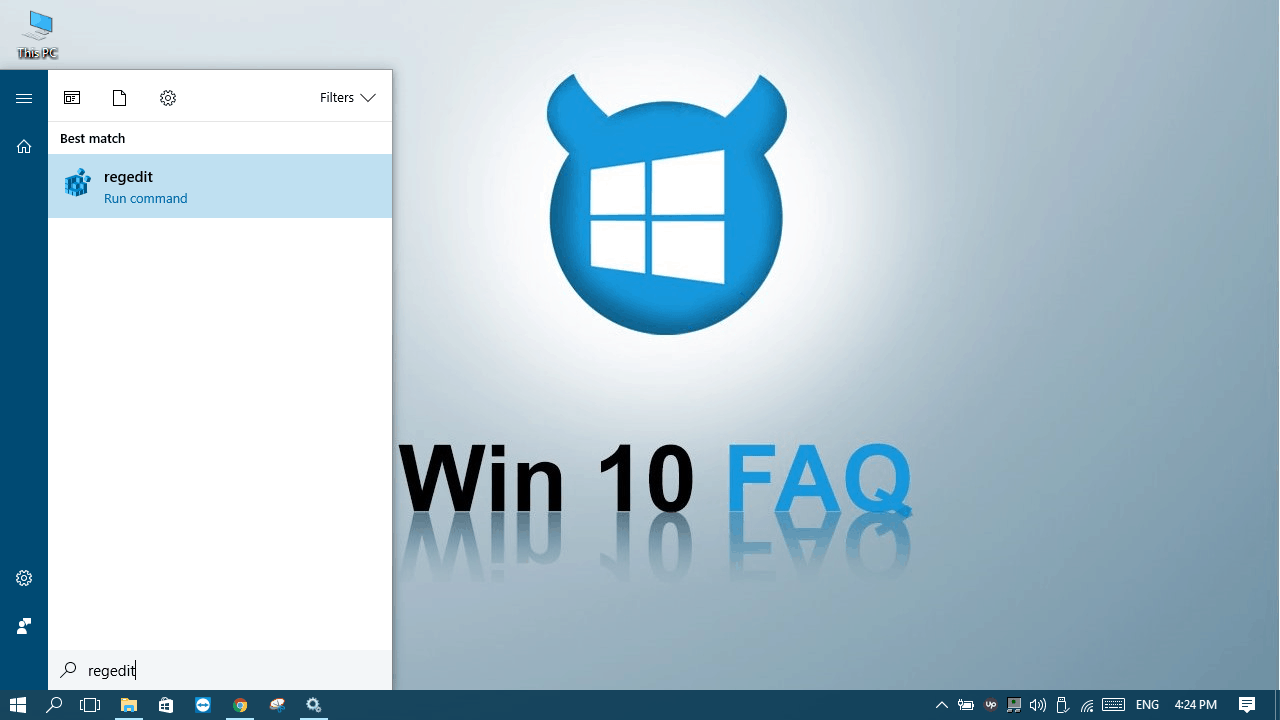
- Open Start Menu and type Regedit.

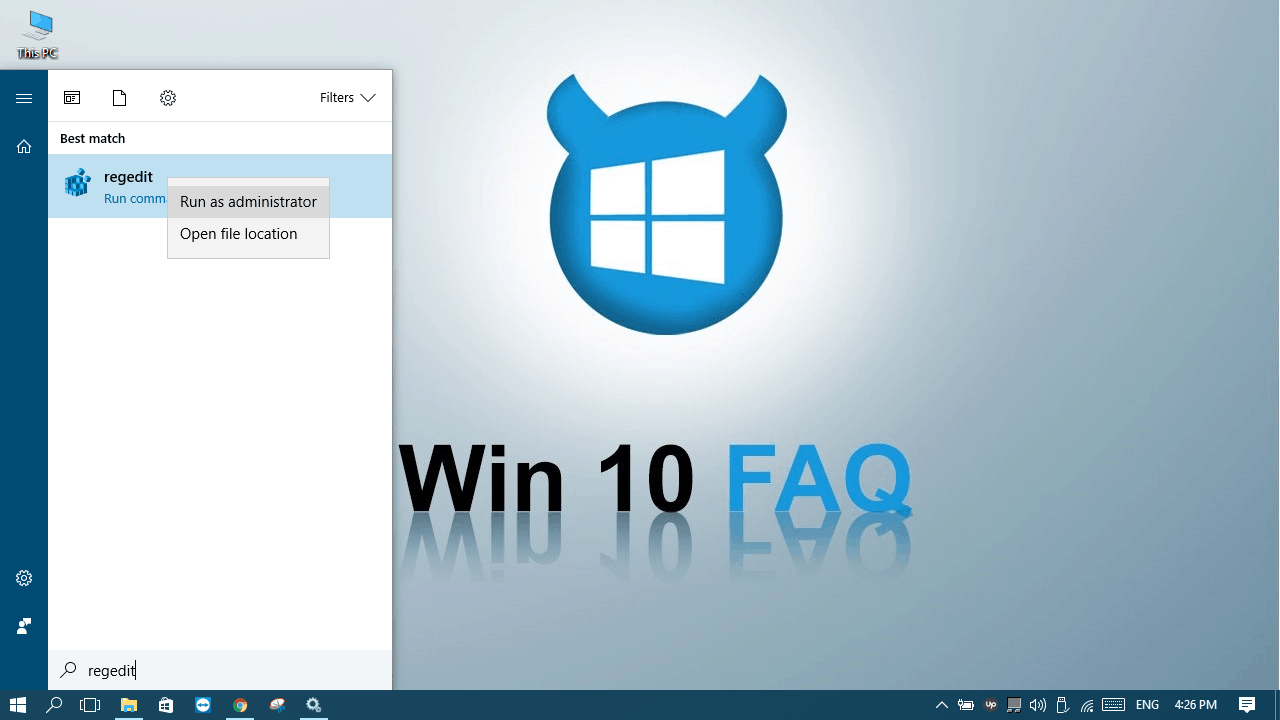
- Right-click on Regedit and select Run as administrator.
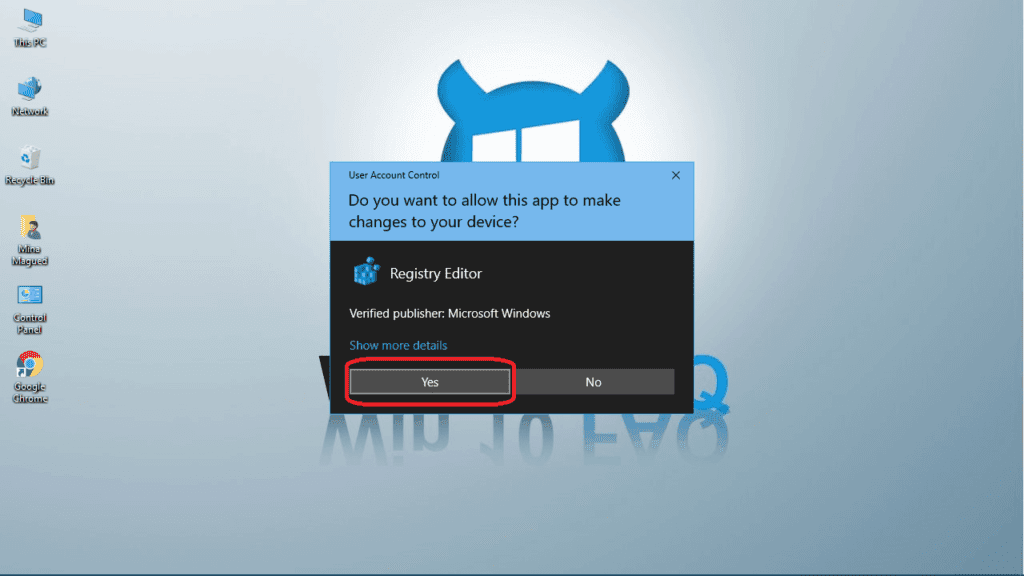
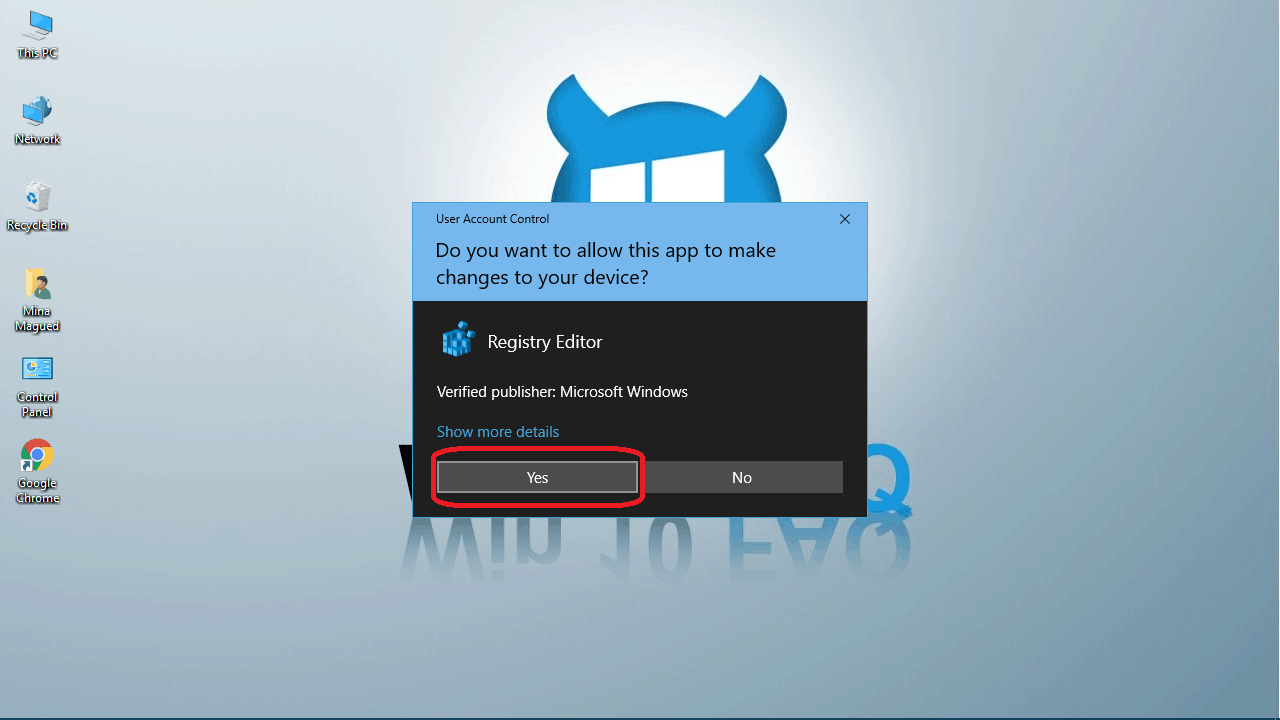
- Click Yes to allow the app to make changes to your device.
- In the left pane, go to HKEY_LOCAL_MACHINE\SOFTWARE\Policies\Microsoft\Windows\Windows Search . (You can copy and paste it in the top bar)
(If you can’t find the Windows Search folder follow the next step to create it.)
- Right-click on the Windows folder and select New then Key (which means folder in this case) and name it “Windows Search”.
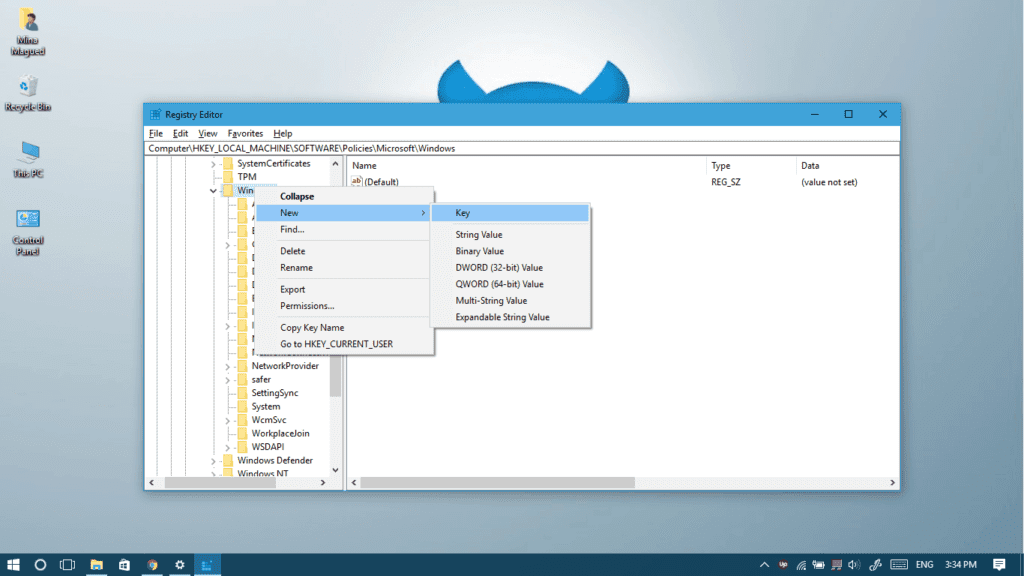
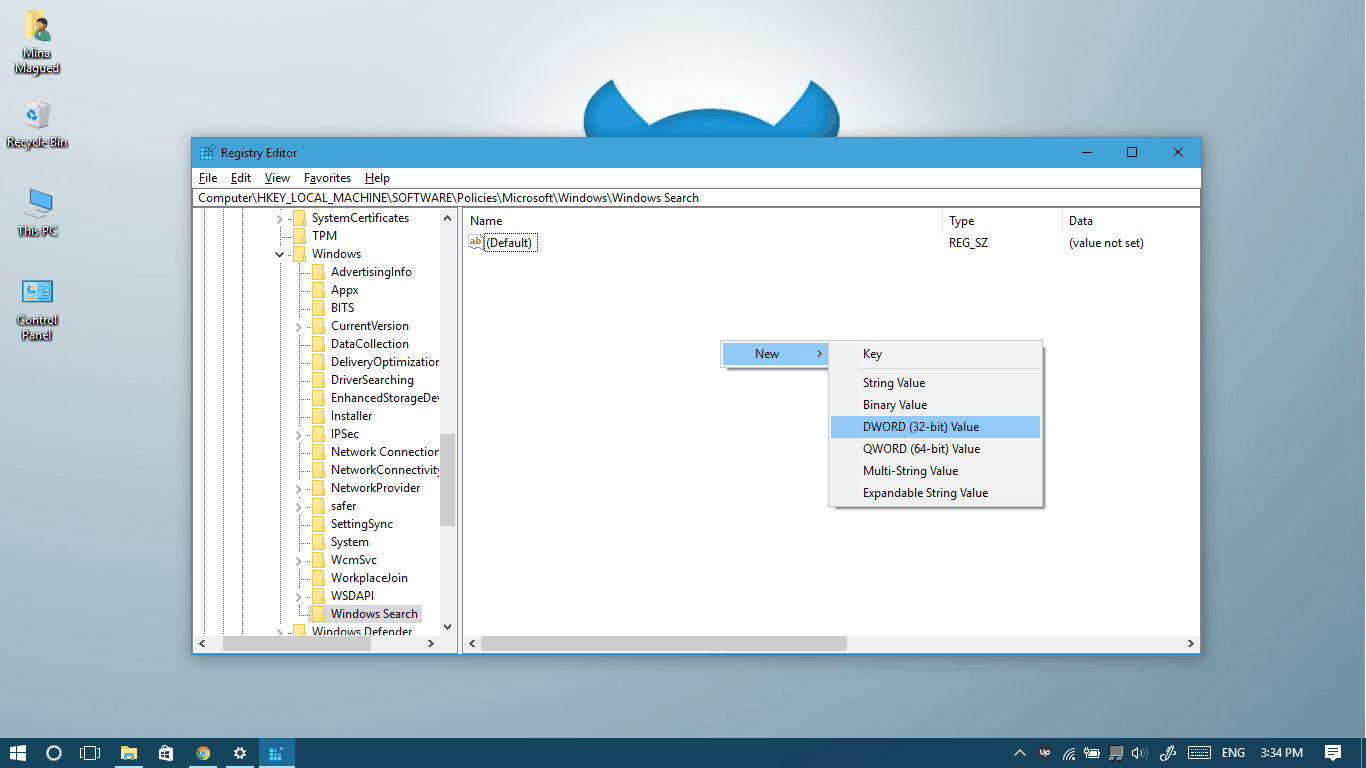
- Now in the Windows Search you created or found, right-click in any blank area and select New then DWORD (32-bit) Value.

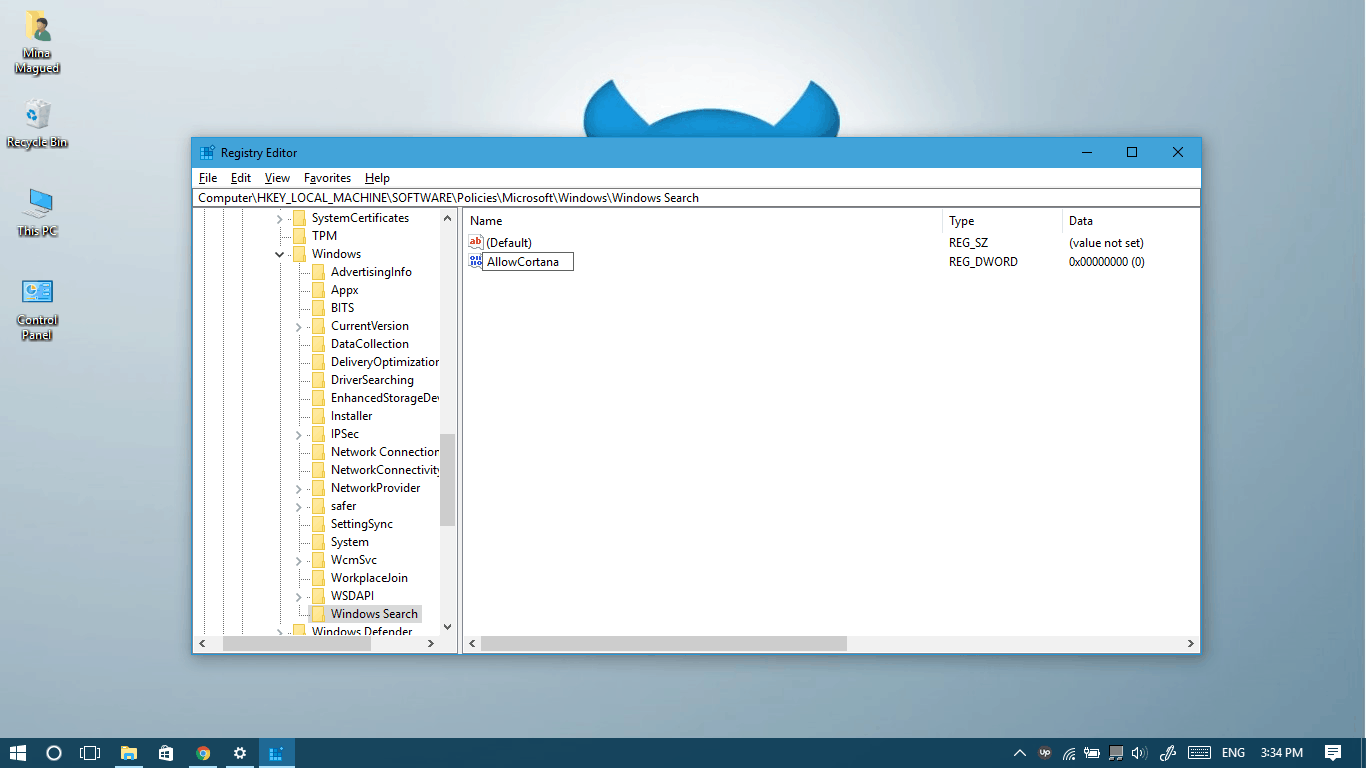
- Name it “AllowCortana” and press Enter.
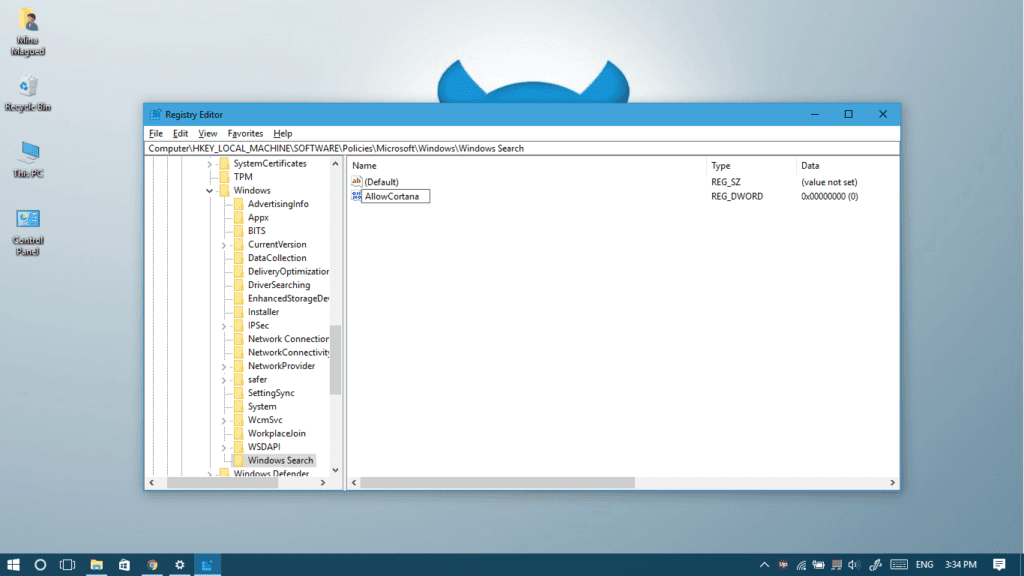
- Now, double-click on AllowCortana to change its value, set it to “0”.
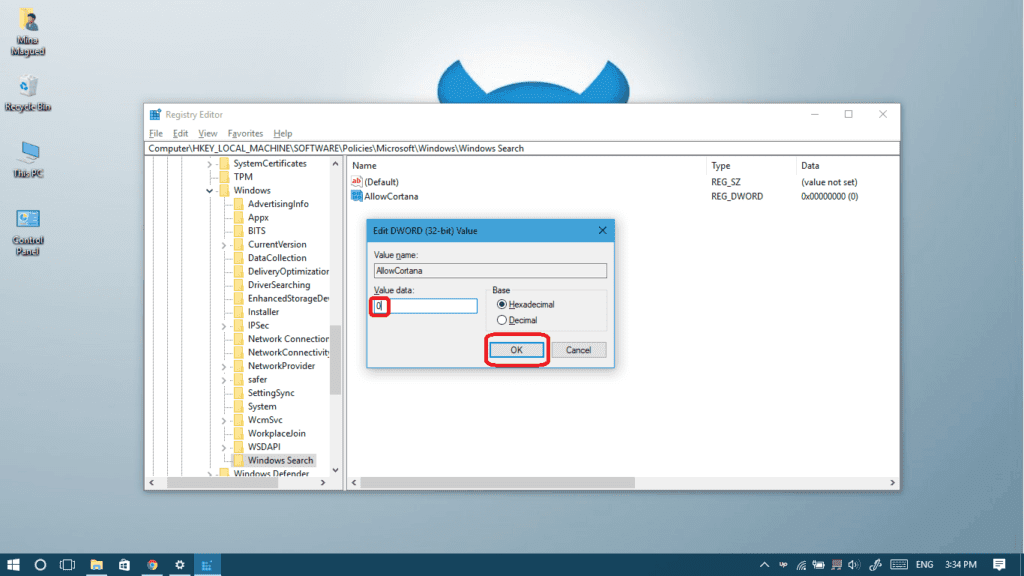

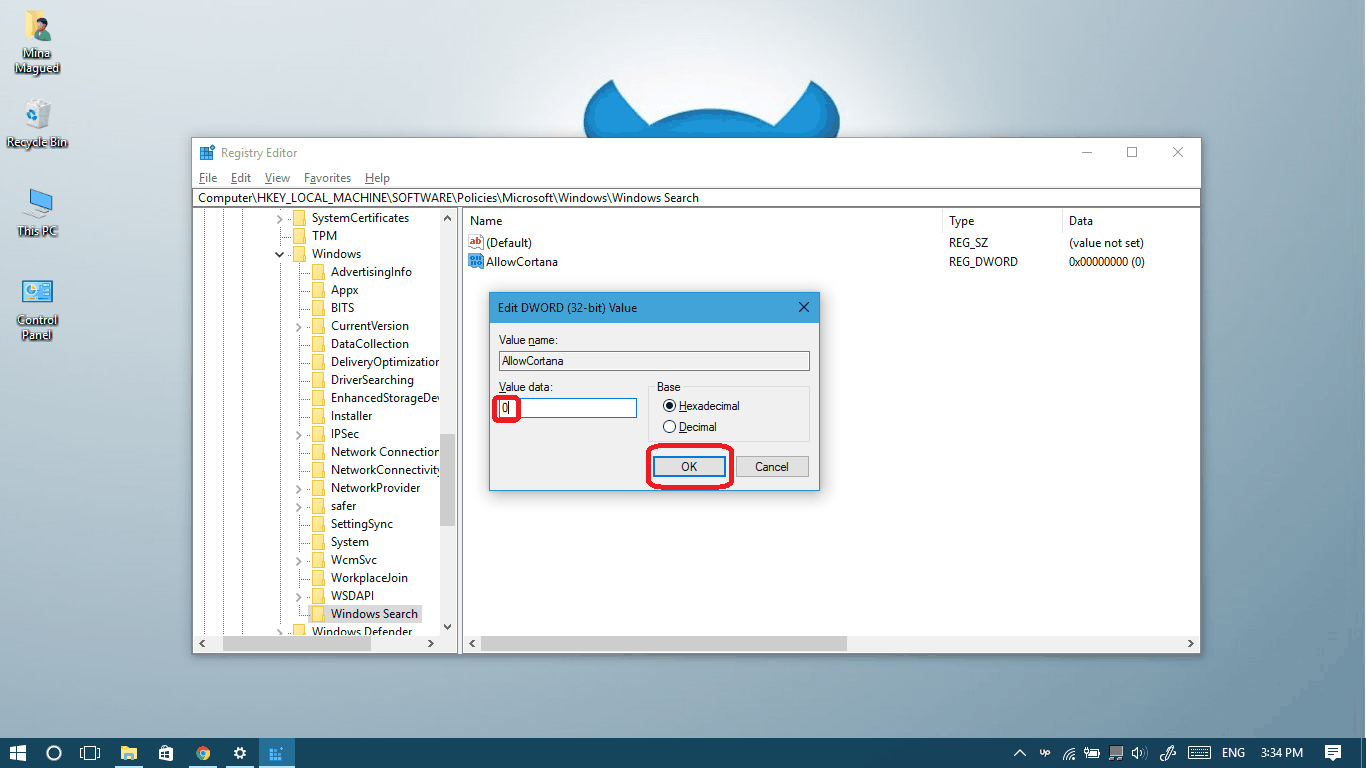
*If you want to allow Cortana later you can come back to this step and change the value to “1” or delete the “AllowCortana” you created.
- Now Restart your computer or sign-out then sign-in again to see that Cortana has disappeared and it was replaced by the traditional search bar/icon.
For Pro and Enterprise Users:
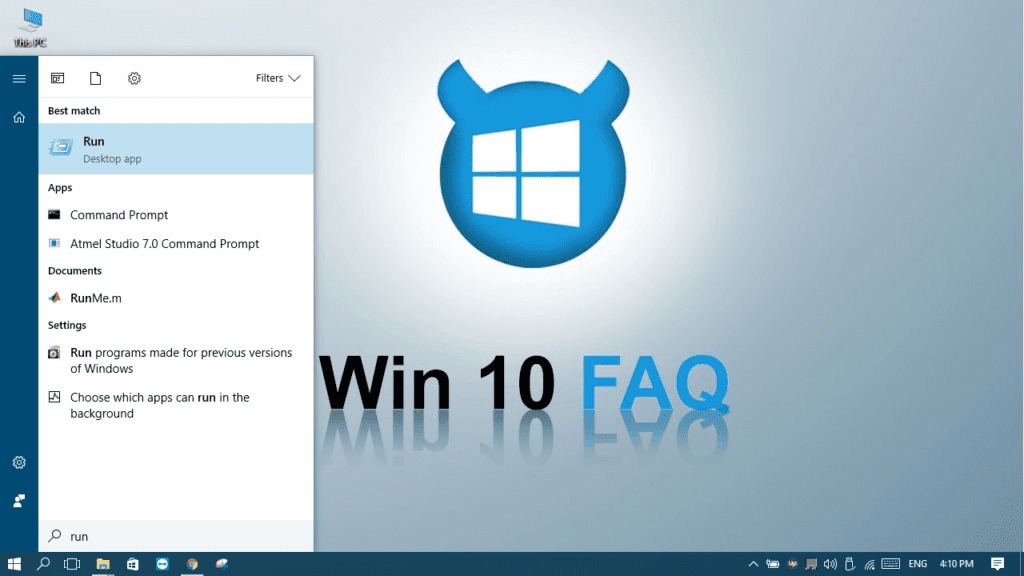
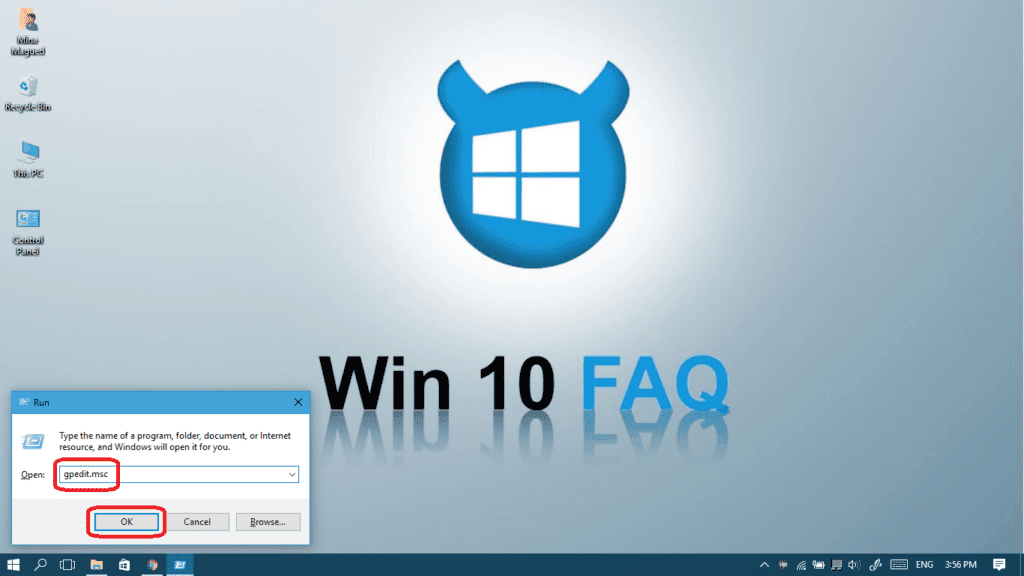
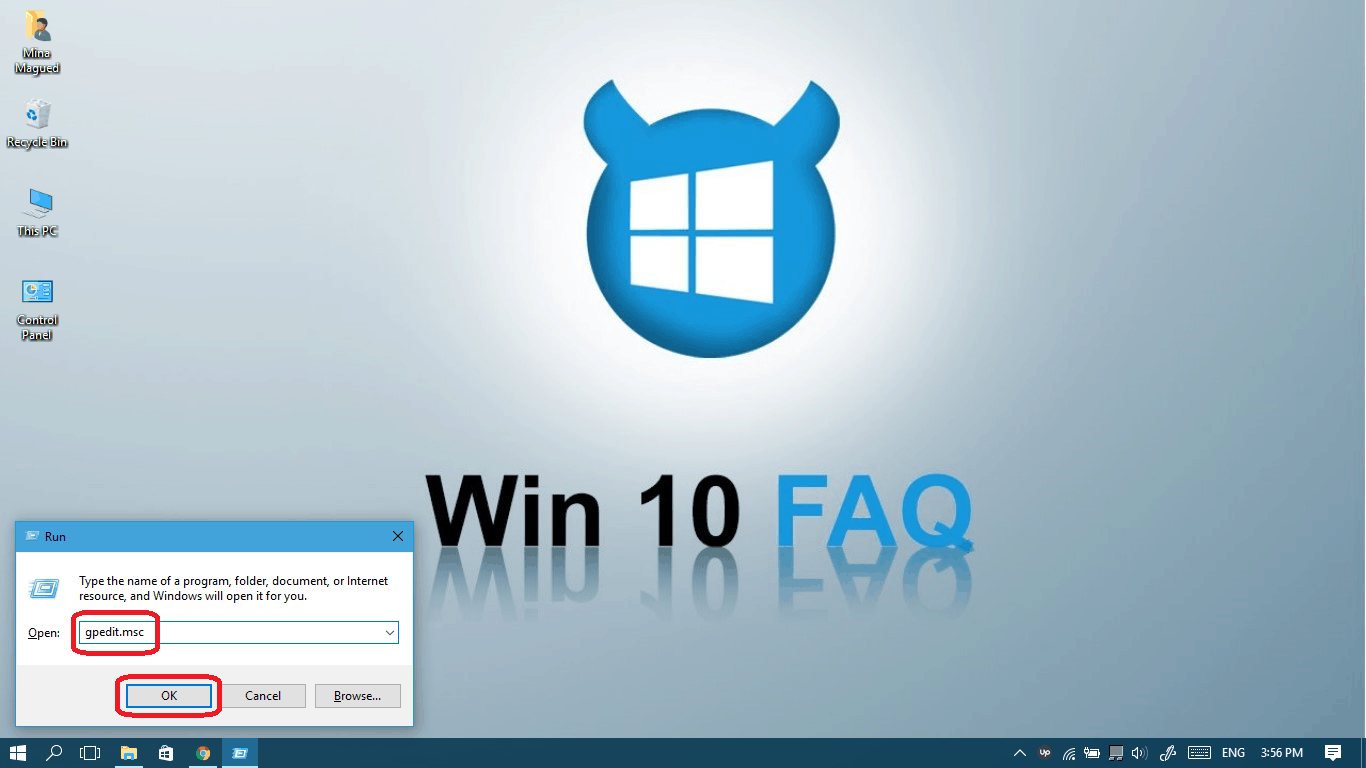
- Press the Windows key + R or type Run in your start menu and choose Run.
- Type “ gpedit.msc “ and click Ok.
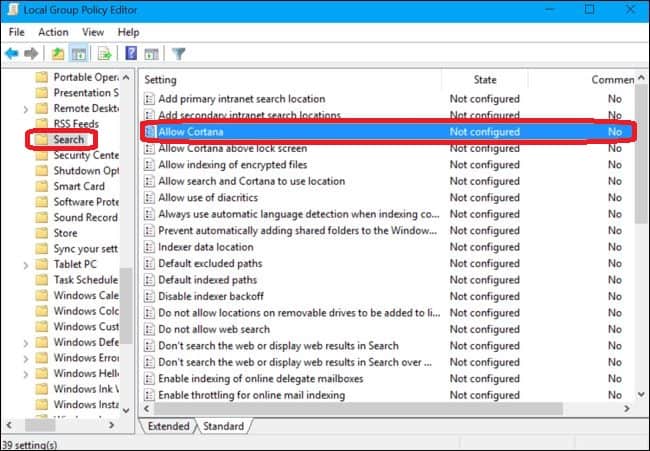
- Navigate to this path: Computer Configuration > Administrative Templates > Windows Components > Search.
- Double-click on the “Allow Cortana” setting in the right pane.
- Set the option to Disabled and then click Ok.
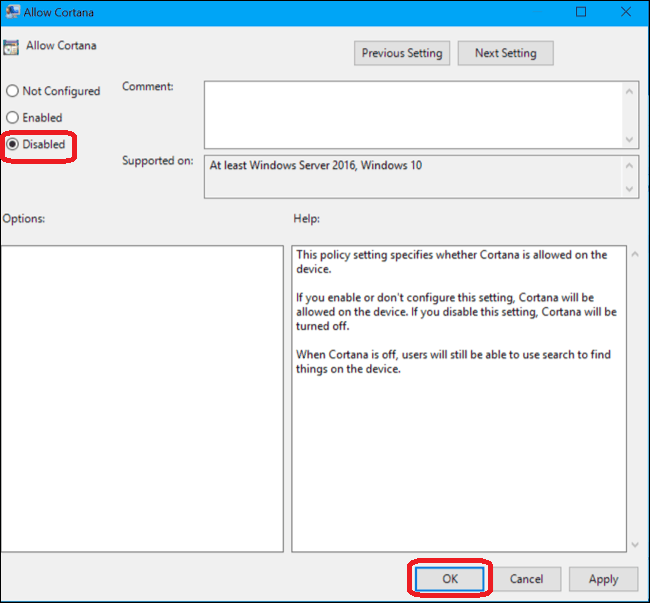
*If you want to allow Cortana later you can come back to this stepand change the option back to Enabled.
- Now Restart your computer or sign-out then sign-in again to see that Cortana has disappeared and it was replaced by the traditional search bar/icon.
How to Clear your Cortana data
We have disabled Cortana but there are some data Microsoft has already collected. If you want to delete them from Microsoft’s servers follow these steps:
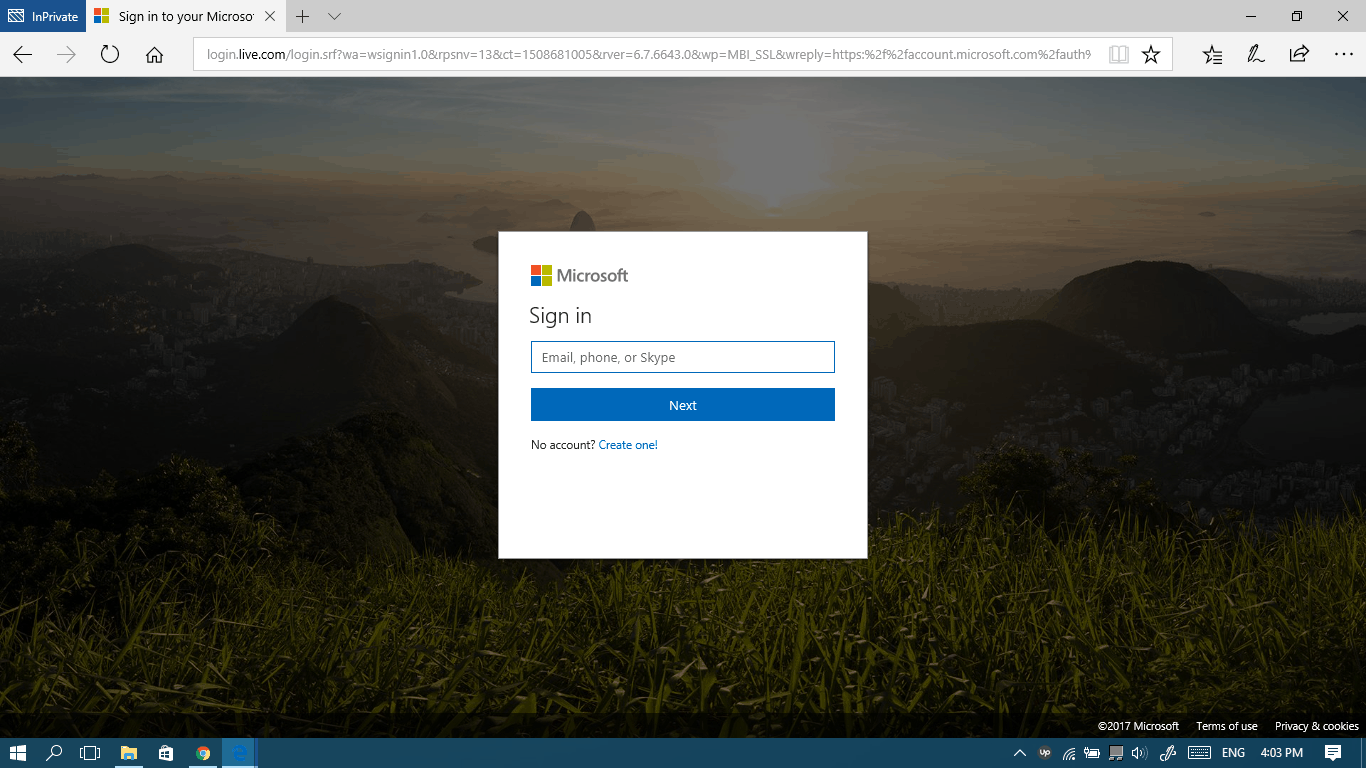
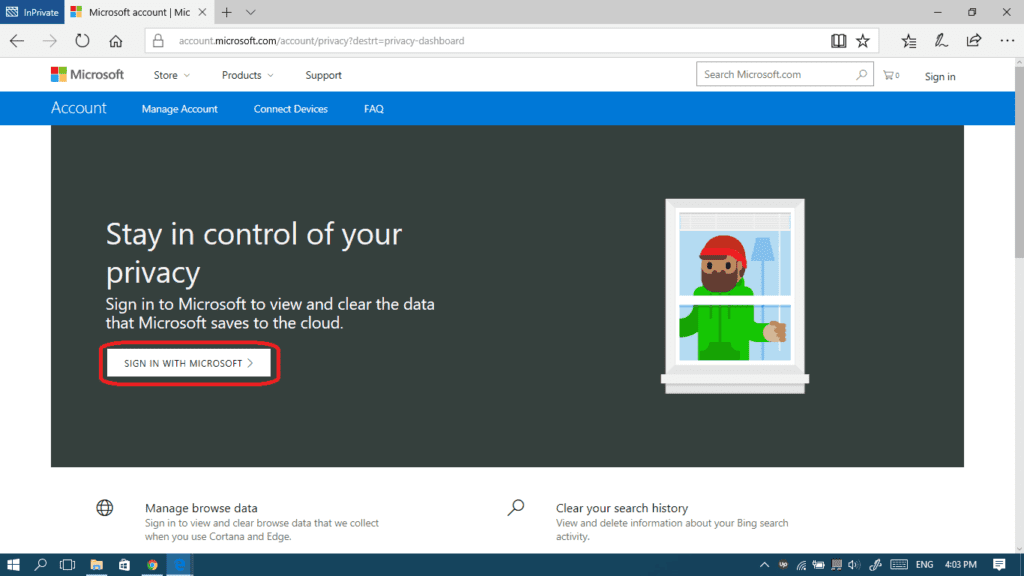
- Go to https://account.microsoft.com/privacy/ in your Edge Browser and click SIGN IN WITH MICROSOFT
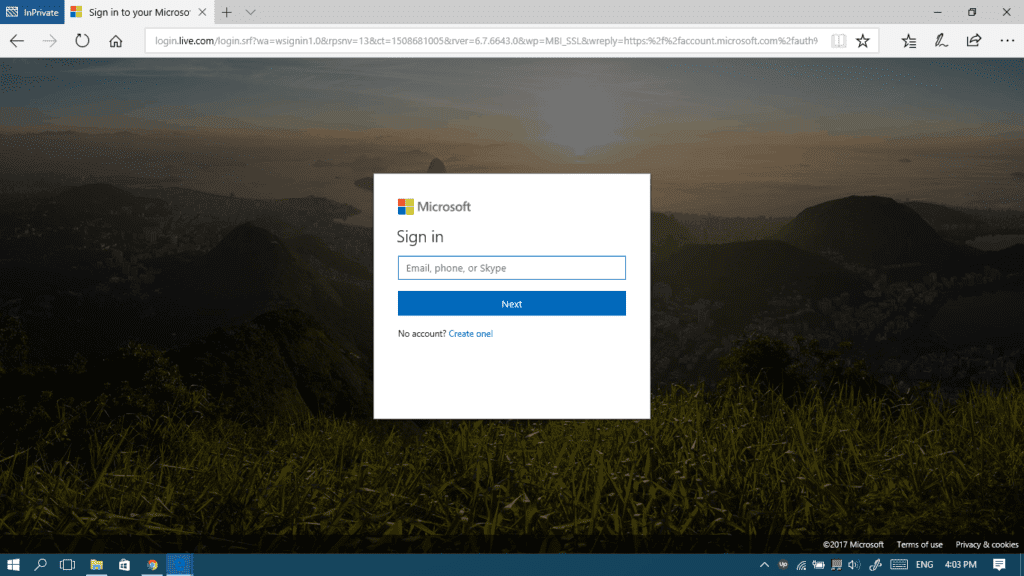
- Sign in with your Microsoft Account.
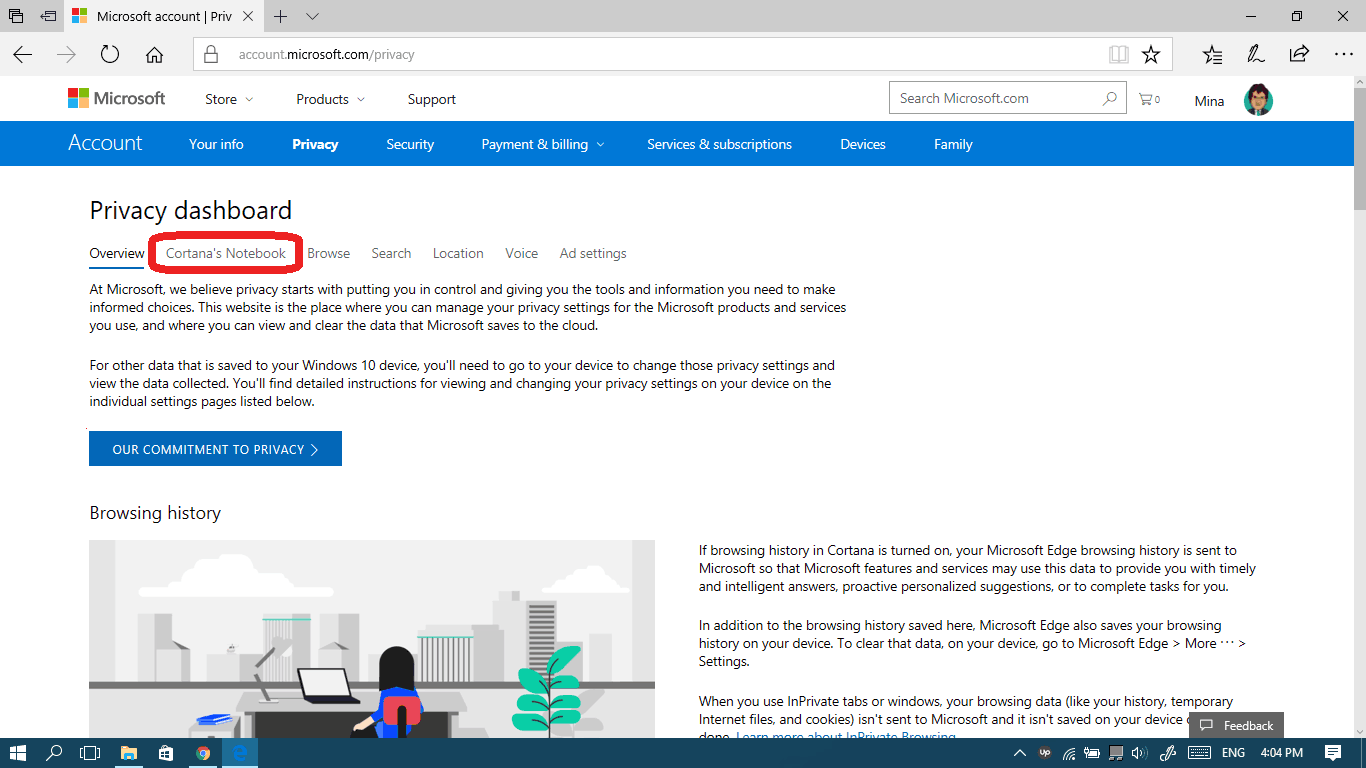
- Go to the “Cortana’s Notebook” tab.

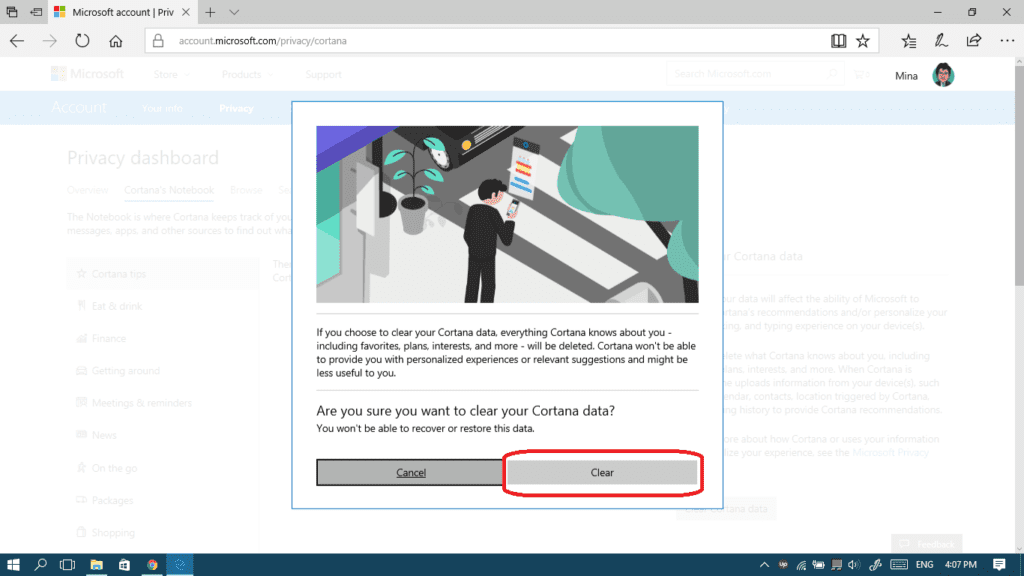
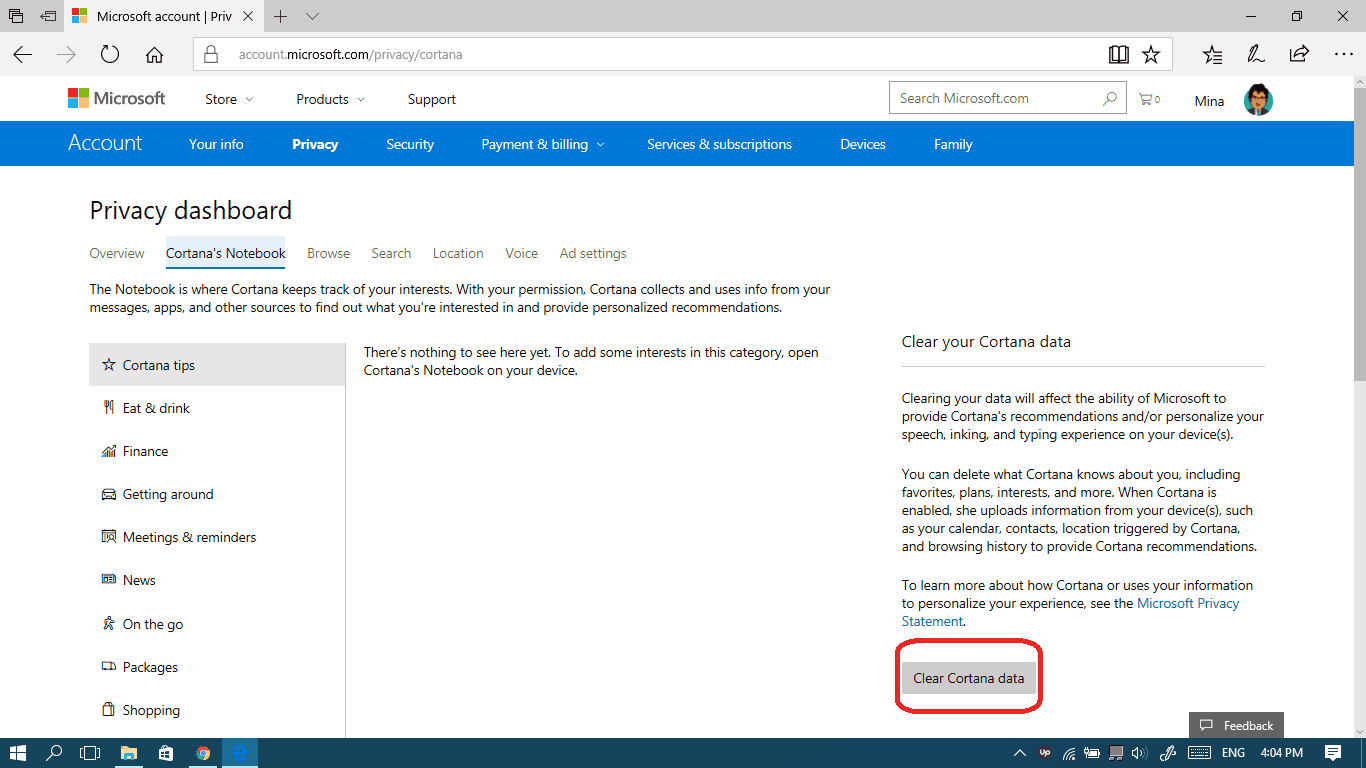
- Click Clear Cortana Data.
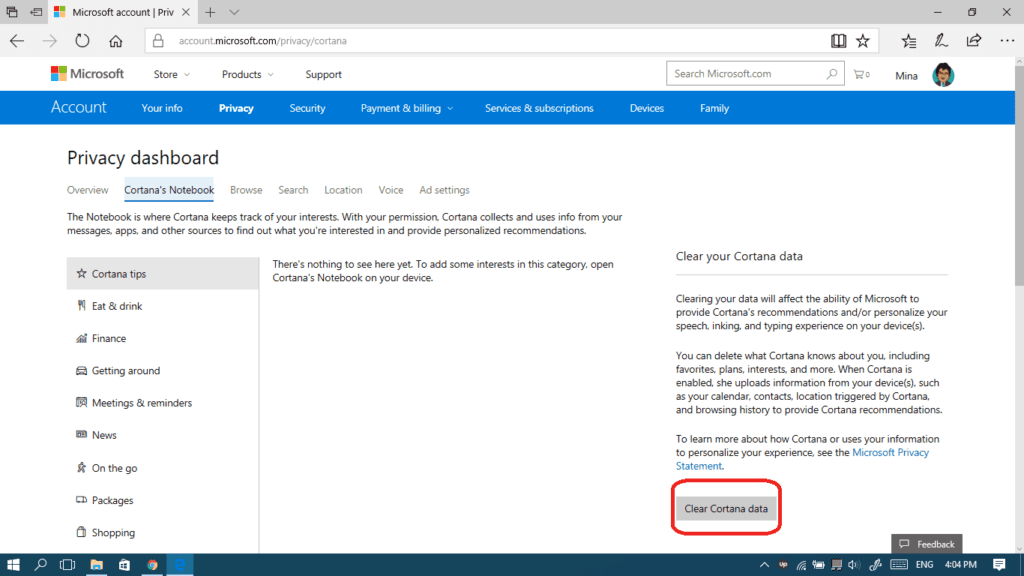
- Select Clear.