Having Windows 10 or 11 Stuck on Welcome Screen and preventing you from using your computer is a very frustrating experience. This guide will walk you through some fixes to help get you back to your desktop when this happens.
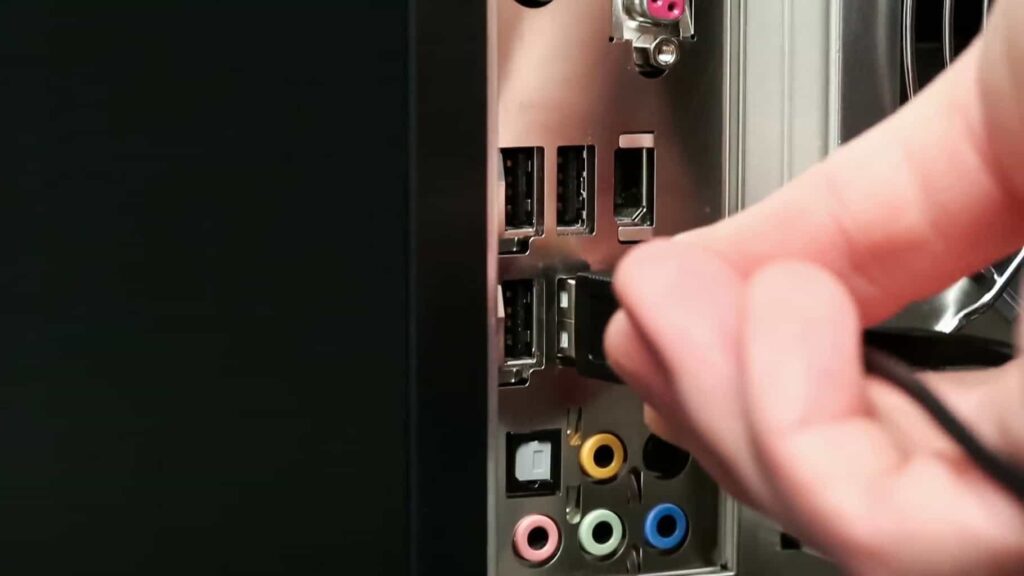
A simple solution to try is unplugging all external devices from your computer:
Sometimes the “Windows 10 Stuck on Welcome Screen” issue can be caused by hardware issues, often USB devices. (These steps likely won’t apply if using a laptop.) To see if this is the case, do the following:
- Turn off your computer and unplug all devices and cables from it(other than the power and monitor cables).
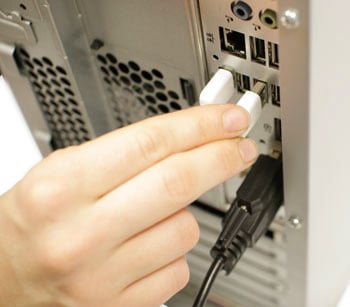
- Turn your computer back on and plug the mouse and keyboard back in to log in.

- One by one plug every device and cable back in and see if any of them seem to be causing any issues, restarting and seeing if you can get past the Welcome screen.

Often these issues are temporary and you may be able to use Windows normally again after plugging everything back in. If not, the next fix is more likely to work.
Running Startup Repair can often solve the Windows 10 Stuck on Welcome Screen issue:
When you encounter an issue that prevents you from fully starting up Windows, Startup Repair can usually fix it. Startup Repair can be accessed either from Windows’ built-in Recovery Environment or from repair or installation media.
There are two methods for accessing the Recovery Environment:
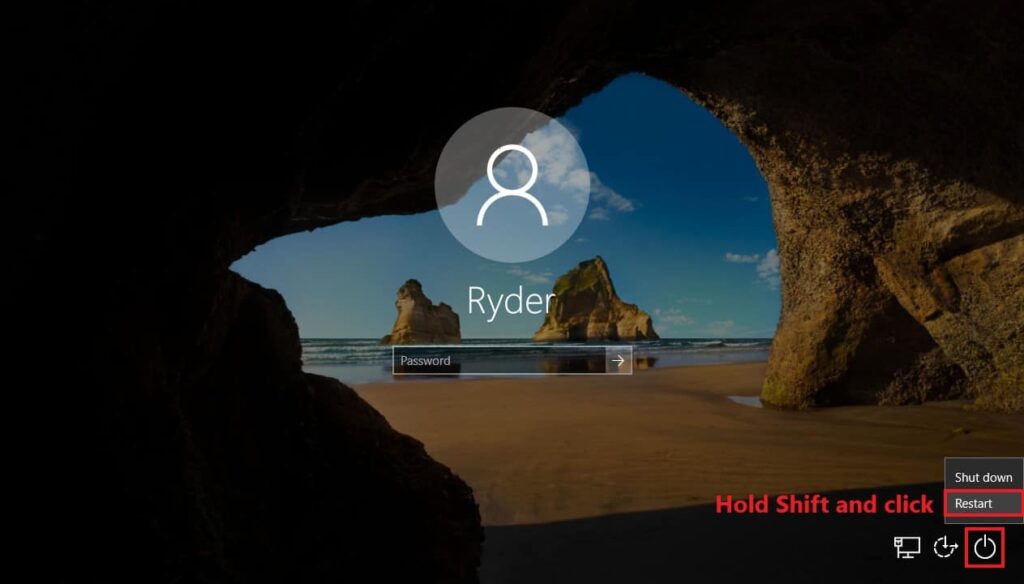
The first is done from the power menu which can be accessed from the Welcome screen:
- Click on the power icon, then while holding Shift, click on Restart.
- Windows should enter the Advanced Recovery Options menu. From here choose the Troubleshoot option.

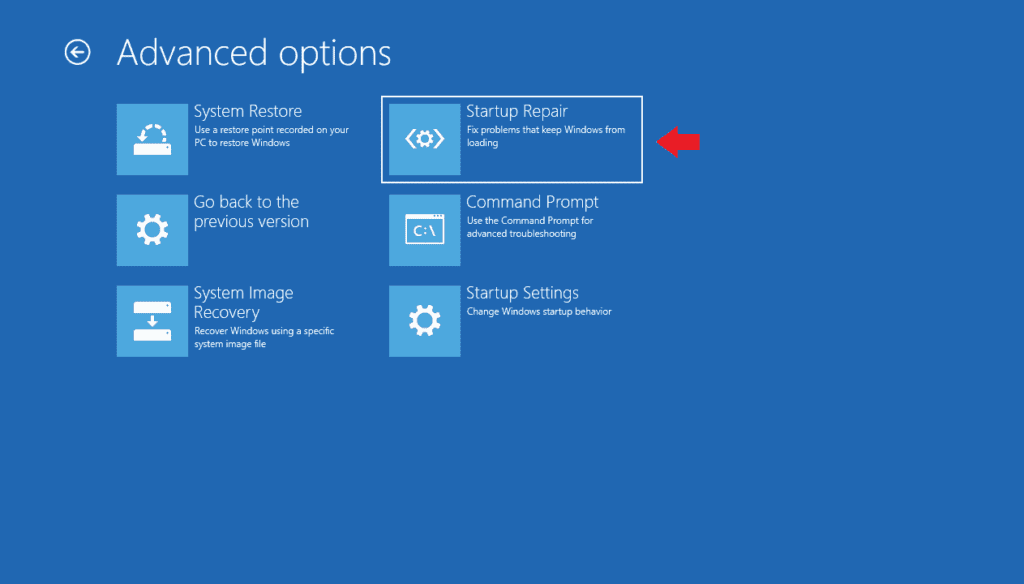
- Now click on Advanced options.

- Then click on Automatic/Startup Repair and Windows should restart.
- You should see a black screen with the Windows logo and Please Wait at the bottom. Wait for it to load.
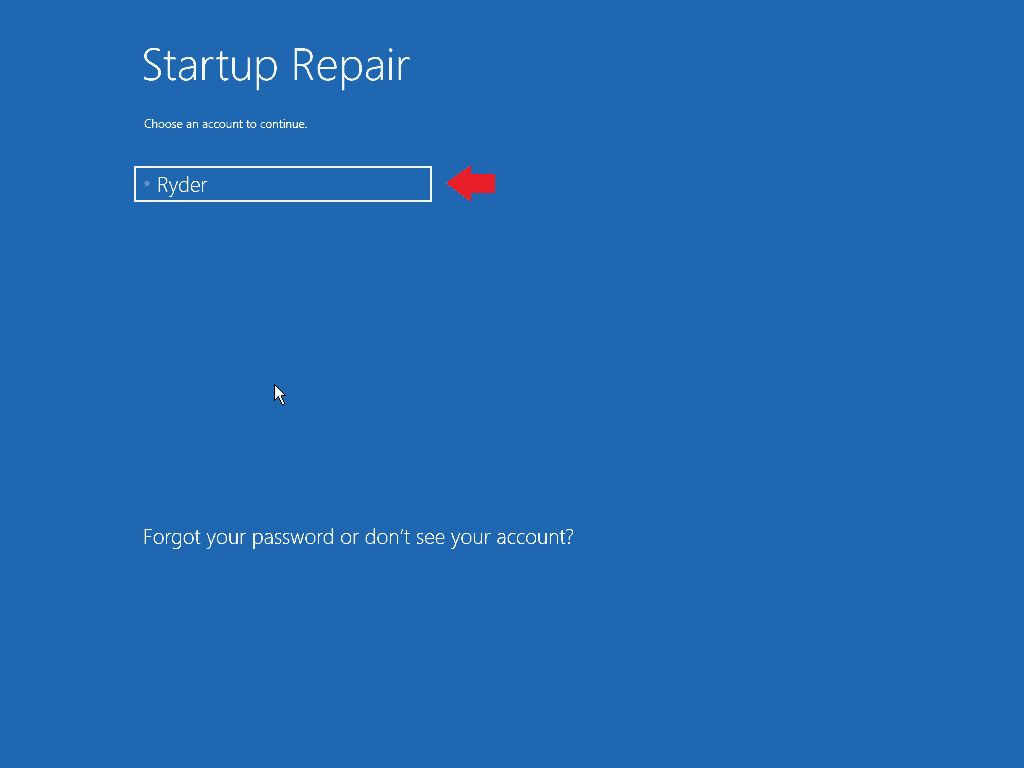
- Startup Repair should give you accounts to choose from. Select yours to continue.
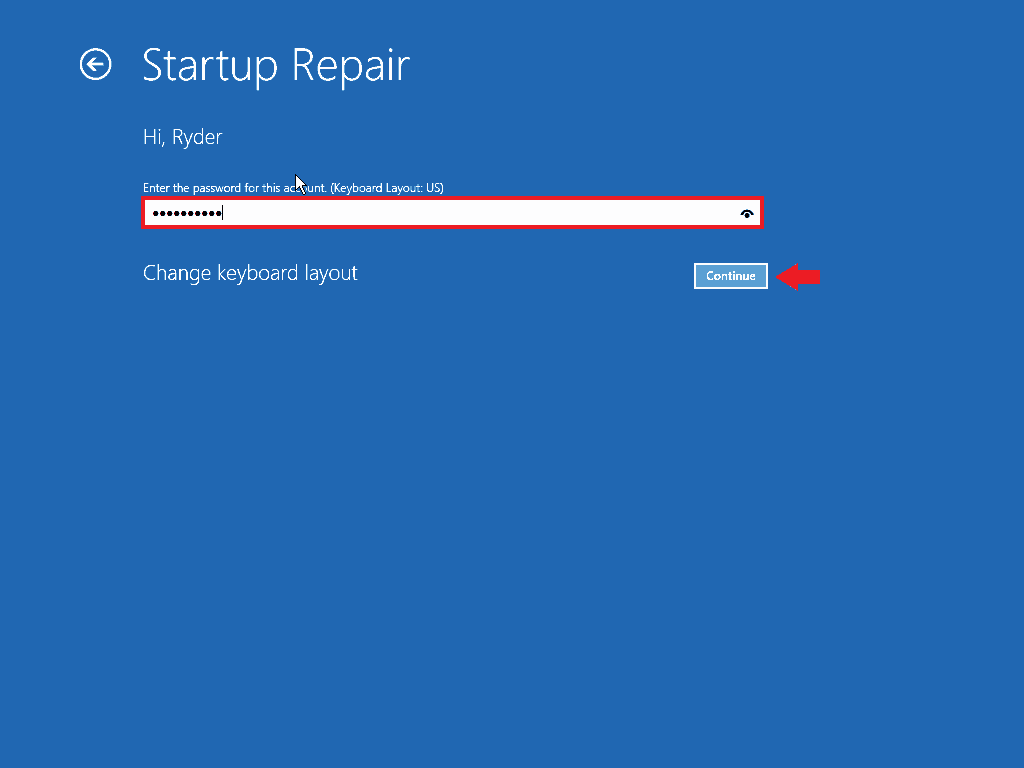
- On the next screen enter your password if necessary and then press Enter or click Continue.
- You should next encounter a black screen that says Diagnosing your PC followed by Attempting repairs. Wait for this to finish.

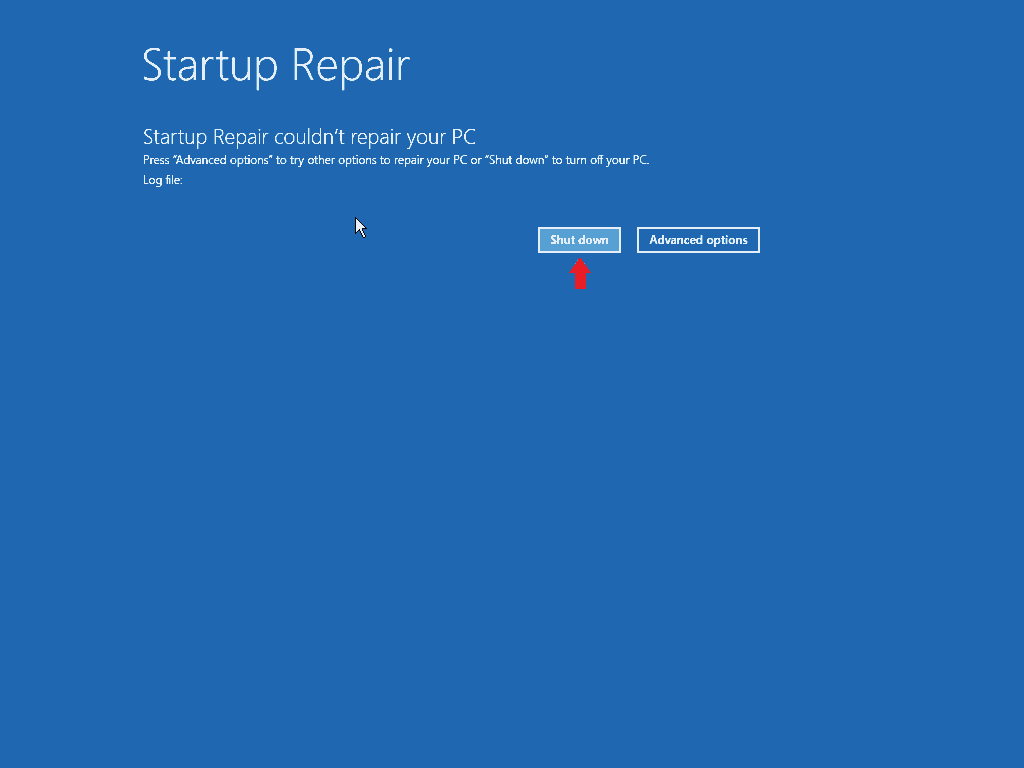
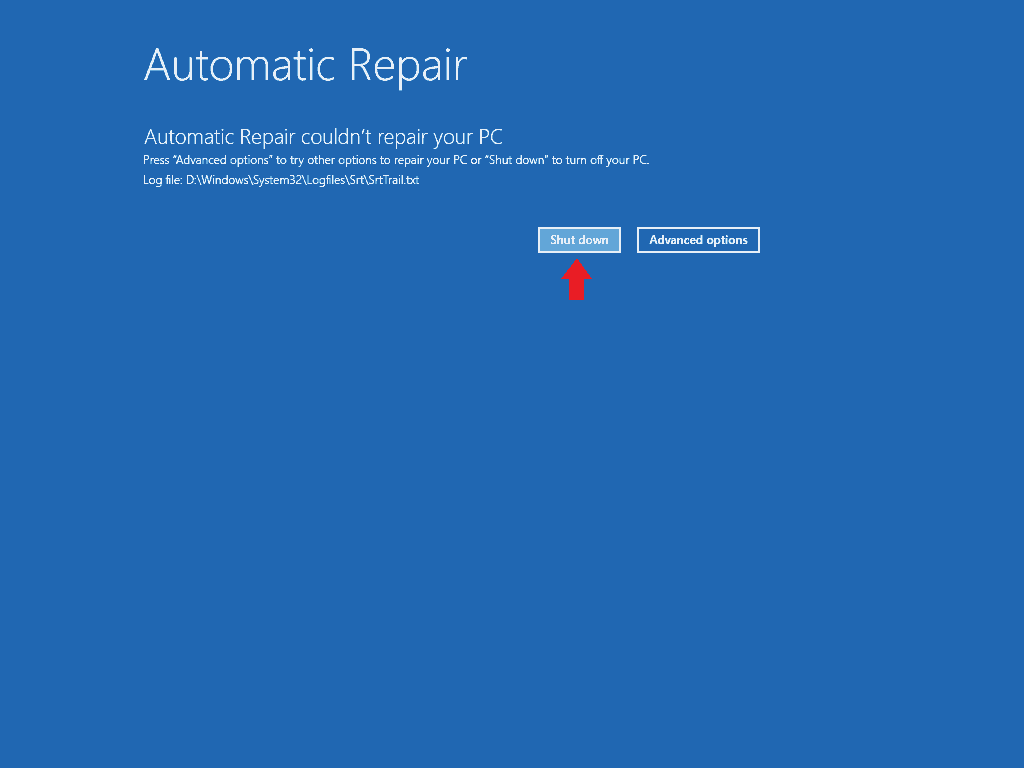
- Once done, it will likely restart automatically if successful. If not, a screen saying that “Startup Repair couldn’t repair your PC” will be displayed. Select Shut down if this happens.


The other method to get to the recovery environment:
- If on, shut down your computer, then turn it back on.
- When the Windows logo appears, hold down the power button until your computer shuts down, then power it on again. If you see something like “Preparing Automatic Repair” or “Please Wait“, let it start. If not, once again hold down the power button until your computer turns off then power it back on. Repeat a few times this until you see such a message.
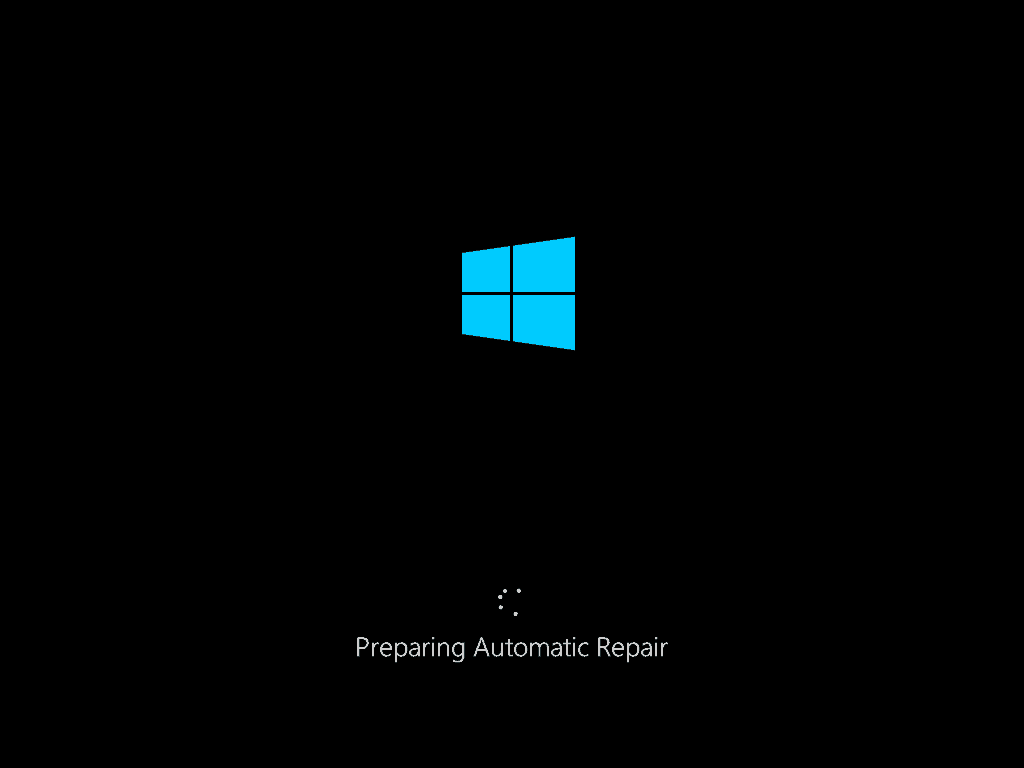
- If “Preparing Automatic Repair” appears, wait for it to finish. It should restart automatically if successful, or display a screen saying it was not successful if not. Select Shut down if Automatic Repair isn’t successful.
- If “Preparing Automatic Repair” appears, wait for it to finish. It should restart automatically if successful, or display a screen saying it was not successful if not. Select Shut down if Automatic Repair isn’t successful.
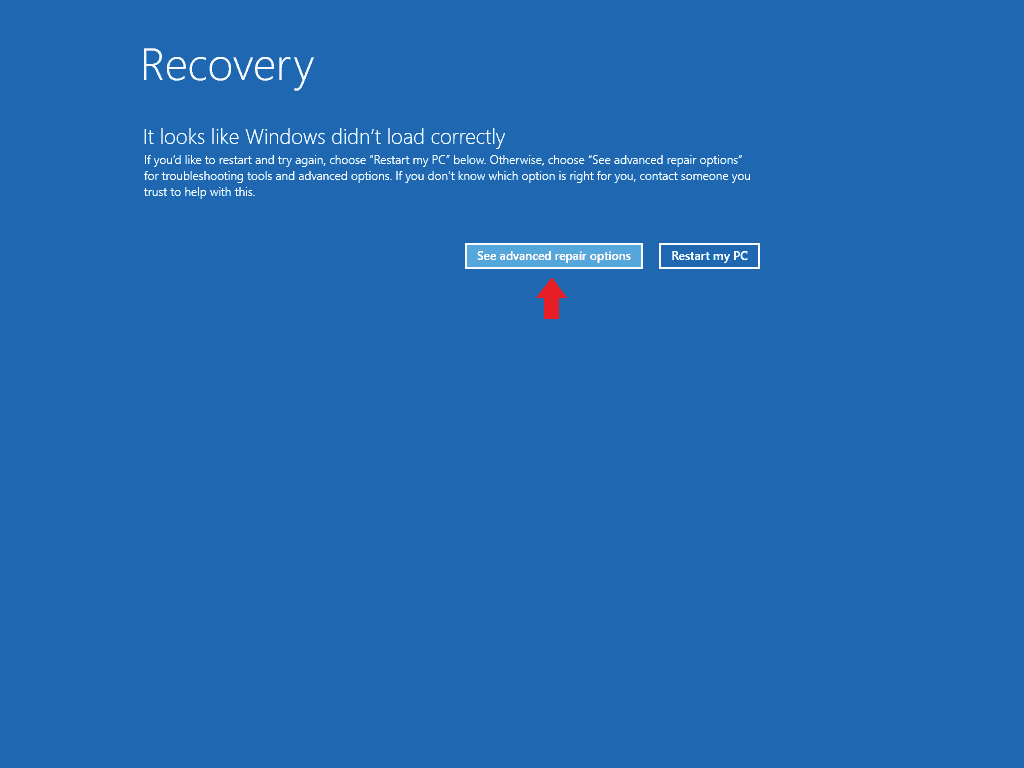
- If you end up on the Recovery screen, click on See advanced repair options.
- Now click on Troubleshoot.
- Then click on Advanced options.
- Now click on Automatic/Startup Repair.
- A black screen with the Windows logo and Please Wait at the bottom should come up. You likely also see Diagnosing your PC followed by Attempting repairs. Wait for it to finish.

- If successful your computer will likely restart automatically. If not, you’ll receive a screen telling you it was not successful. Select Shut down on this screen if it appears.


If neither of these methods brings up recovery options, you will need to use installation or recovery media:
Installation media is usually either a DVD or a USB drive that came with your computer or was purchased for installing Windows. There are also recovery disks and drives that can either come with your computer or be created in Windows 10. Using either of these can often work even if built-in recovery did not. You can skip ahead to the section on using recovery or installation media if you already have one of them.
If you do not already have either of these, you can create a recovery drive on a working Windows 10 computer:
- Insert a blank USB drive(or one that you don’t need the data on) into a computer running Windows 10.

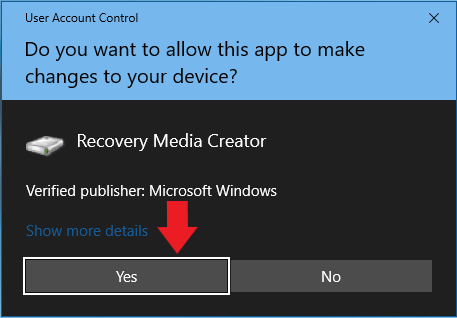
- Open Windows search by clicking on it or with the Win + S shortcut and begin typing “recovery drive” and the option for it should come up. Click on it when it does.

- Click on it and click Yes to the User Account Control pop-up that should come up.
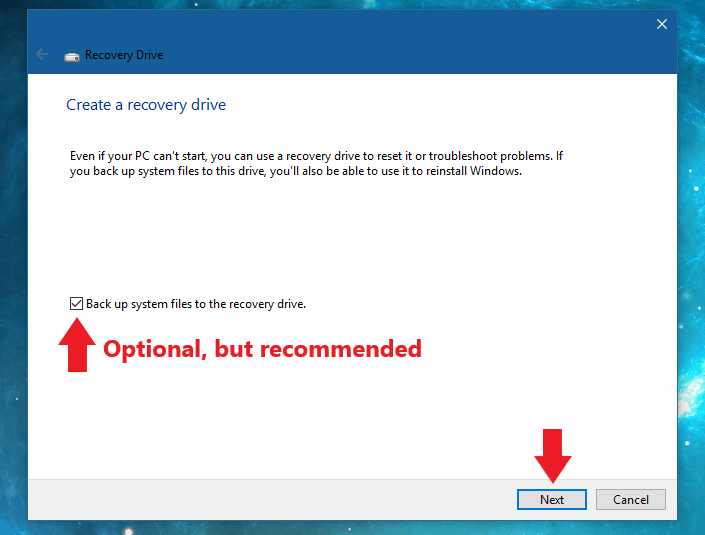
- On the Recovery Drive window is a checkbox saying “Back up system files to the recovery drive.” Leaving this checked will make it possible to reinstall Windows from the recovery drive, but it will take significantly longer to make and also requires a USB drive that can hold at least 16GB of data, according to the prompt. Doing this is recommended, but optional.
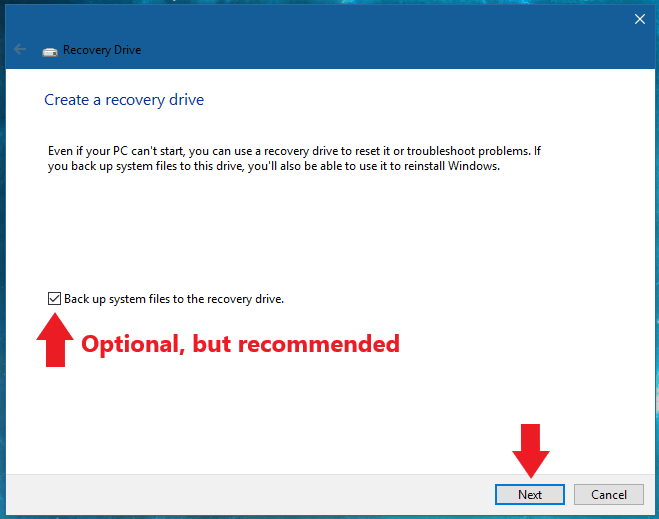
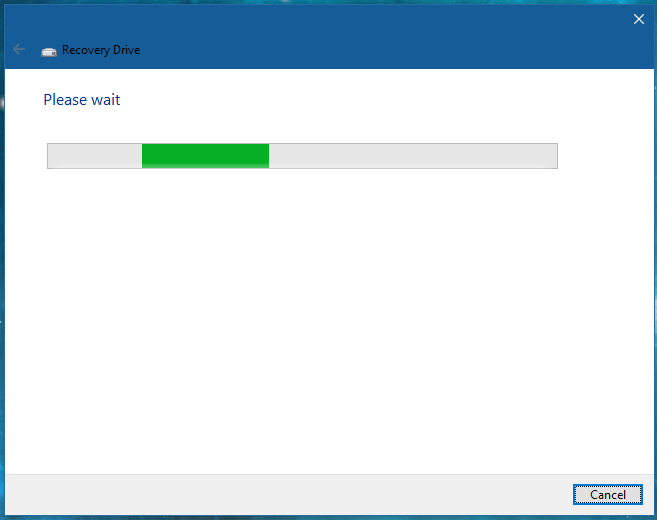
- After deciding whether to leave the box checked or not, click Next. A loading bar with “Please wait” at the top will appear.
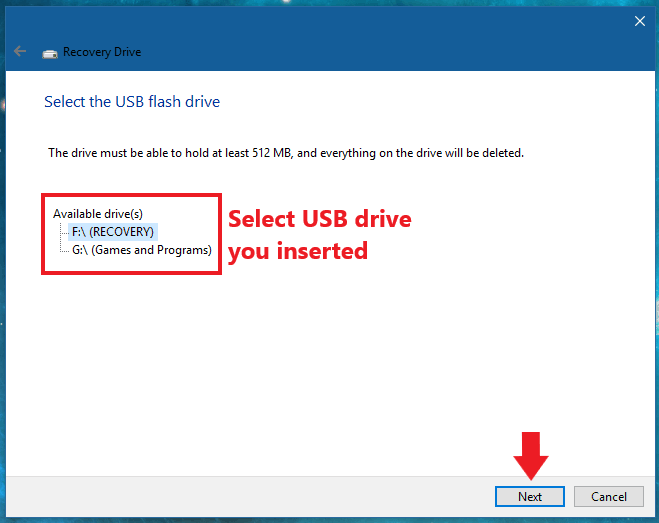
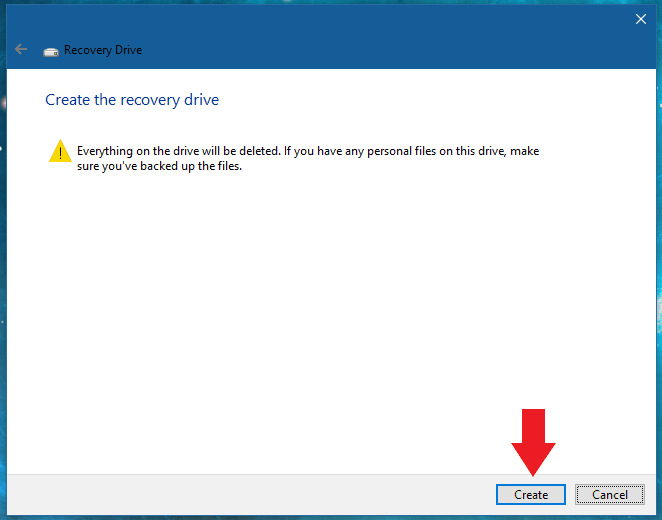
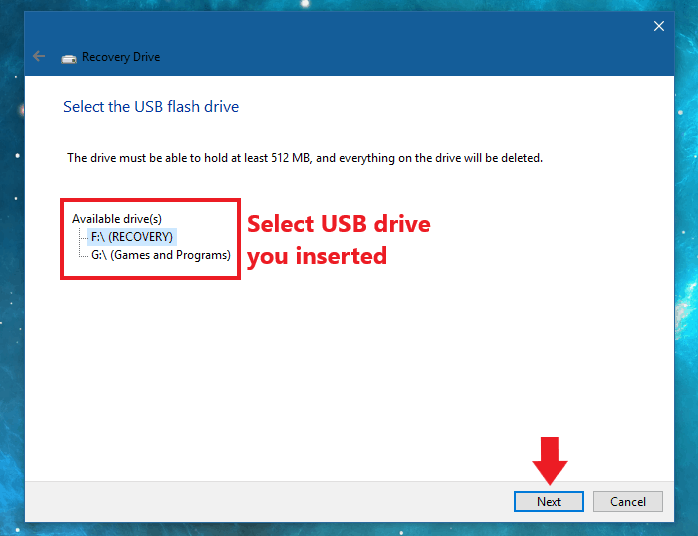
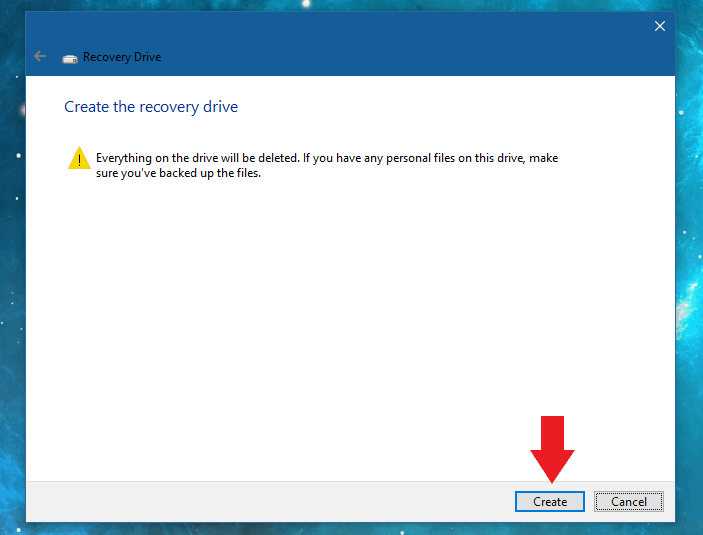
- When it is done you should see a list of all available removable drives. Select the one you want to make into the recovery drive. This will delete everything on the drive, so make sure you select the right one and backup any important data on it before proceeding. Click Next and a screen telling you basically the same thing will come up.
- Click on Create when ready.
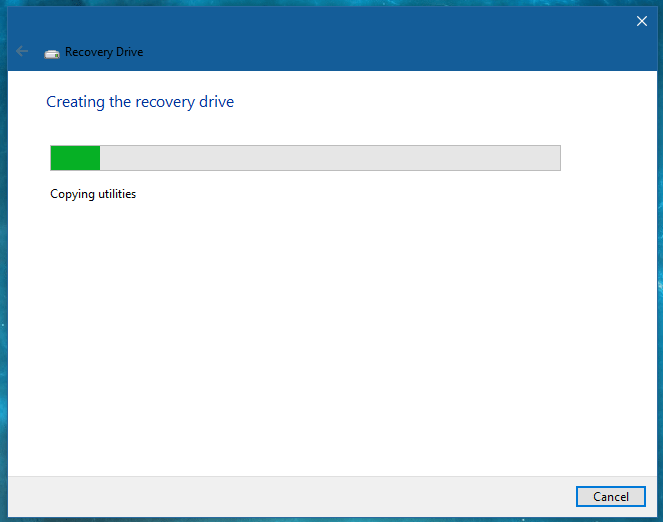
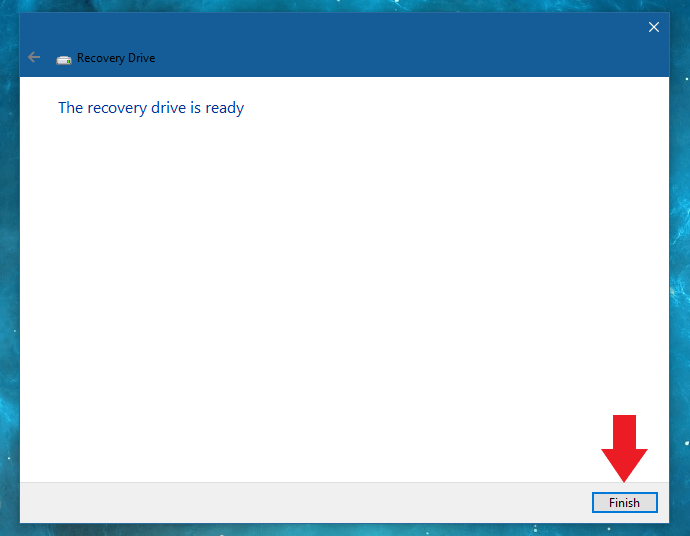
- A window showing the progress of making the recovery drive will come up. Wait for it to finish.
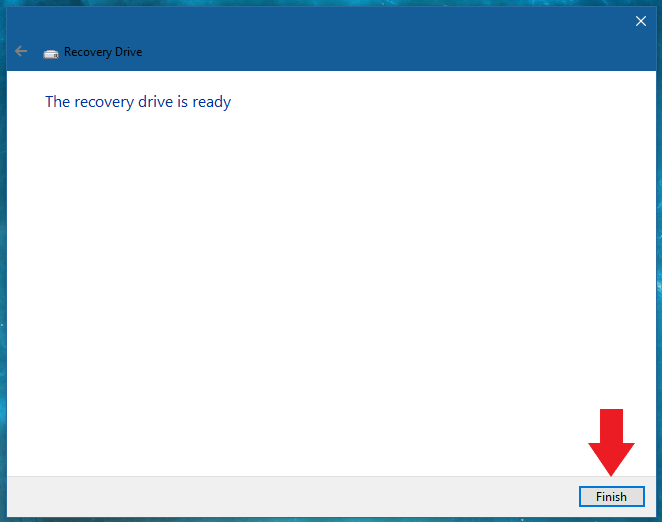
- When it says the drive is ready, click on Finish.


Whether you have recovery or installation media, using them at the start is much the same:
- Insert the USB drive or disk into your computer and then restart your computer if it’s currently on.
- In many cases, your computer will boot first from USB or DVD by default. If it doesn’t, you’ll need to enter the boot menu of your BIOS and select the drive/disk manually. This is usually done by pressing the F12 key while your computer is starting, but the key varies among brands. You can consult this list to see what key it should be for your computer.

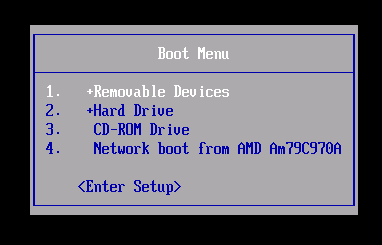
- You should see a screen come up with a list of all bootable devices plugged into your computer. This is the boot menu. Yours will likely not look exactly the same as the picture below, but it should be somewhat similar. In most cases, you’ll use the up and down arrow keys to scroll through and select the right device. Once highlighted, press Enter.
Now depending on what you are using, follow one of the sets of steps below.
If using recovery media to get over the Windows 10 or 11 Stuck on Welcome Screen issue, follow these steps:
- A list of keyboard layout options will come up. You can use either the mouse or the arrow keys and Enter key to choose and select options. Even if not in the United States, selecting US should work fine if you have a QWERTY keyboard, which most users do. If not, choose what matches your layout, selecting See more keyboard layouts to scroll through the options if necessary.

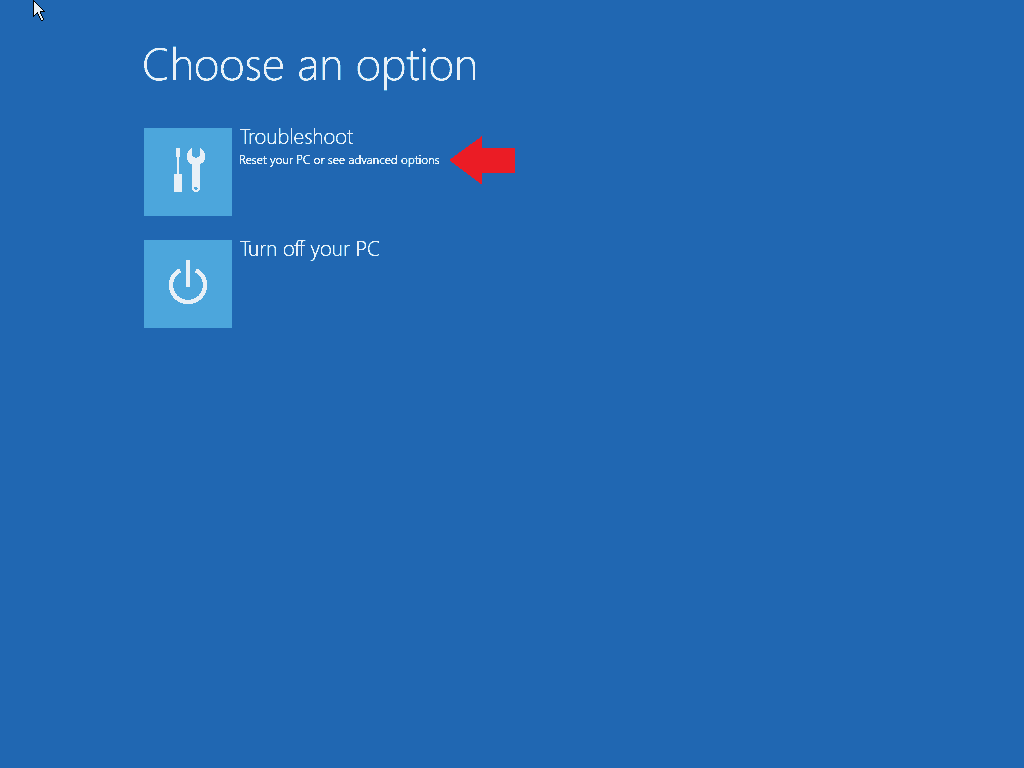
- Select Troubleshoot on the Choose an option screen.
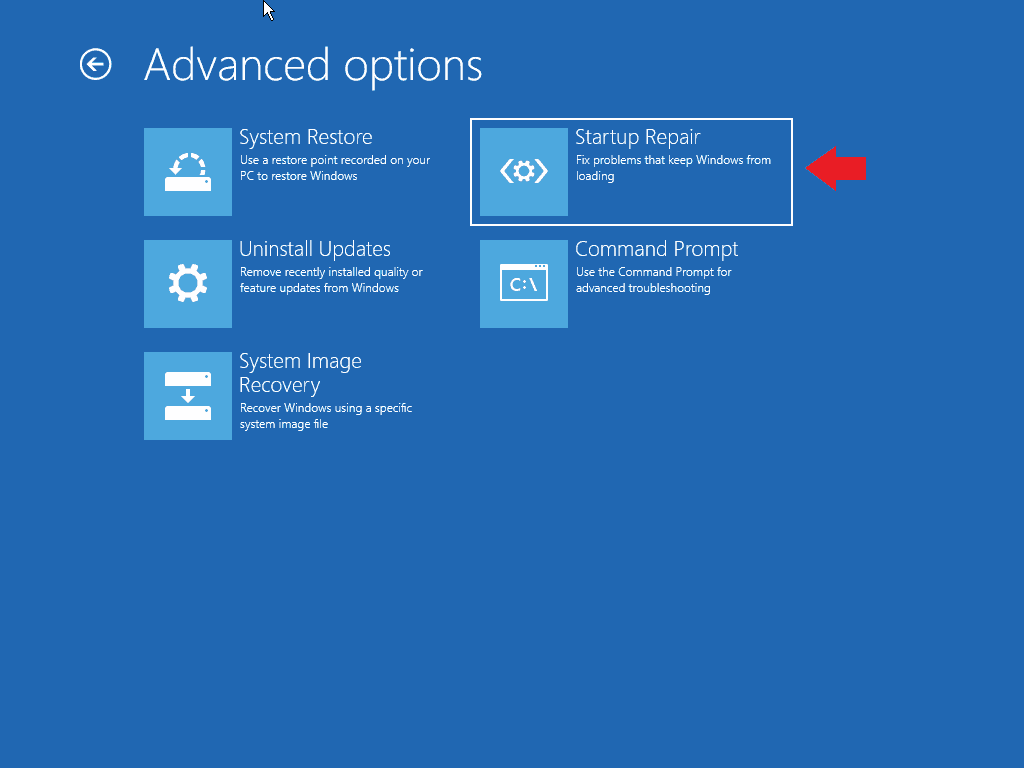
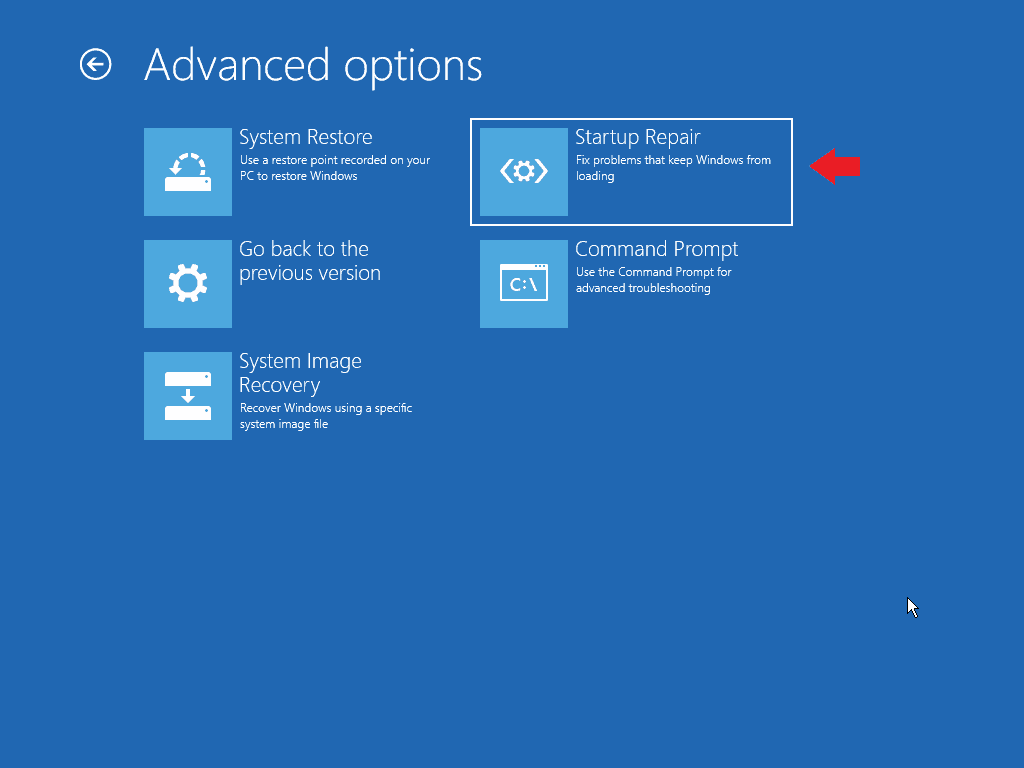
- You’ll end up on the Advanced options screen. Select Startup Repair.
- A black screen with Diagnosing your PC followed by Attempting repairs should appear. Wait for this to finish.
- If Startup Repair is able to detect and fix the problem your computer will likely restart. If not, it will say that it couldn’t repair your PC. Select Shut down in this case.


If using installation media, do this:
- Text saying to press any key to boot will likely appear. Quickly press any key on the keyboard to do so.

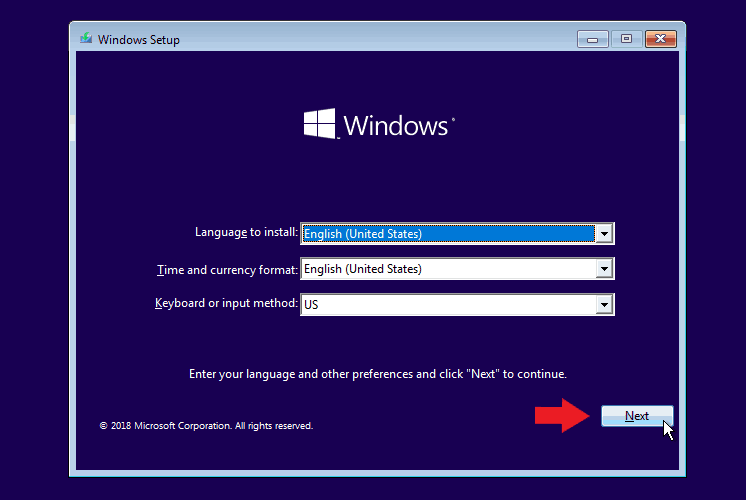
- A setup window will appear with language and related settings. You can change these as needed, but leaving them at default should work for most. Click Next when done.
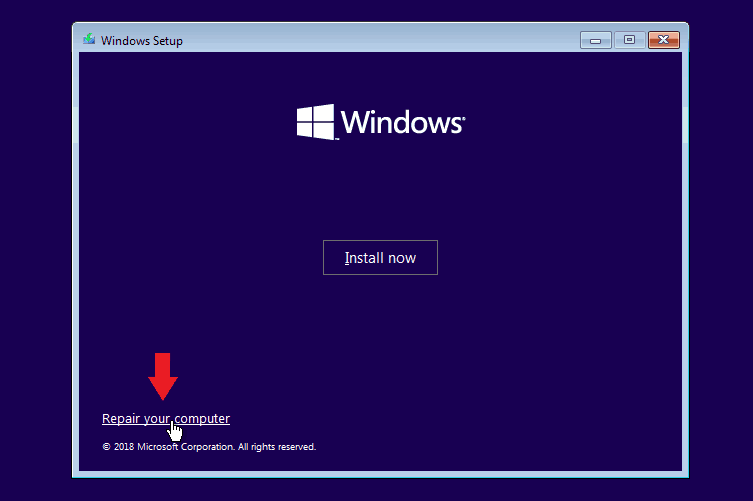
- Ignore the “Install now” button in the middle and click on Repair your computer in the bottom left of the window.
- A screen asking you to choose an option will come up. Select Troubleshoot.
- Now choose Startup Repair.
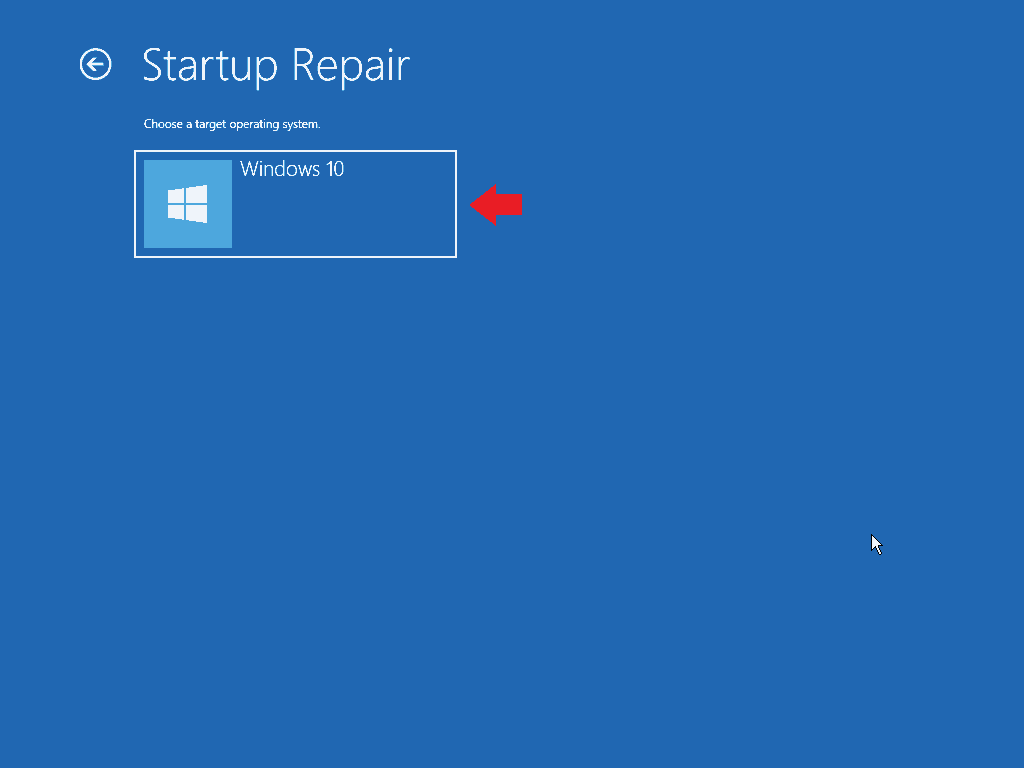
- You’ll then be asked to choose a target operating system. Select Windows 10.
- A black screen with Diagnosing your PC followed by Attempting repairs should appear. Wait for this to finish.
- If it’s able to detect and fix the problem your computer will likely restart. If not, it will say that it couldn’t repair your PC. Select Shut down if this happens.


If none of the methods for using Startup Repair solve the issue, running a series of system checks and fixes may work:
This can be done from Command Prompt from built-in recovery, or either recovery or installation media.
So first get to the Advanced options screen:
- For built-in recovery, follow steps 1-3 for the first method, or 1-5 for the second method.
- If using recovery media, follow the booting instructions and steps 1-2 from its section.
- If using installation media, follow the booting instructions and steps 1-4 from its section.
And when you are in Advanced options:
- Once on the Advanced options screen, select Command Prompt.
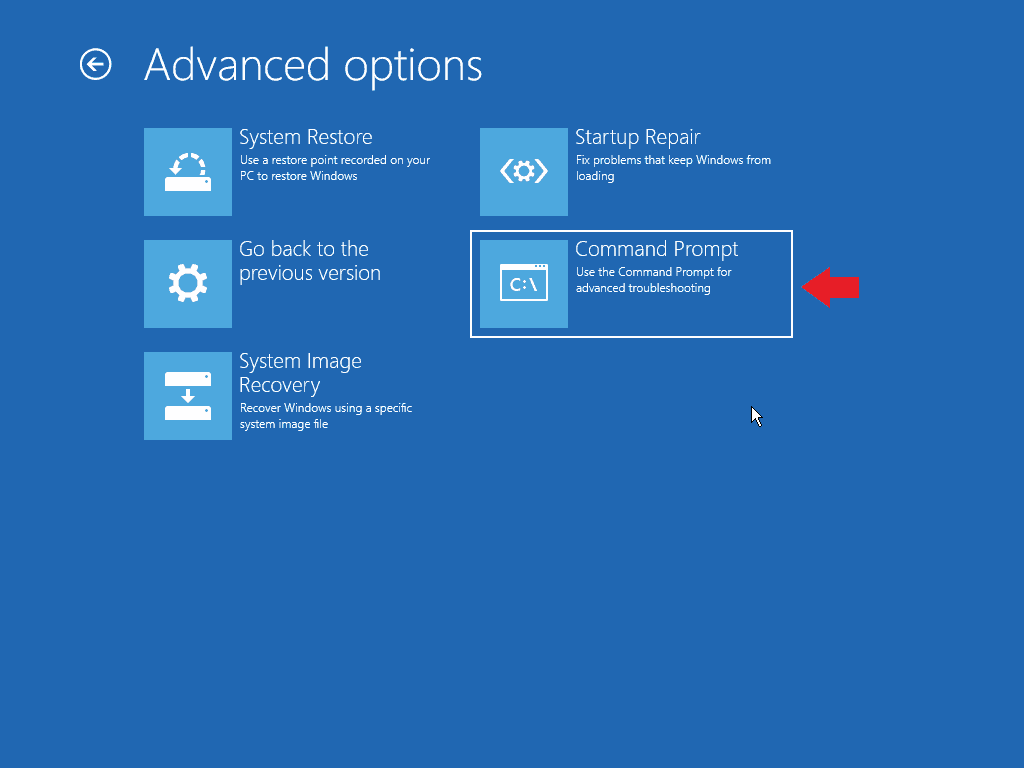
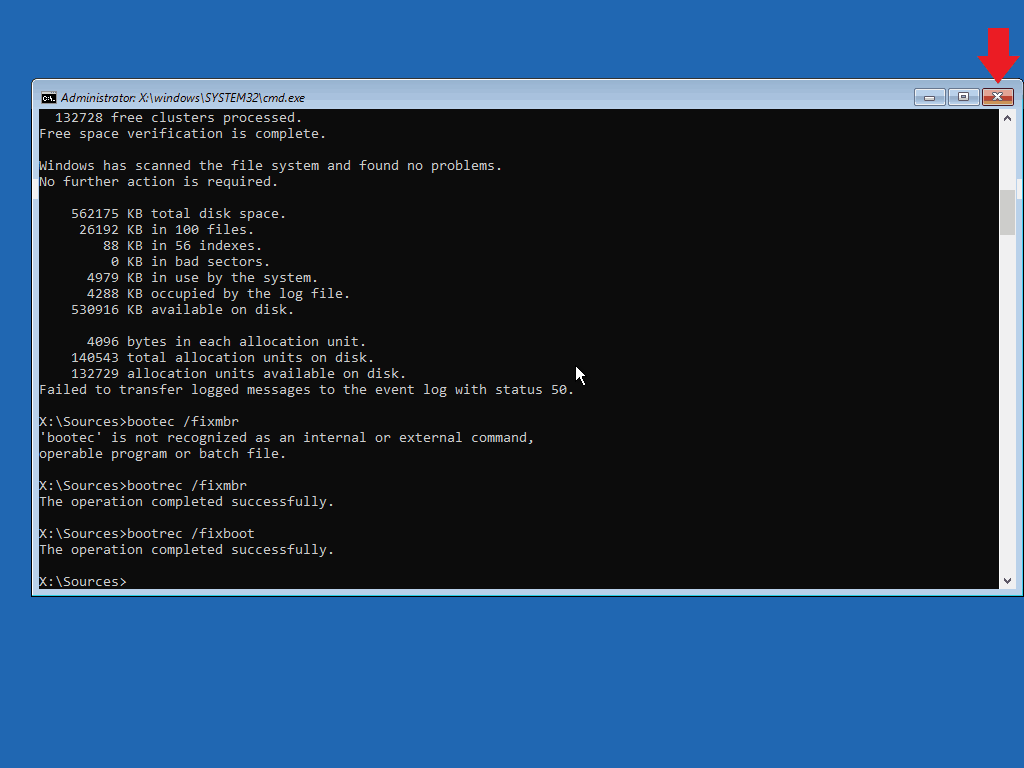
- A Command Prompt window should now pop up. Type in the following commands one at a time and press Enter after each one:
sfc /scannow
chkdsk c: /f /r
bootrec /fixmbr
bootrec /fixboot
bootrec /scanos
bootrec /rebuildbcd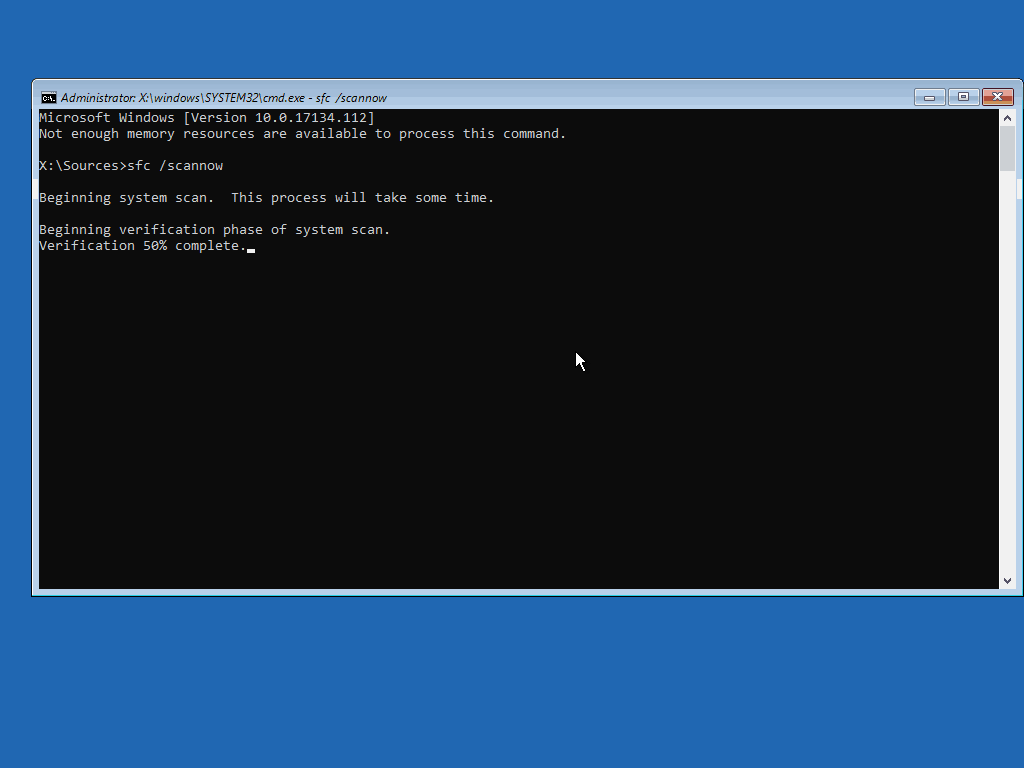
- Wait for each of these commands to finish. This may take quite some time. Once they have completed, exit Command Prompt.

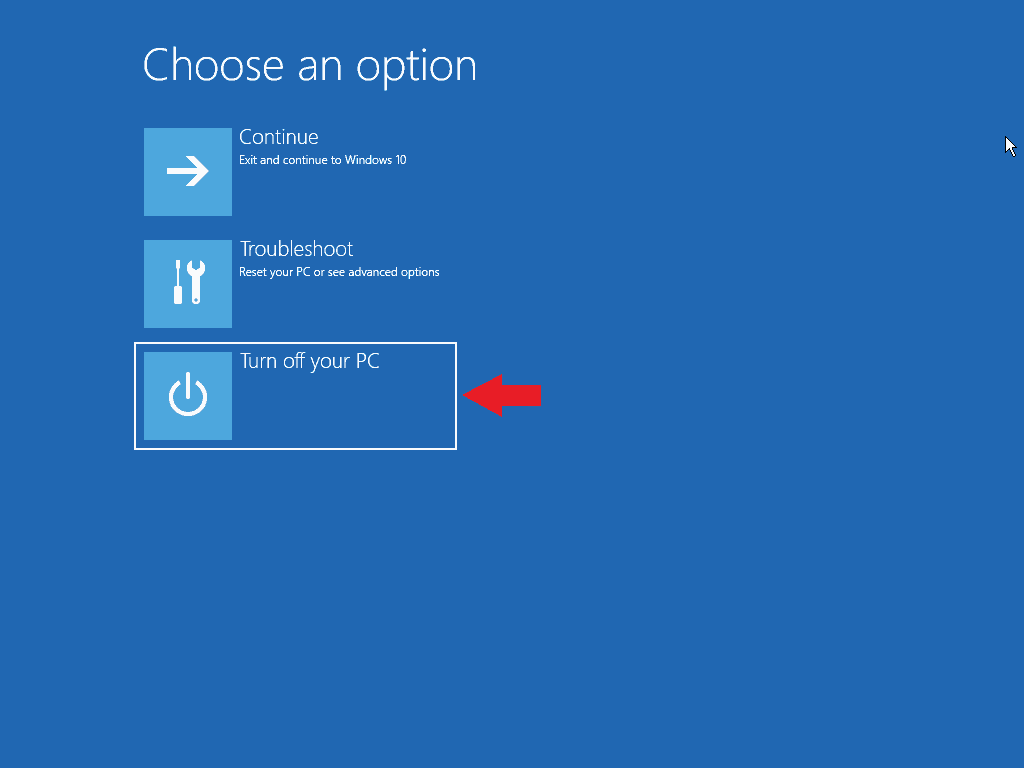
- Now select Turn off your PC. After this, you can turn on your computer again to see if you can get past the Welcome screen.


If you’re still unable to get past the Welcome screen, using System Restore may fix things:
This can also be done from the Advanced options screen reached through the previous methods:
- For built-in recovery, follow steps 1-3 for the first method, or 1-5 of the second.
- If using recovery media, follow steps 1-2 from its section.
- If using installation media, follow steps 1-4 from its section.
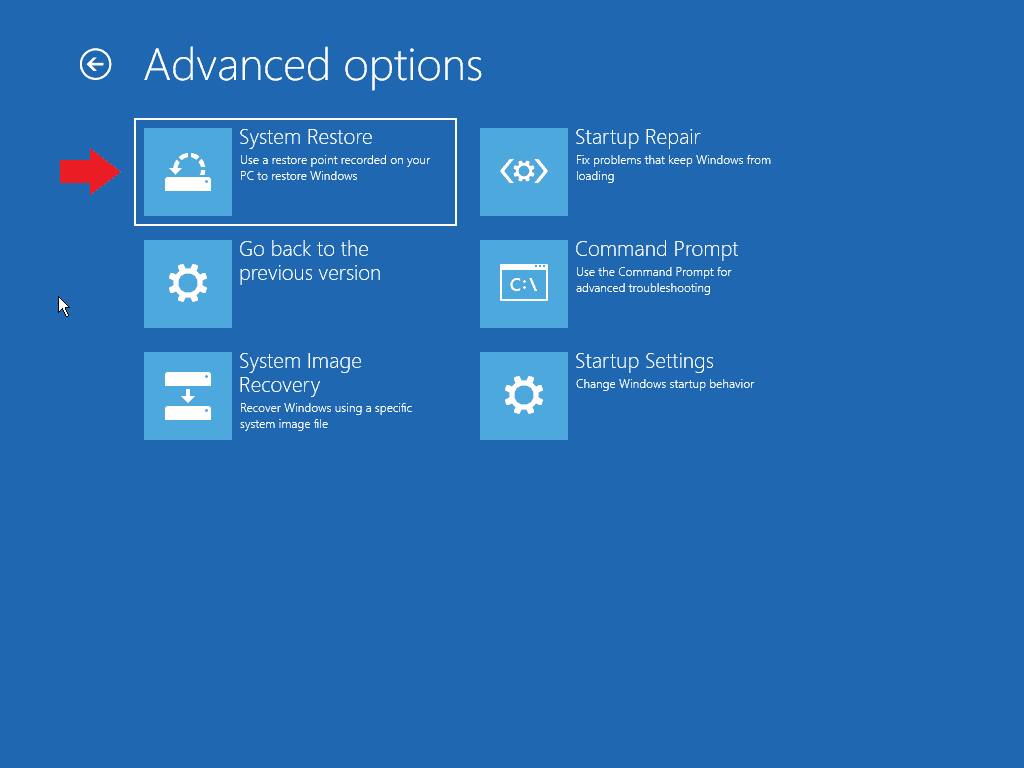
- Select System Restore once at the Advanced options menu.
- Depending on what method is used, you may be asked to choose a target operating system or choose an account and enter your password. Do whichever of these is required.

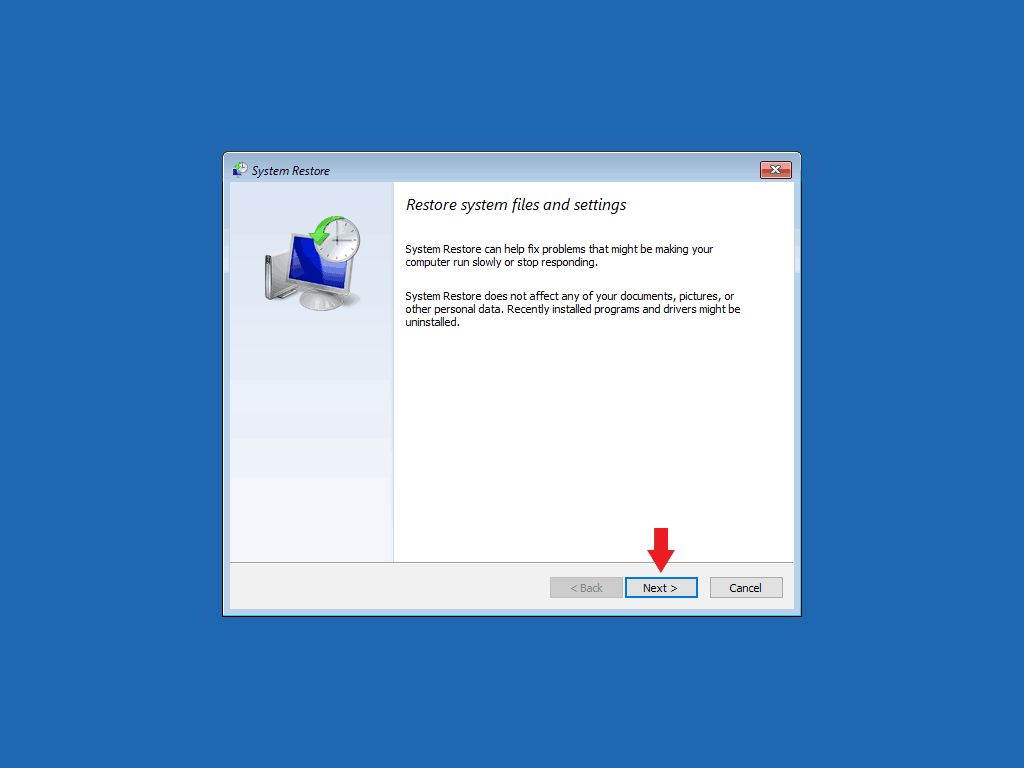
- Once on the System Restore window, click Next.
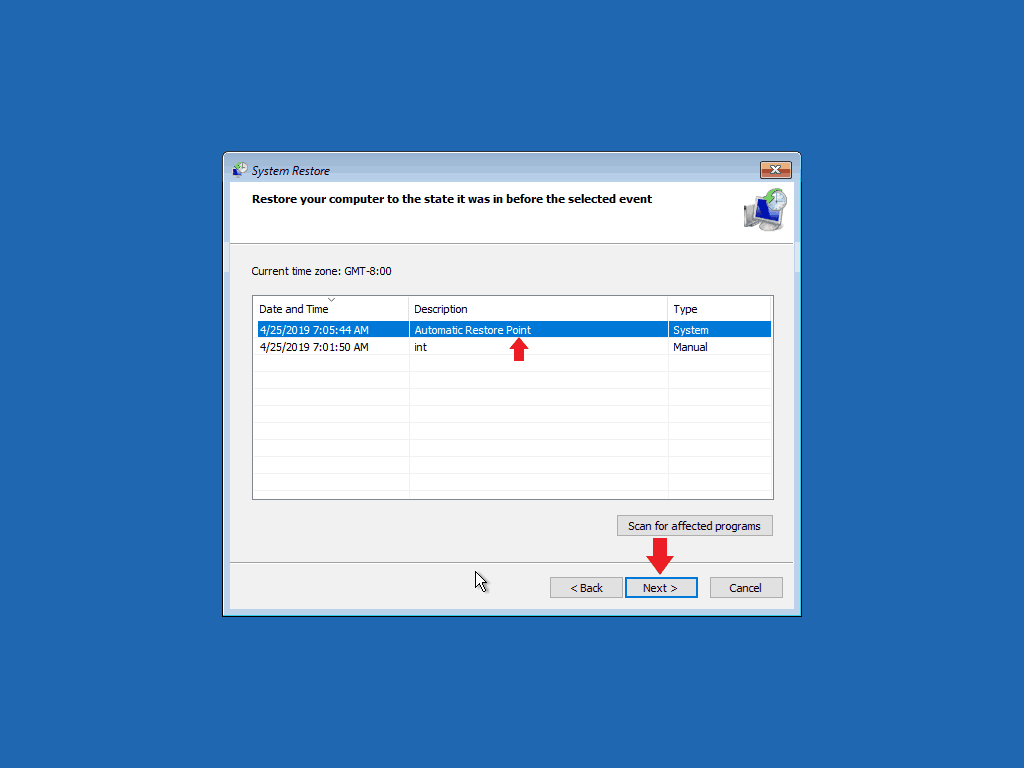
- Now you can select a restore point. Usually the more recent the better. Click Next after choosing.
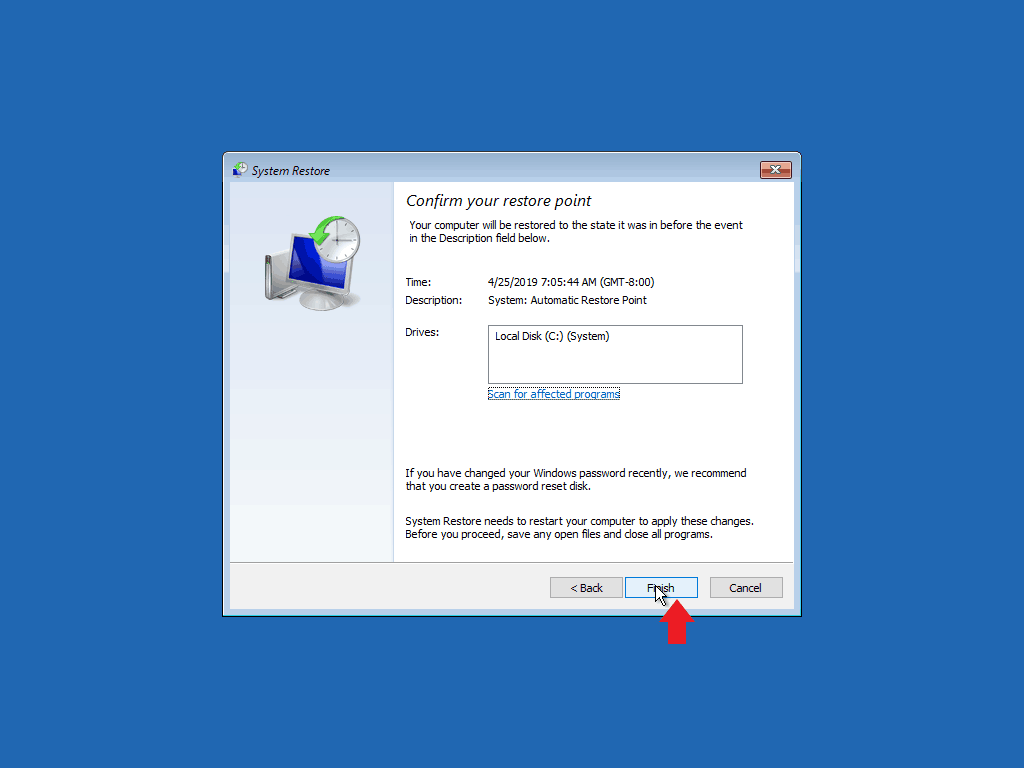
- A window confirming your chosen restore point will come up. Click Finish when ready.
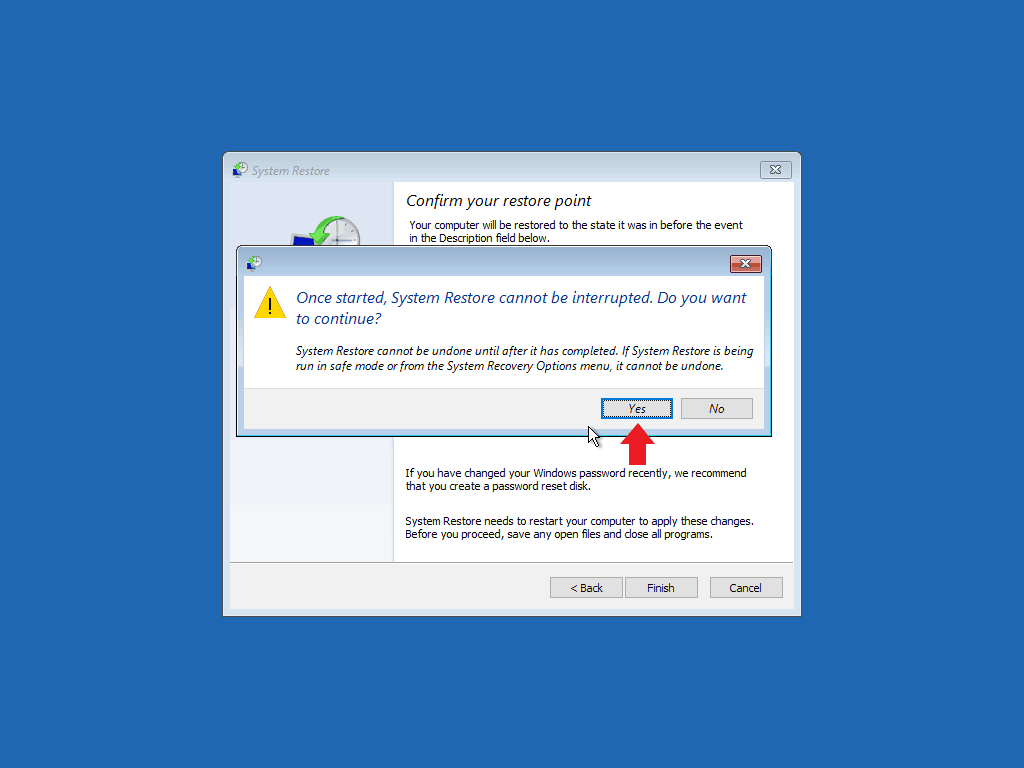
- You will be asked if you’re sure you want to continue. Click Yes.

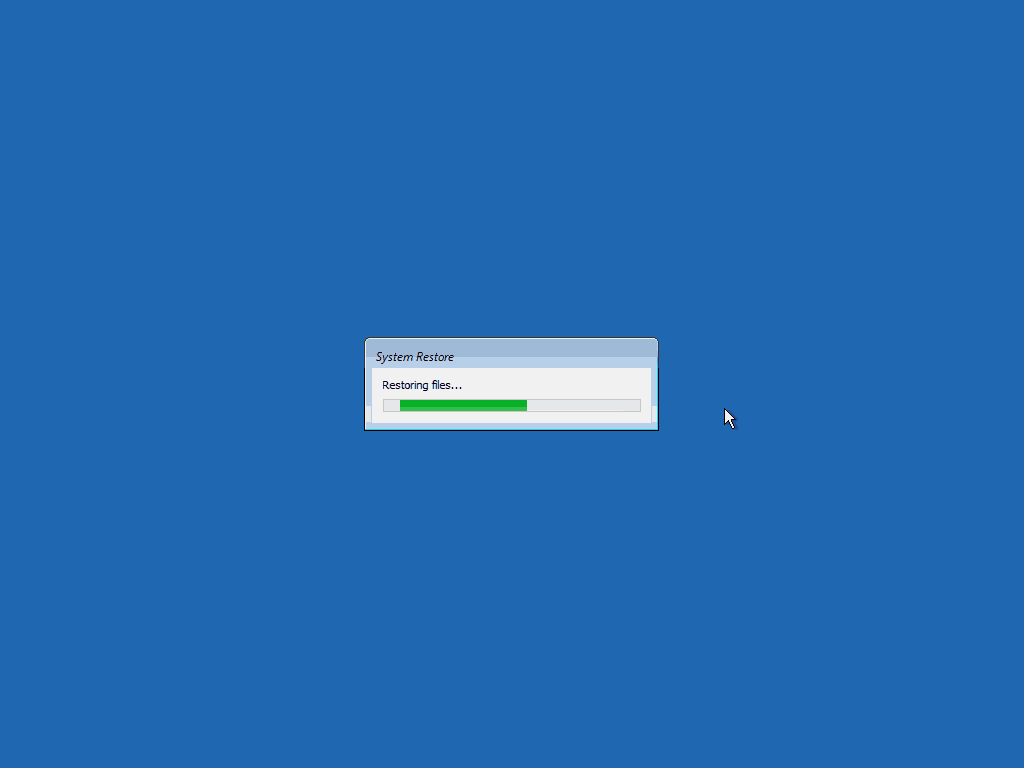
- A small window showing the progress will pop up. Wait for System Restore to finish.
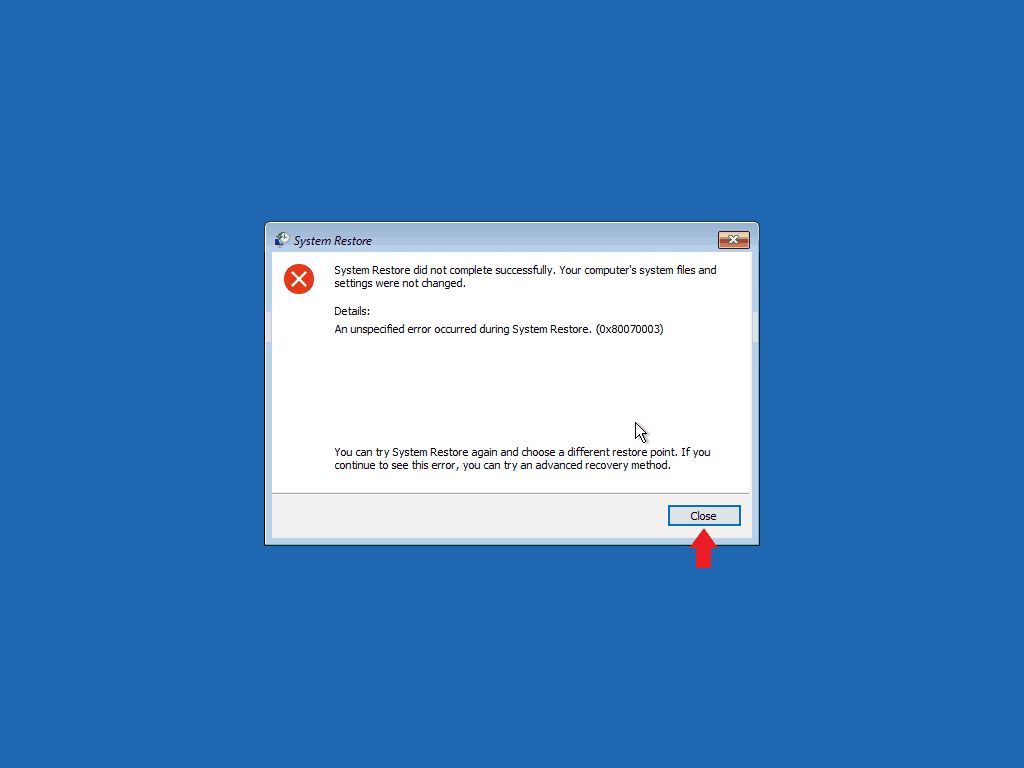
- A window saying whether the restoration was successful or not will come up. Either way, click on Close. Your computer will now restart.


If the restoration worked, Windows should now start normally and allow you to access your desktop and all your files and programs again.
Frequently Asked Questions
What do you do when Ctrl Alt Del doesn’t work?
If your PC is stuck to such a degree that pressing Ctrl + Alt + Del doesn’t do anything, then you might have no choice but to force it to shut down by long-pressing the power button. Sadly, you might get some corrupted files if you were in the middle of something, but it has been stuck for a long time, there’s really not anything else you can do.
However, if your computer works fine but nothing shows up when you’re pressing Ctrl + Alt + Del, then the problem lies elsewhere. You can try using the Registry Editor by pressing Windows + R and then typing Regedit in the command box. Press Enter and you’re now using the Registry Editor.
In the left pane navigate to HKEY_CURRENT_USERSoftwareMicrosoftWindowsCurrentVersionPoliciesSystem.
If the mentioned key doesn’t exist, go to HKEY_CURRENT_USERSoftwareMicrosoftWindowsCurrentVersionPolicies. Right-click Policies and choose New > Key. Enter the System as the name of the new key. Once you create a System key, navigate to it.
Now from the right panel of Registry find DisableTaskMgr and double click it to open its properties. If this DWORD isn’t available, right-click the right pane and choose New > DWORD (32-bit) Value to create it. Enter DisableTaskMgr as the name of the DWORD. Set the value data to 0 and click on OK to save changes. Finally, restart your computer and that should be it.
What is the cause of “not responding?”
Malfunctioning hardware can, in some cases, cause the software interacting with it to fail in ways making it unresponsive. For example, a USB reader or thumb drive might experience a failure such that the next program to attempt to access it, even just to see if it exists, might end up with “Not Responding.”
Other times it might be that the software itself is corrupted and you’ll have to fix it or reinstall it. Or maybe you have run out of RAM to execute a certain task. Or the processor is at full capacity. The truth is that the issue can be a lot more complicated than it seems at first.
How do you boot into safe mode?
To boot into safe mode all you have to do is to hold shift and press the restart button which is found on the power menu that you can access from the start bar. Afterward, you will be sent to a blue screen with multiple options. Look for the troubleshoot button and then chose the advanced options button, and then you will find the startup settings option.
Suggested Read: Auto Login Windows 10
Final Thoughts
Hopefully, this guide has helped you get past Windows 10 or 11 being Stuck on Welcome Screen. If you have any questions or comments, feel free to leave them below. Also, feel free to bookmark our site for future guidance!
Every day, we encounter different problems on our computers and other devices that require immediate response so that our work won’t be put on hold. From typical system errors and installation of various devices to simple information about technical terms, our website offers most of your computer-related questions, especially for Windows 10. Check us out now and you may find helpful tutorials. Or you may directly ask about How To Change Your Windows 10 Username.
It is one of the most common issues that we all more or less face while using the system, but there is nothing to be worried as it can be fixed by just rebooting the system.
Thanks a lot. I have taken the System Restore option.
I don’t have the power options icon on the windows screen. The only icon on my windows screen is the wifi icon. Everytime I click or tap a key on the keyboard the screen glitches a second then just sits there. Any help getting past the windows screen will be greatly appreciated.
I found a simpler way to solve this problem. Simply hold down the power button, restart, select Advanced Options, select Safe Mode, change the display resolution temporarily to a lower one, then update or install whatever driver was missing before, then reboot. It will start normally after that.
This helped a ton, just want to assure people that are having the same problem as I had, know that this works and will return your device to its previous manner.
Hello ,
i did the steps exactly one by one and i finished step number 8 and its restarted automatically and i logged in again i entered my password and still loading “Welcome Screen” again like nothing new happened.
Thank you.
Hello friends,
my you-know-what is stuck in the disk tray
thanks